At the beginning of this year, the MacTouch product line was updated with Force Touch. The touch panel with two levels of pressure sensing has greatly improved the operating experience. The iPhone 6s/6s Plus that was released later also carried 3D Touch. In the hope of the Stars and the Moon, it is finally Magic Touchpad 2's update of the Force Touch function. In addition to the Force Touch, the new Trackpad also uses a rechargeable lithium battery design, using the Lightning interface to charge, no longer need to replace the battery. Follow us now to see how Magic Trackpad 2 compares to the previous generation.
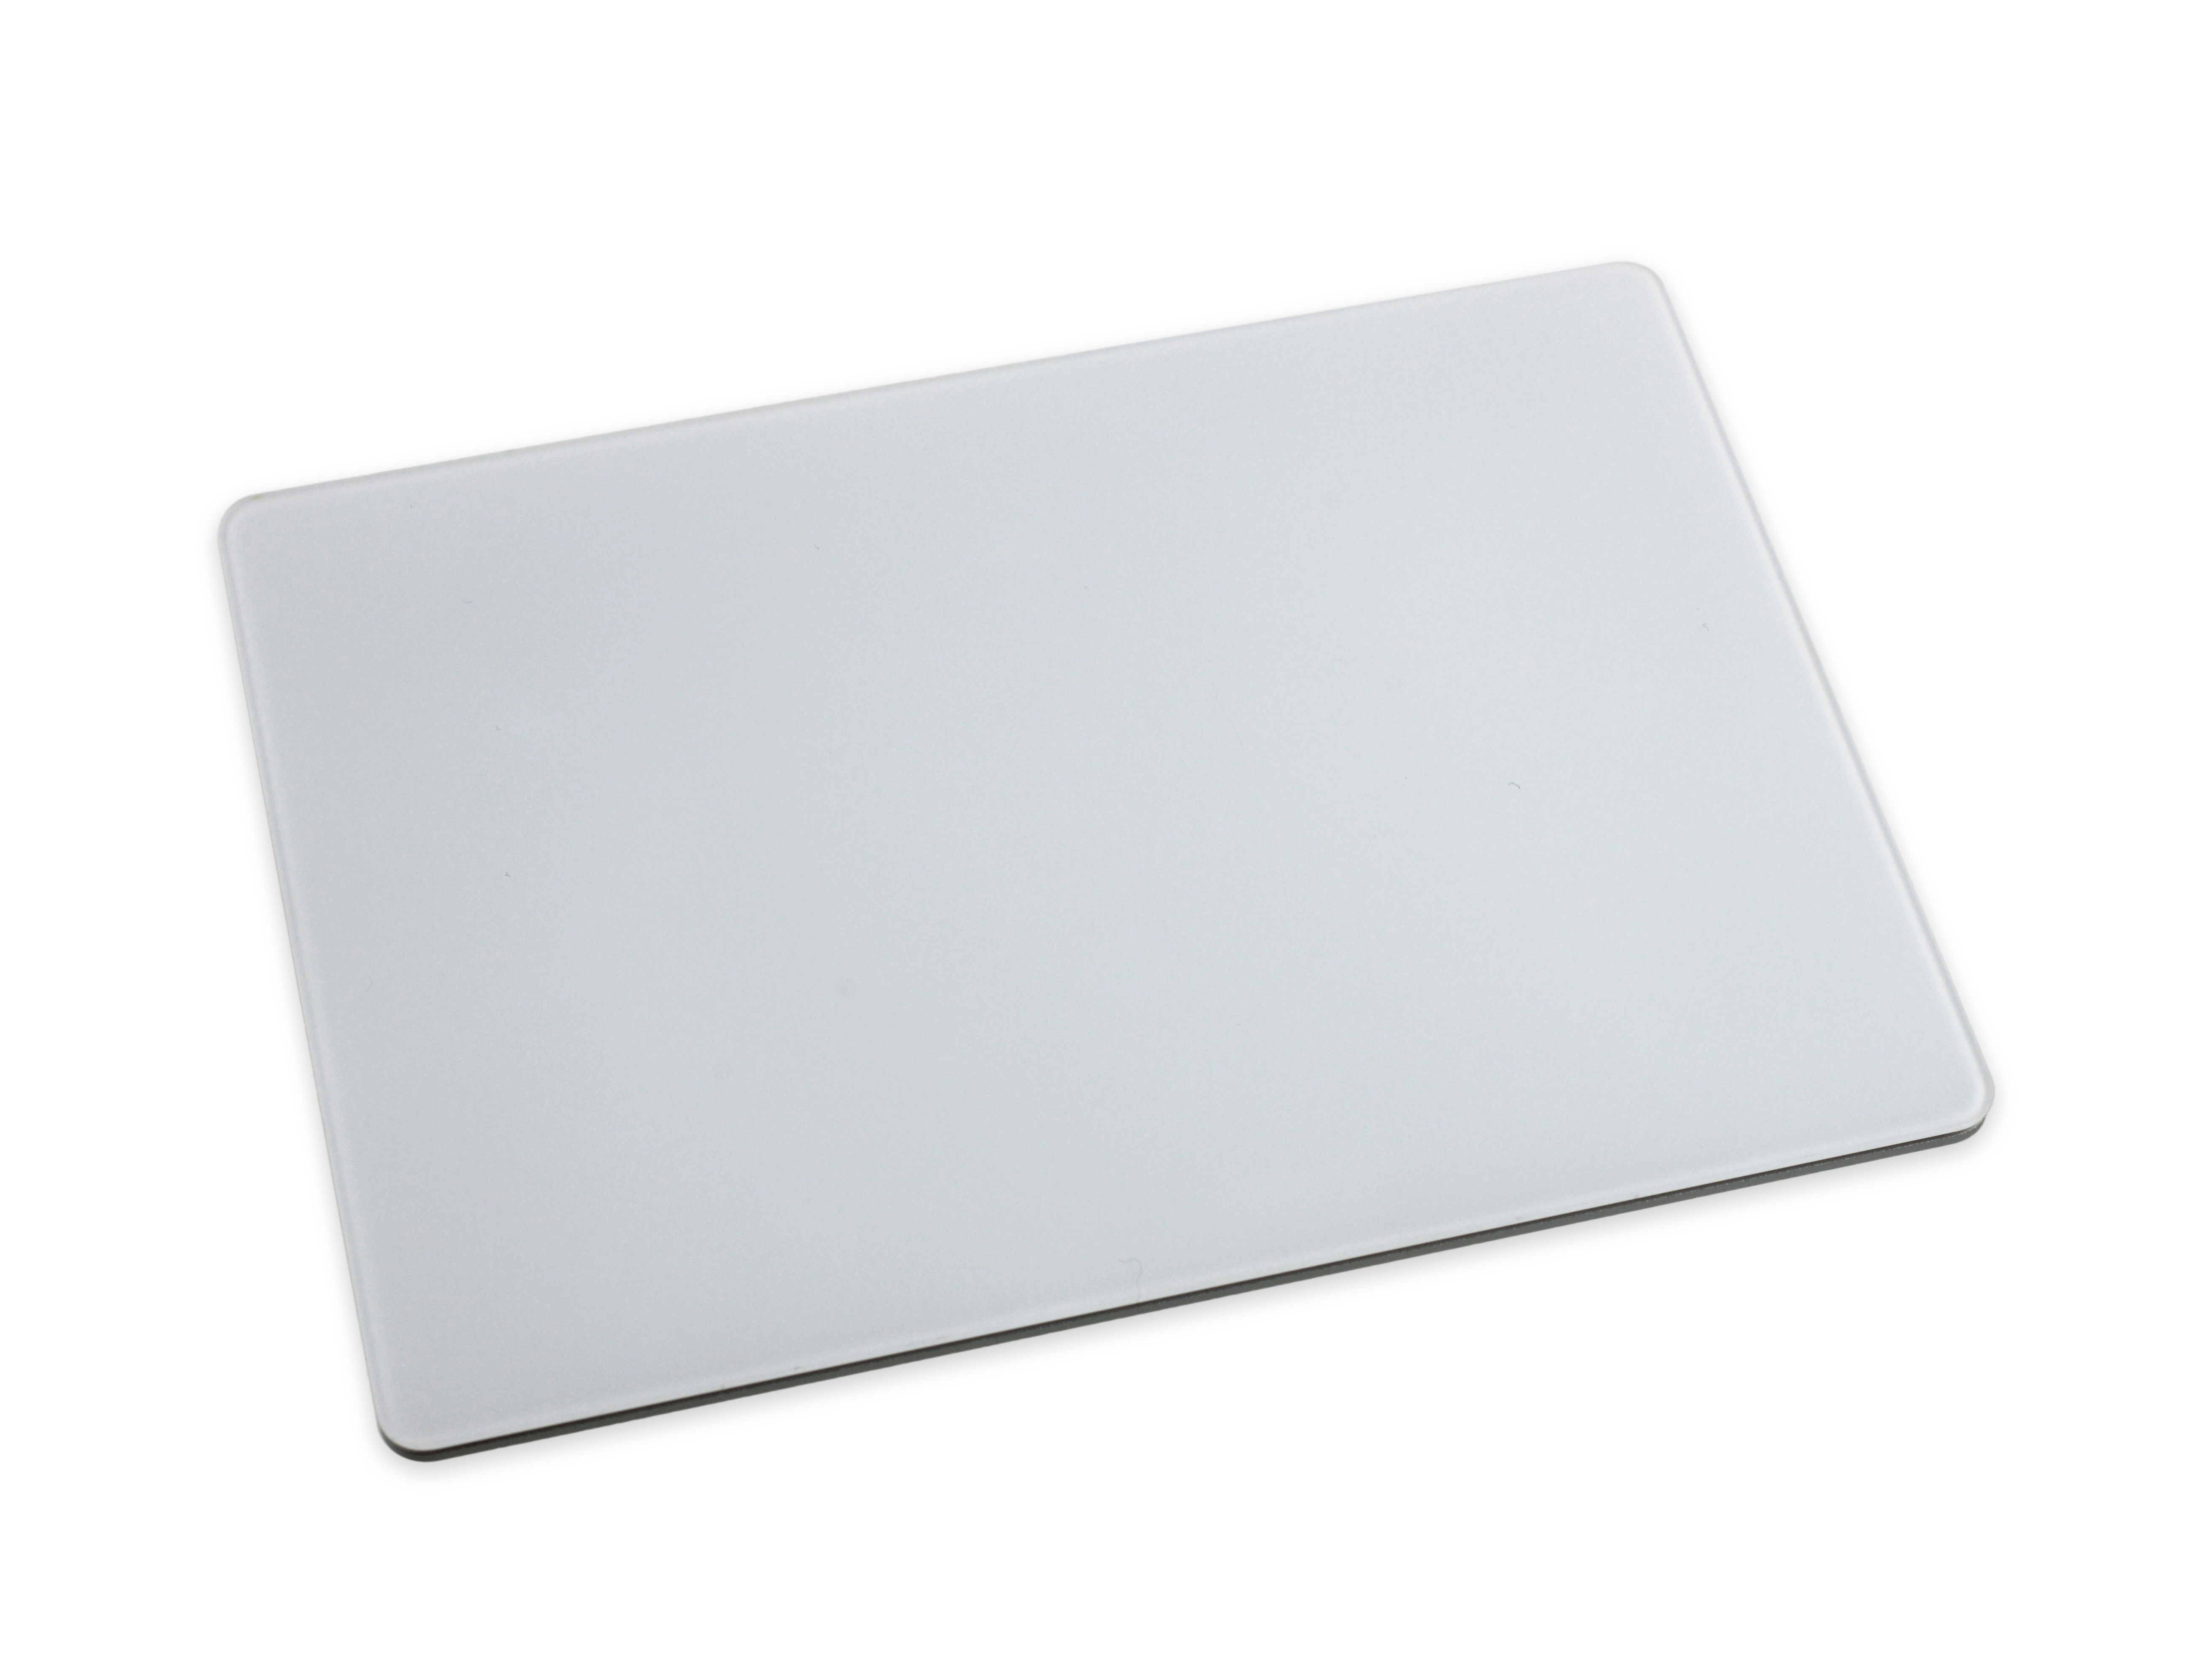
The new Magic Trackpad 2 has a larger size than the previous generation, 6.3 4.52 0.43 inches (160.0 114.8 10.9) measurements, width and height is completely higher than the width of the new Magic KeyBoard, both can be used in harmony.
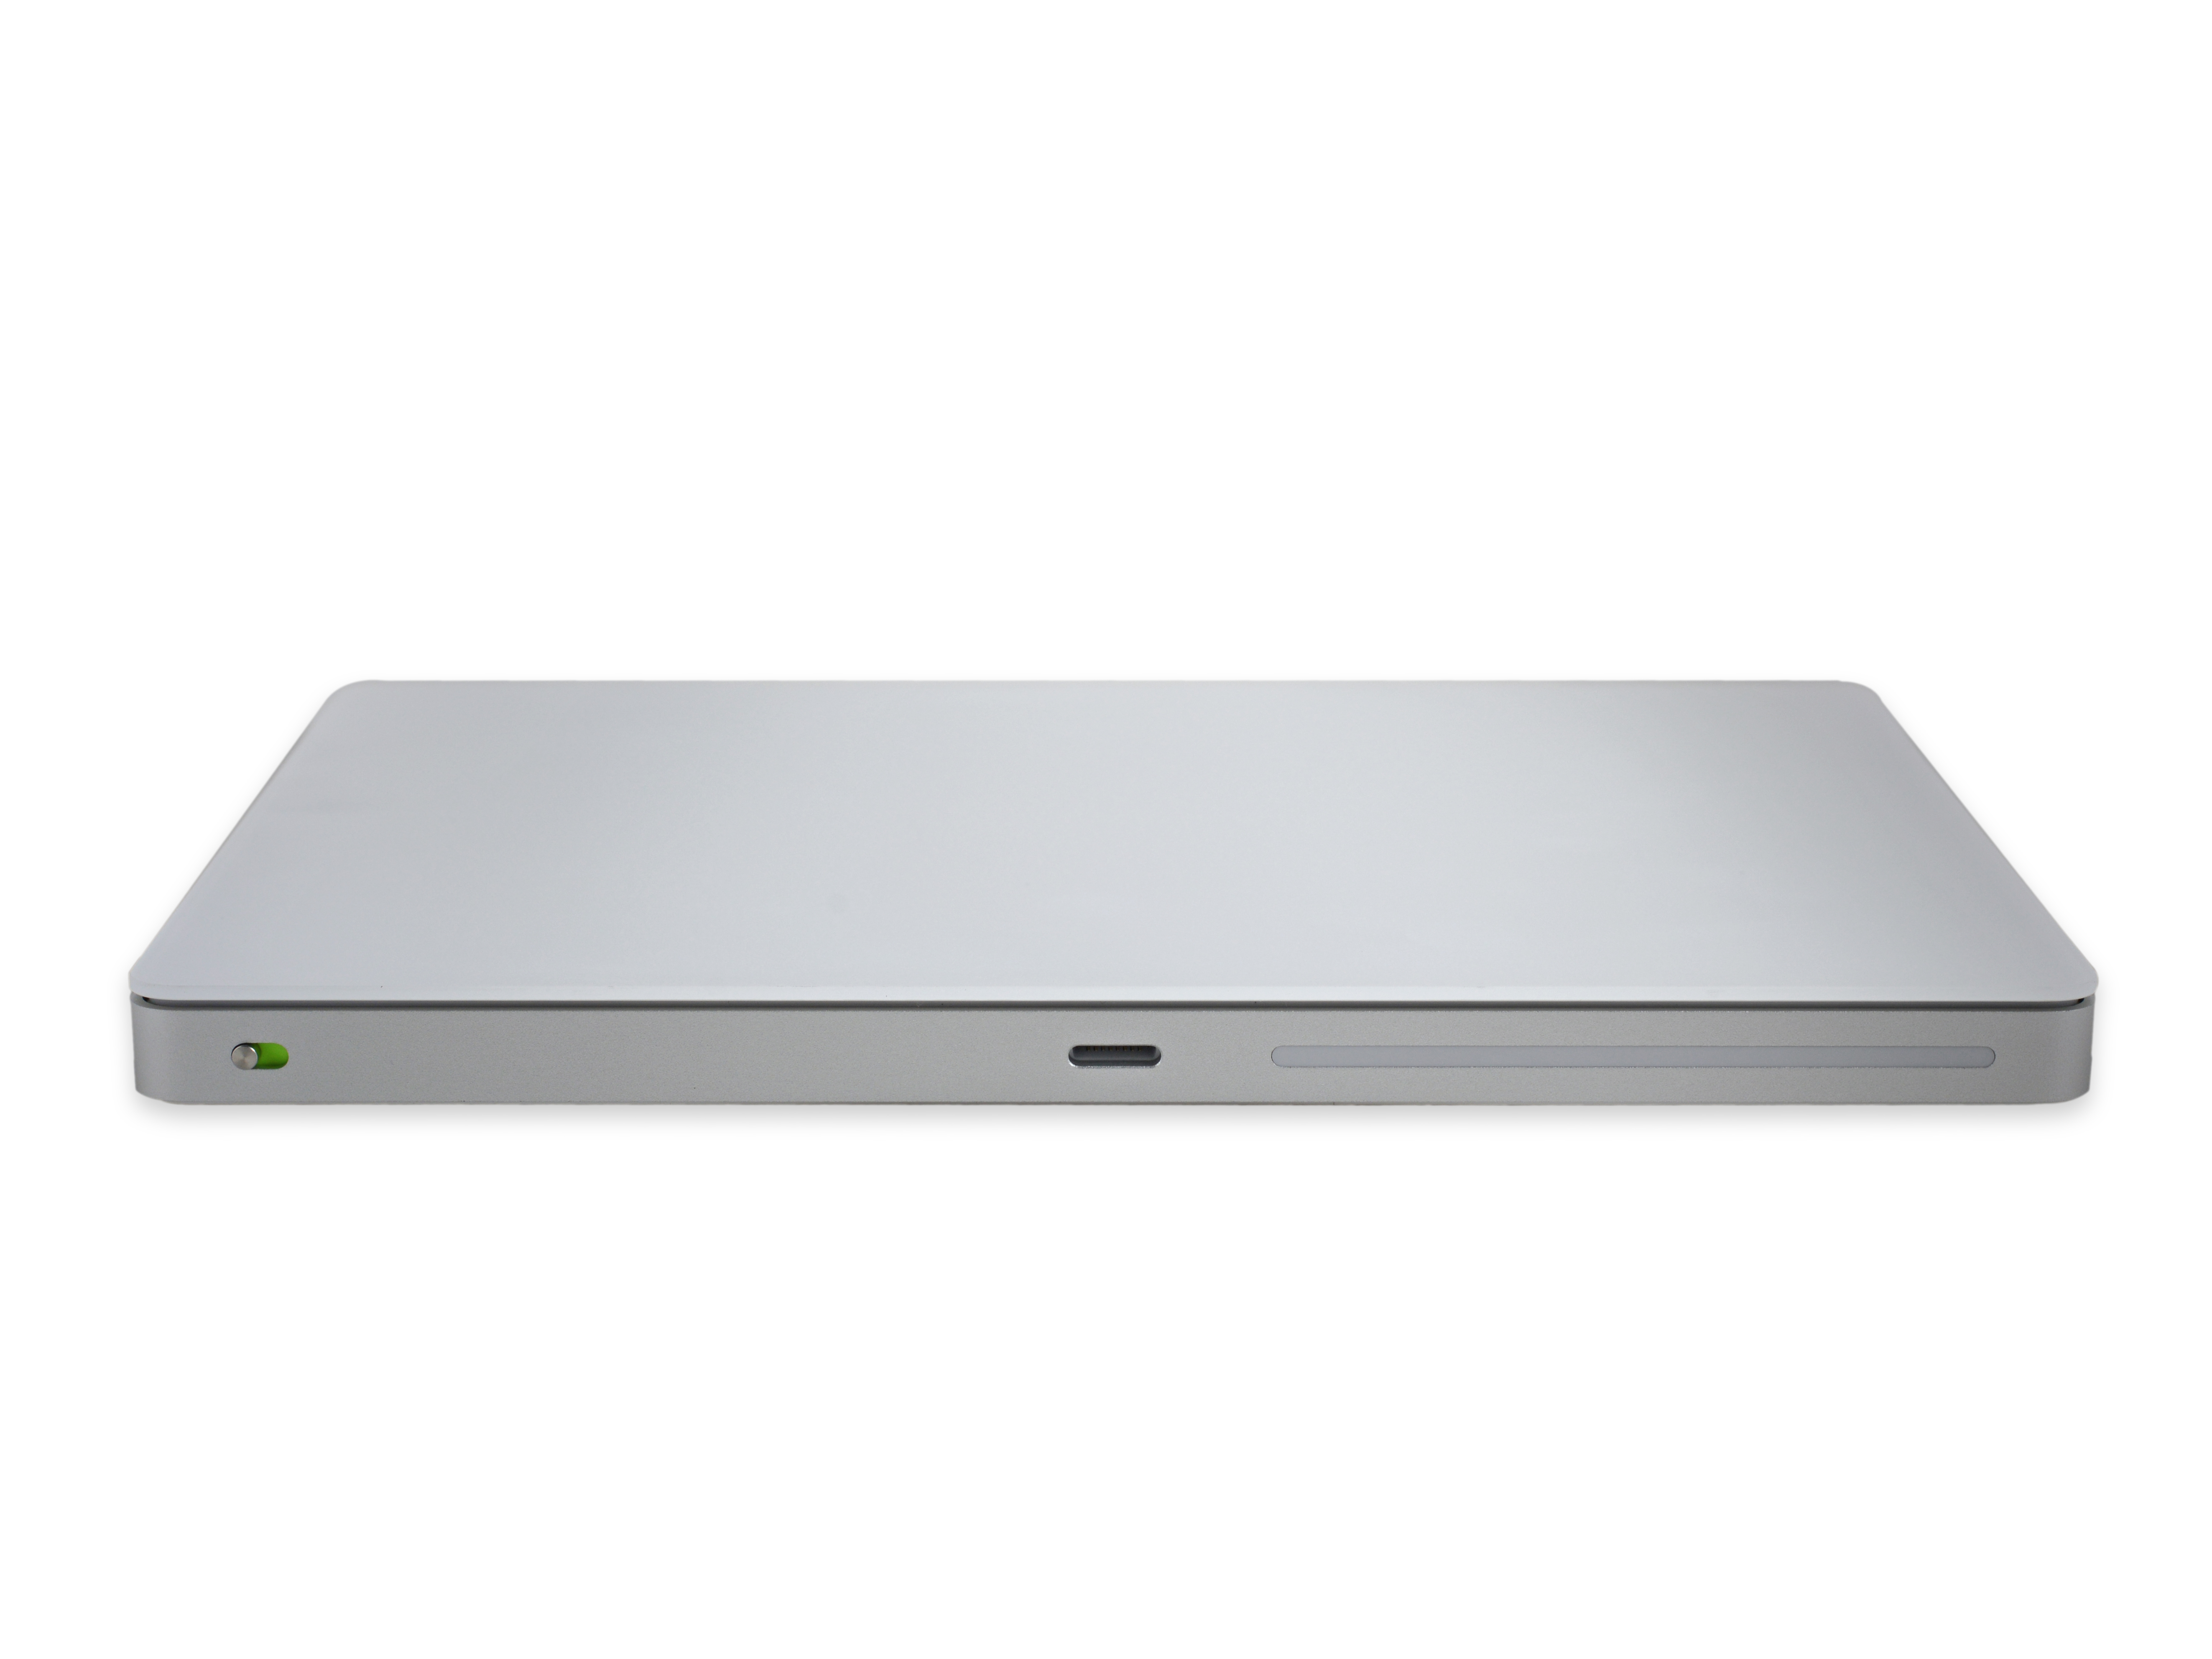
The Magic Trackpad 2 has a power switch on the rear, a Lightning connector and an unobtrusive plastic strip. The Lightning interface plays a role of pairing with Mac in addition to charging.
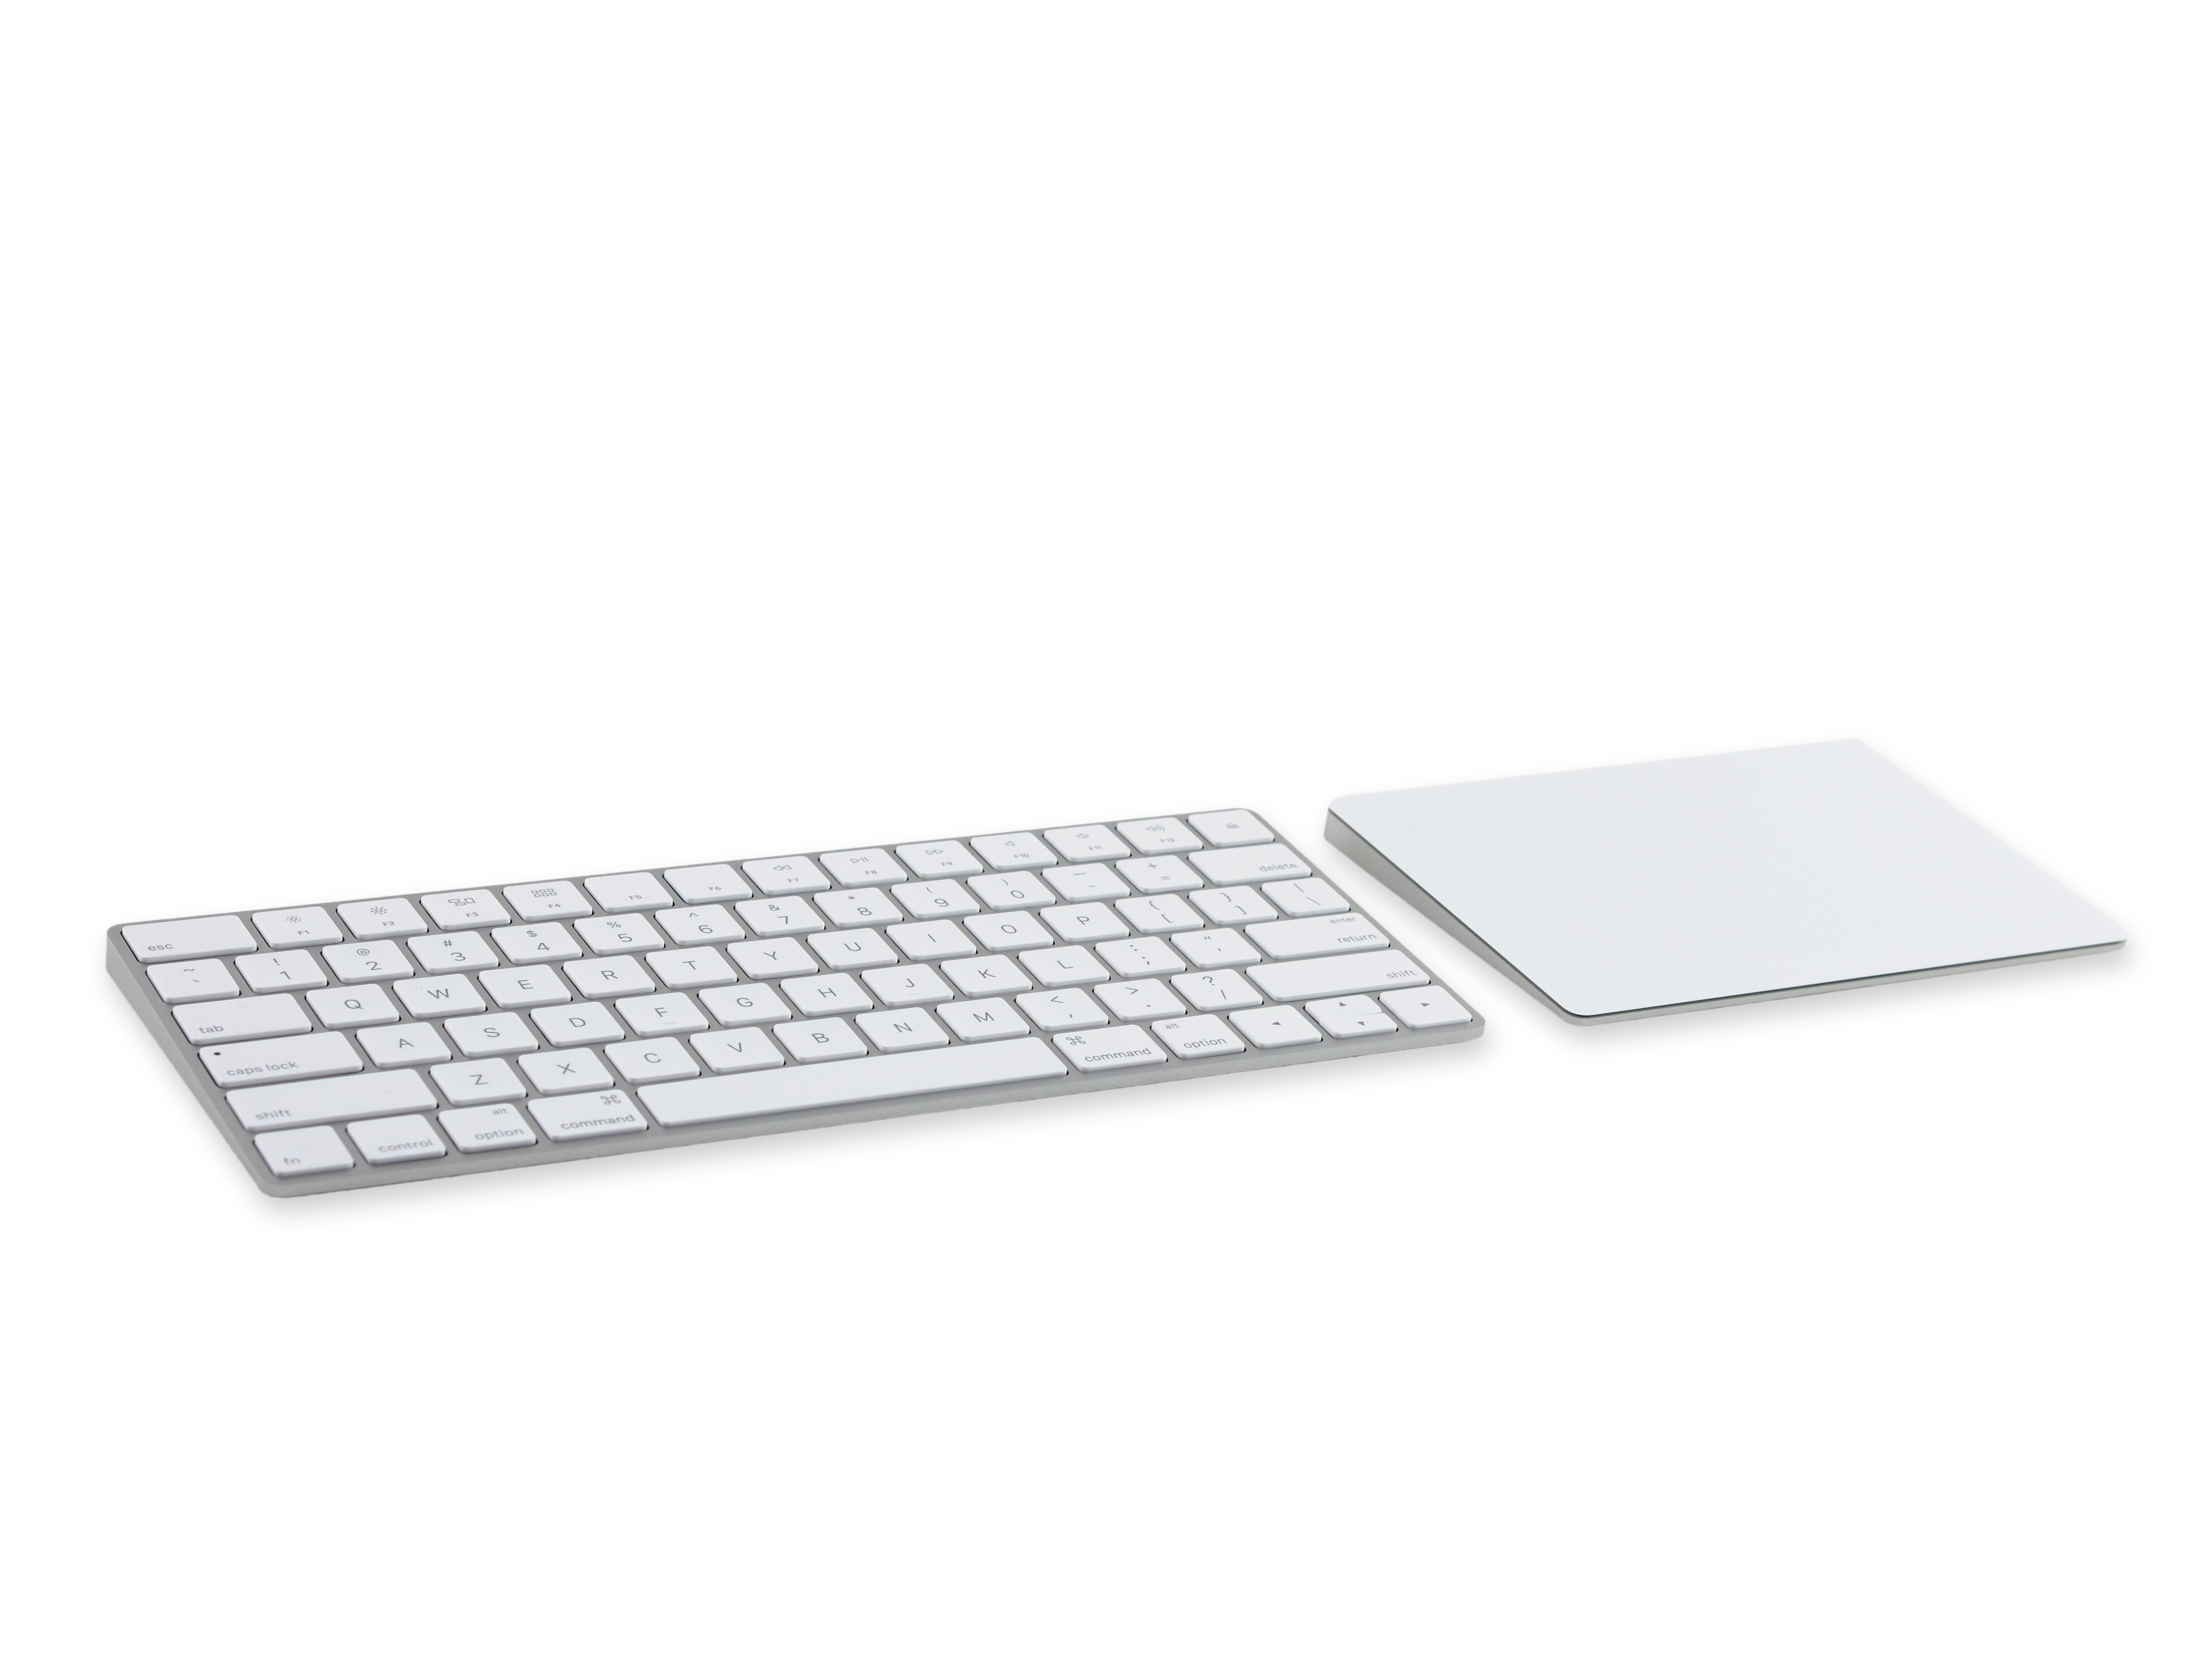
The Magic Trackpad 2 and the new Magic Keyboard work together perfectly.
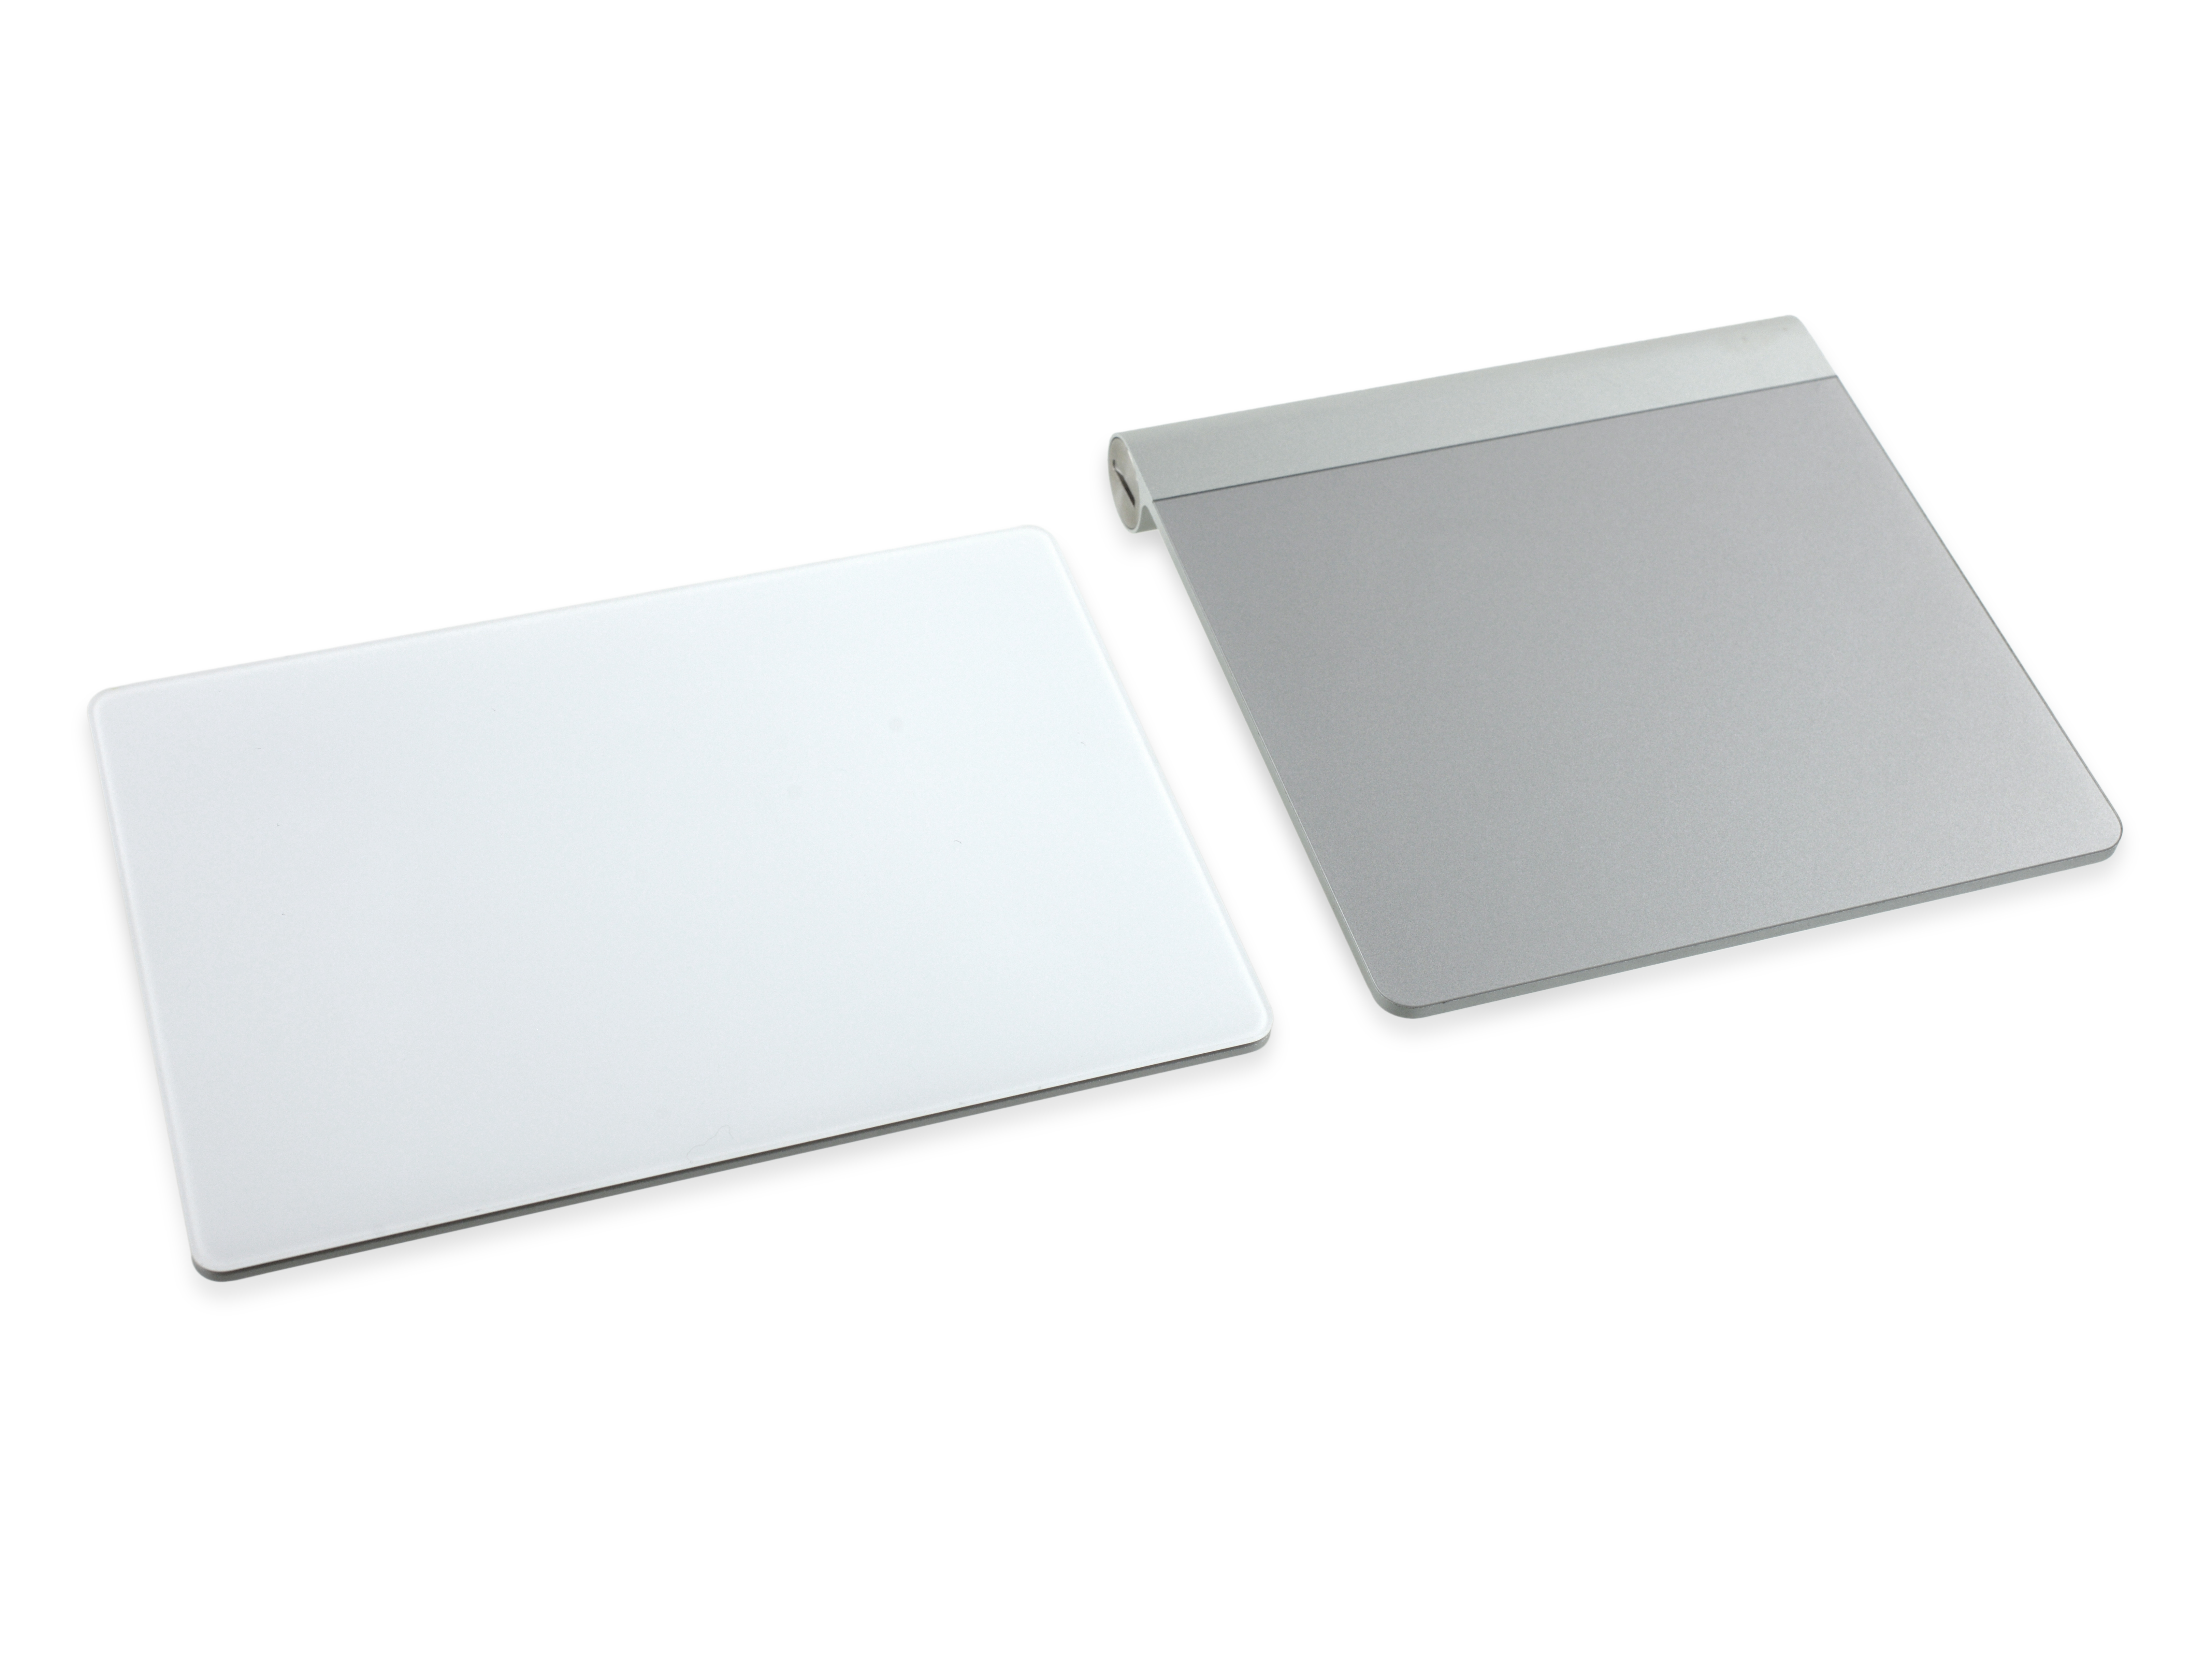
Compare it with the old one. The area is much larger than the old one and the surface is lighter.
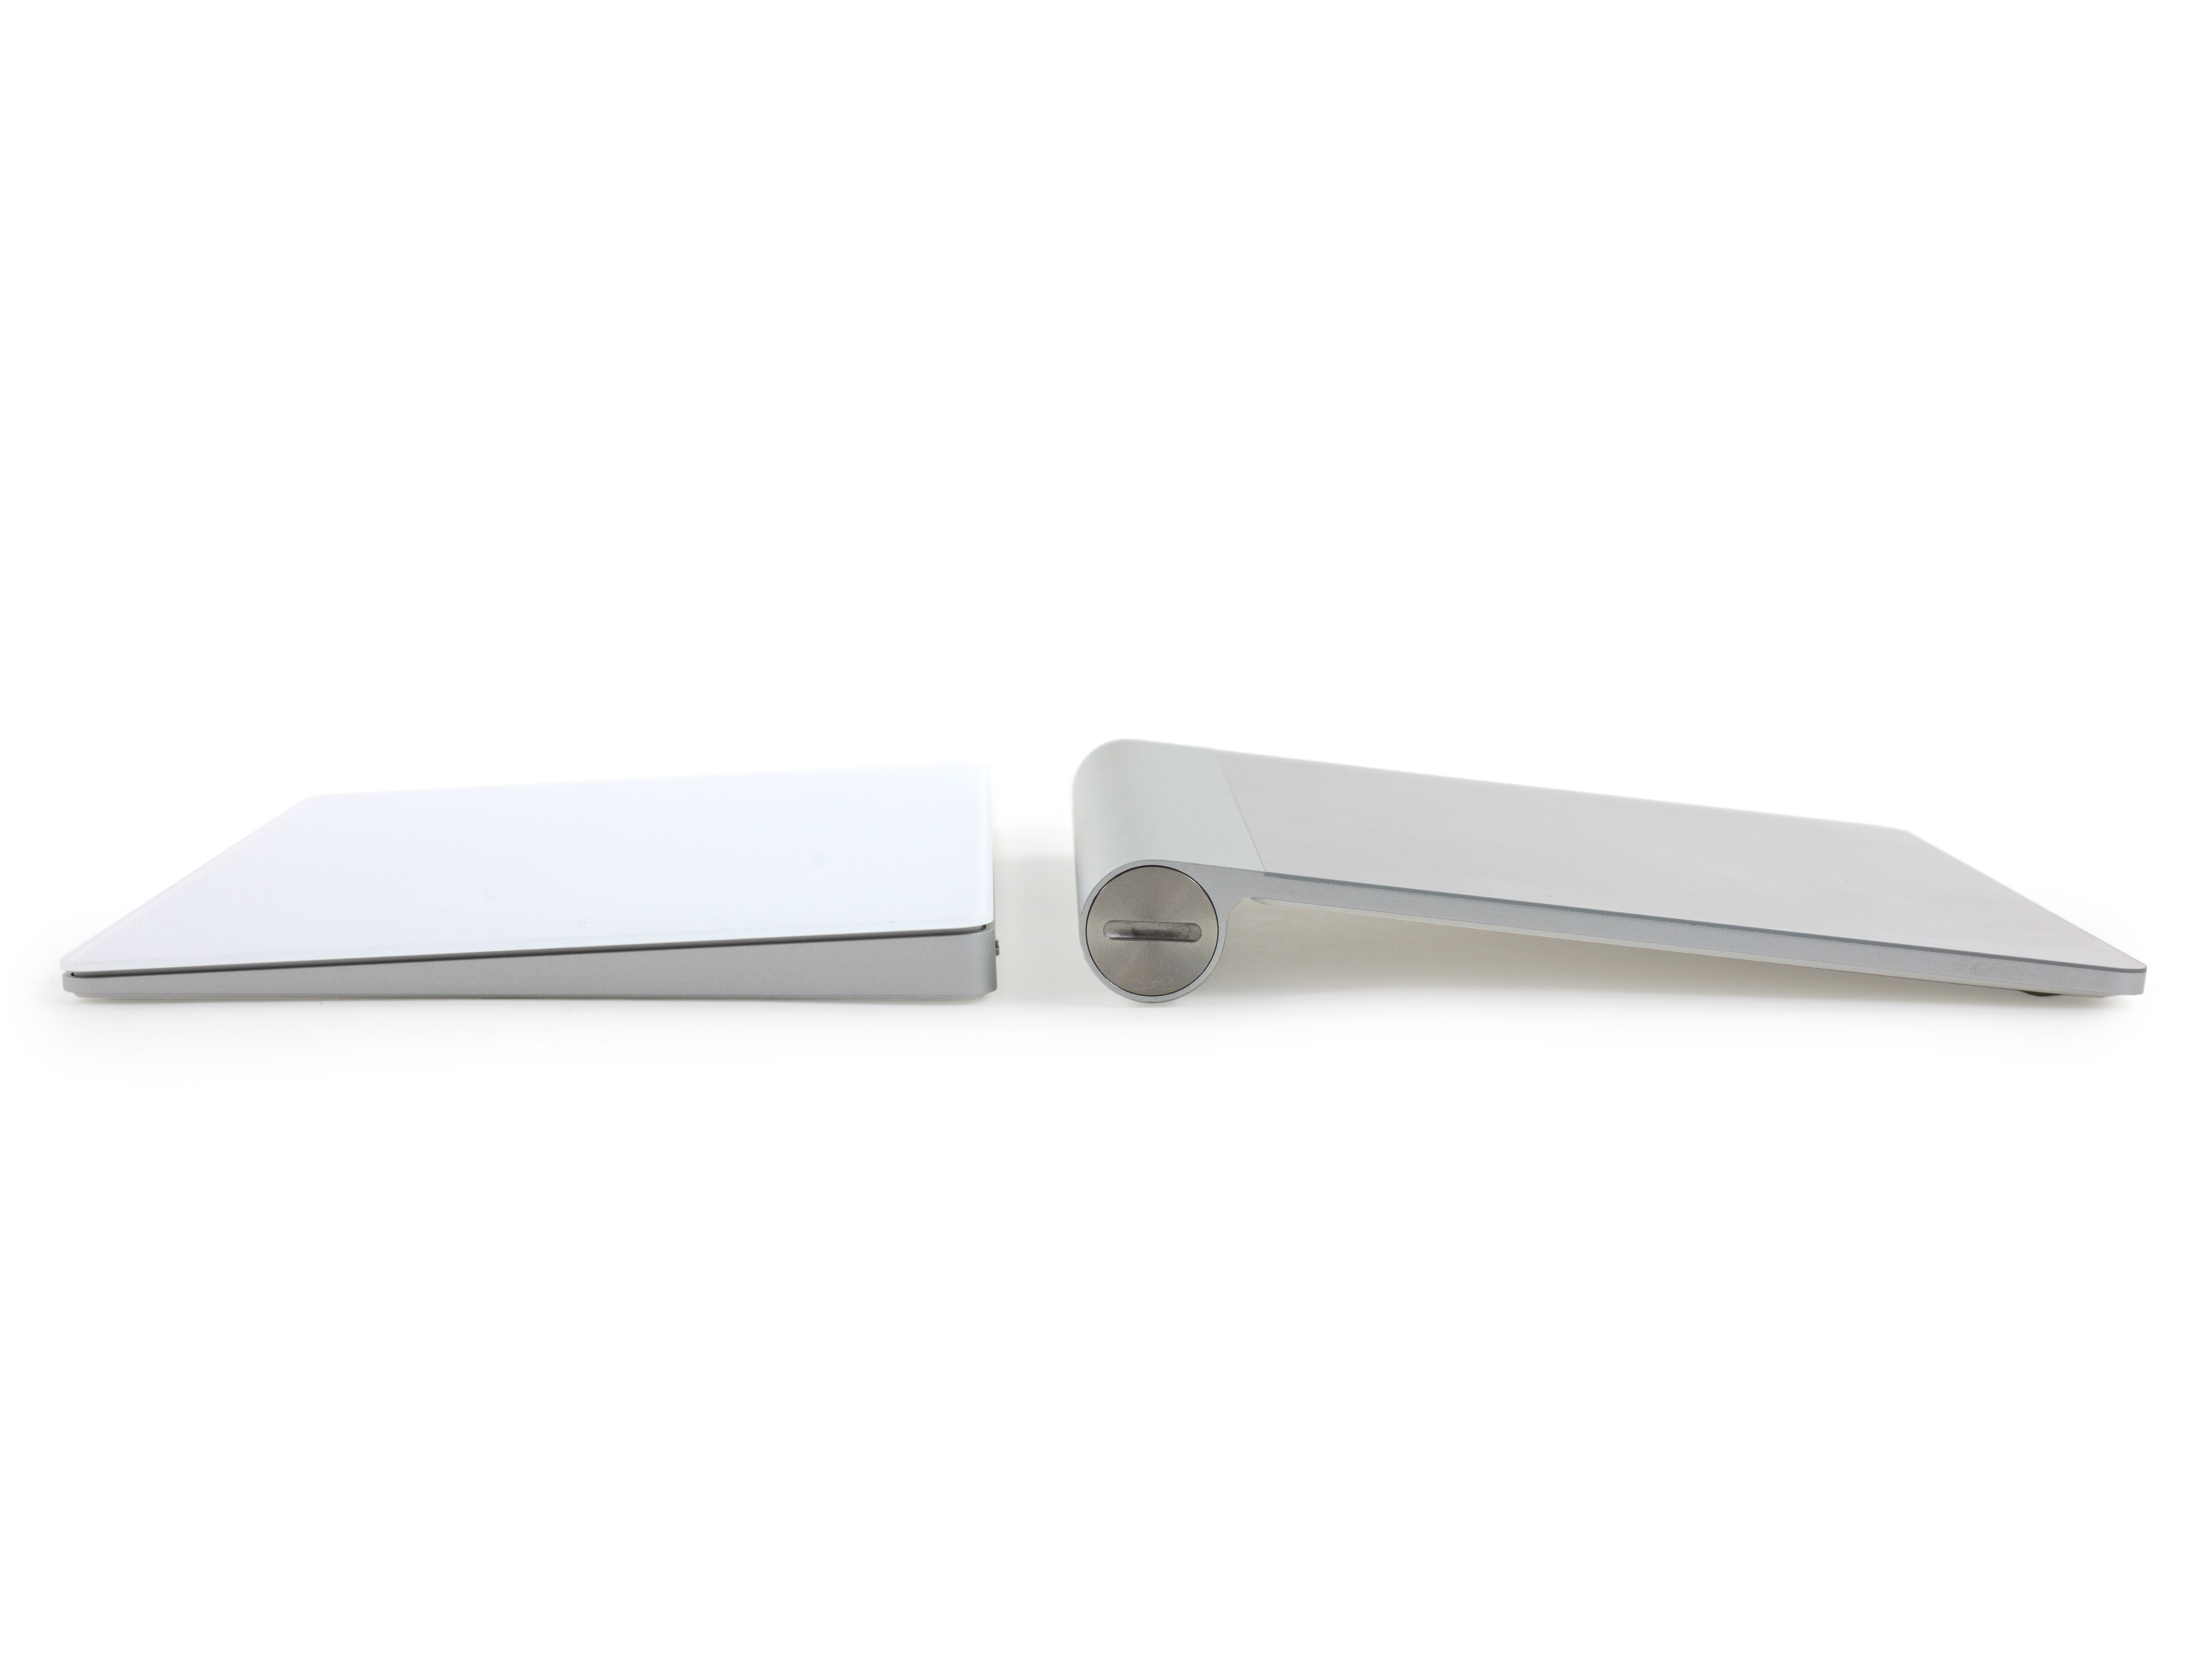
Because of the new lithium battery power supply, there is no need to reserve an AA battery compartment and the thickness is reduced.
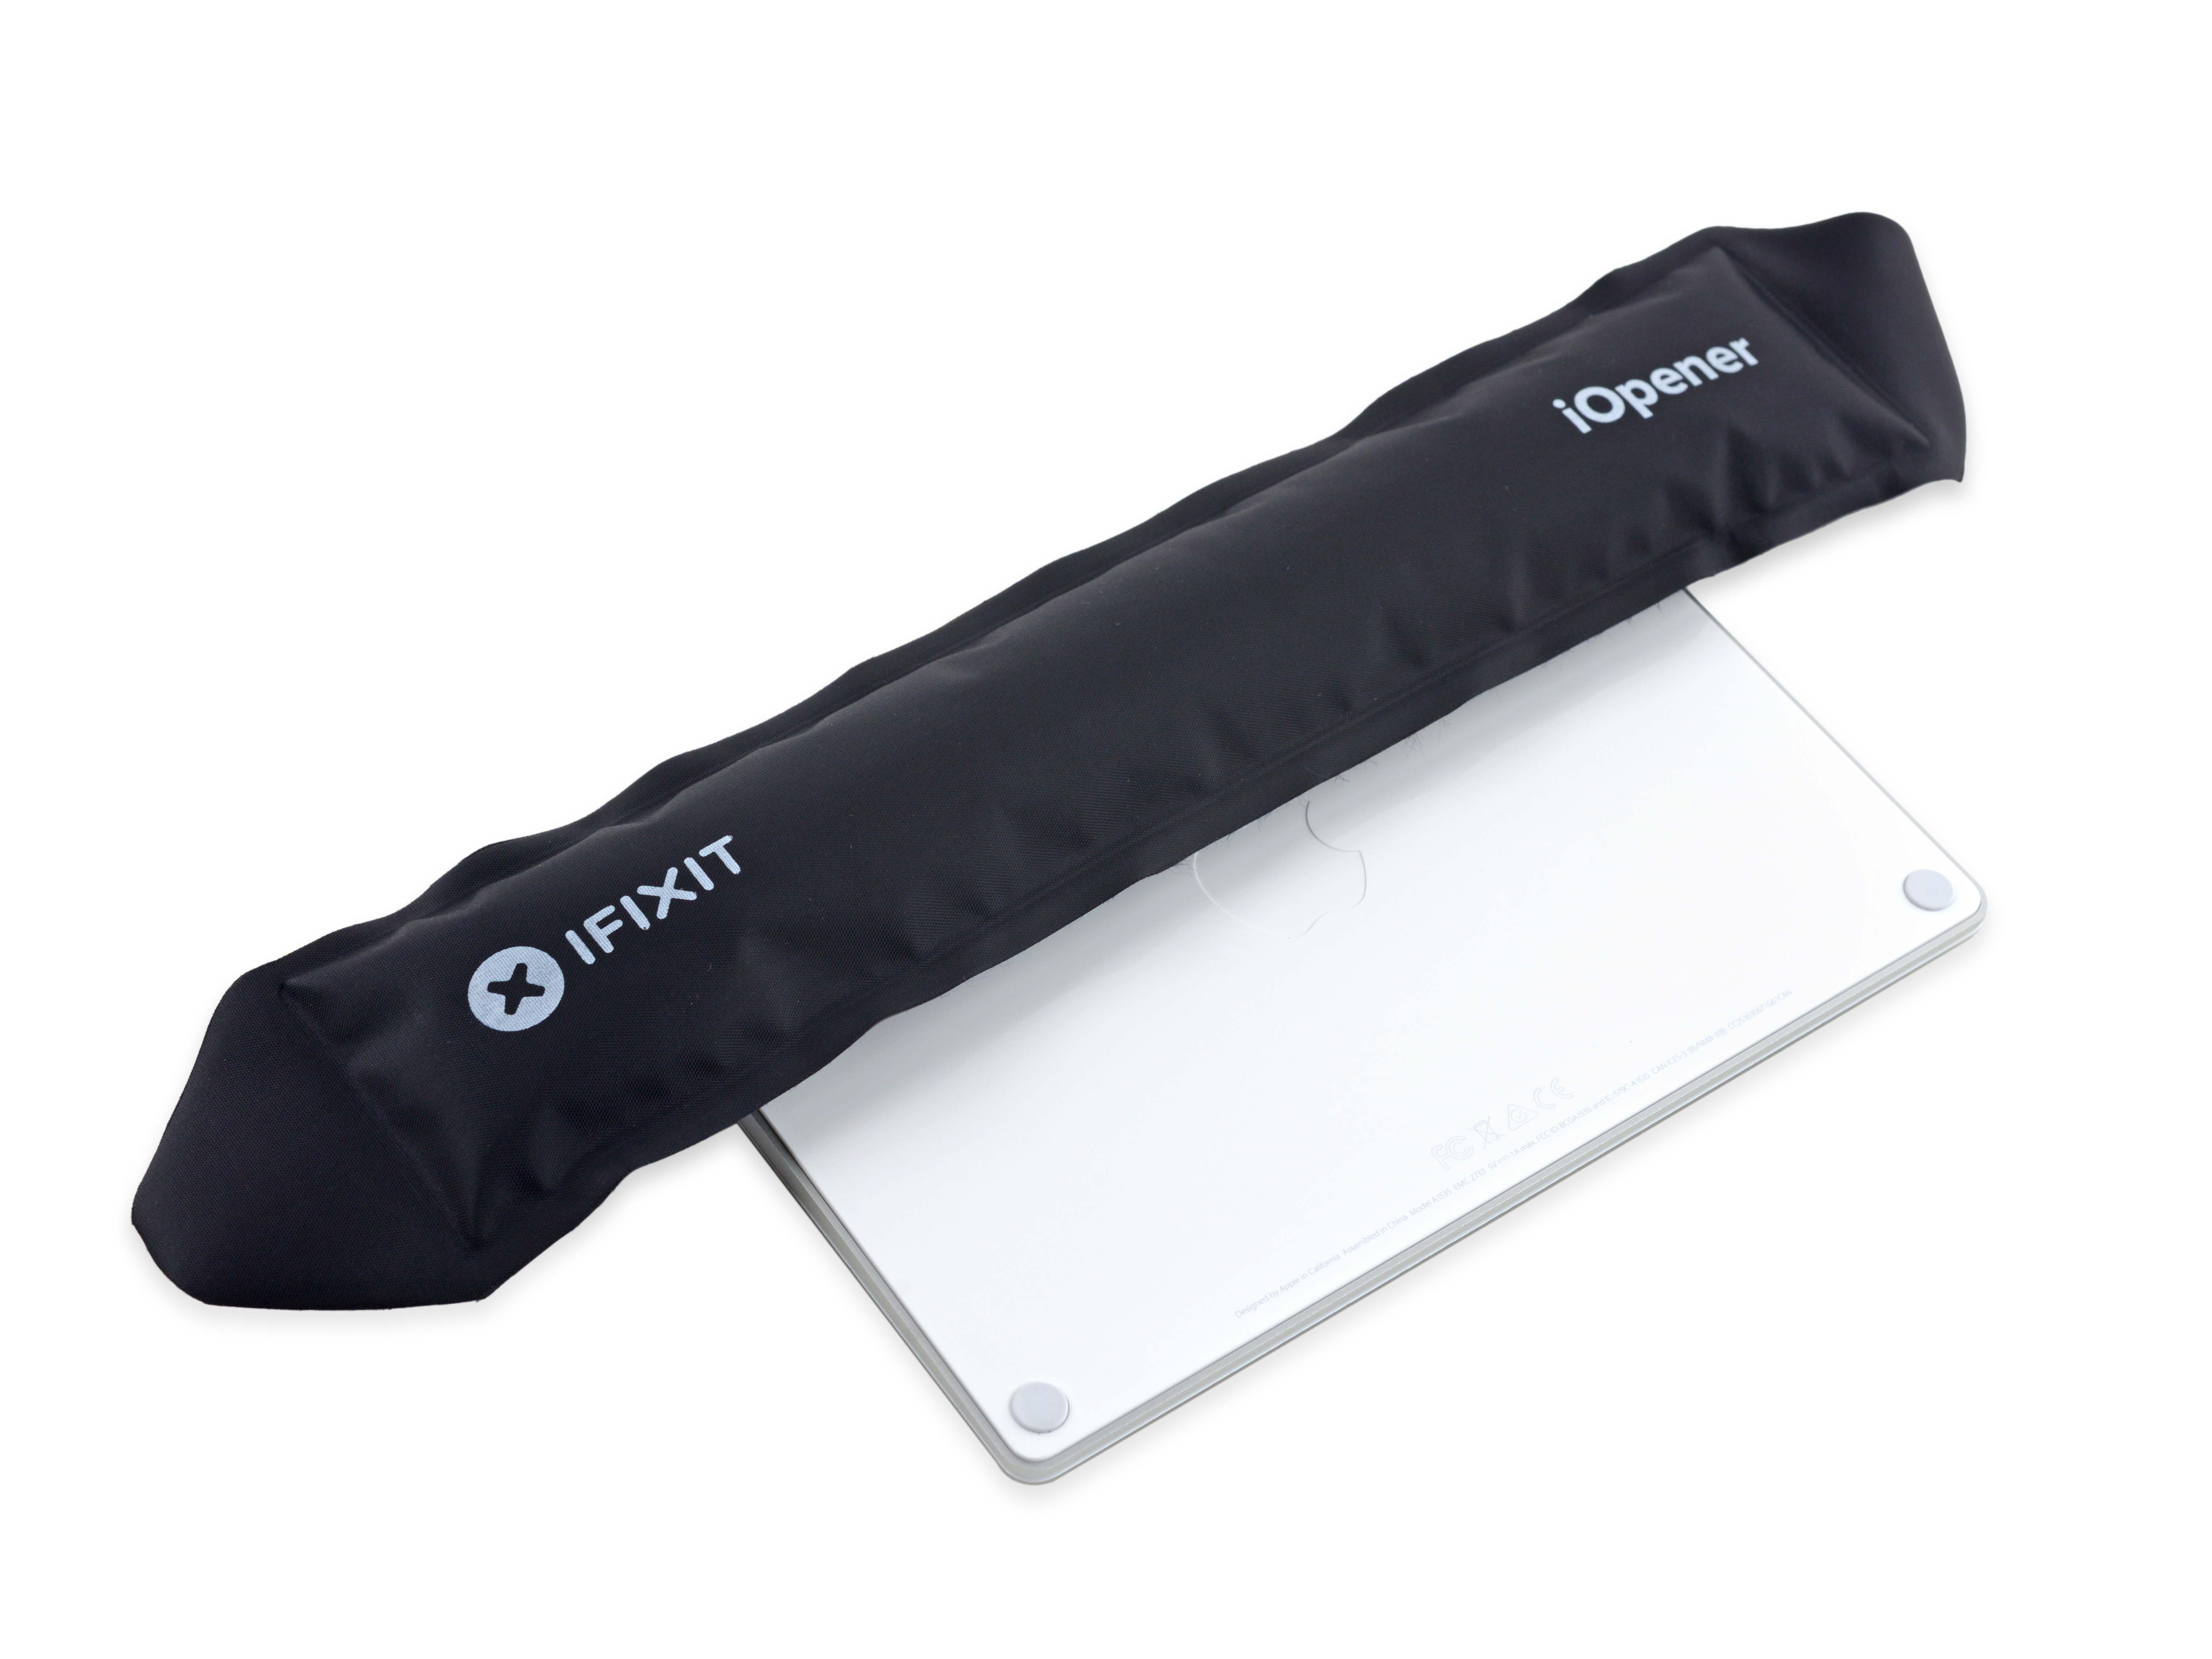
The Magic Trackpad 2 uses a glue-bonded design. We first heat the softened glue around the trackpad floor to facilitate our disassembly.

Use the blade to slowly pull out the gap along the gap on the side.
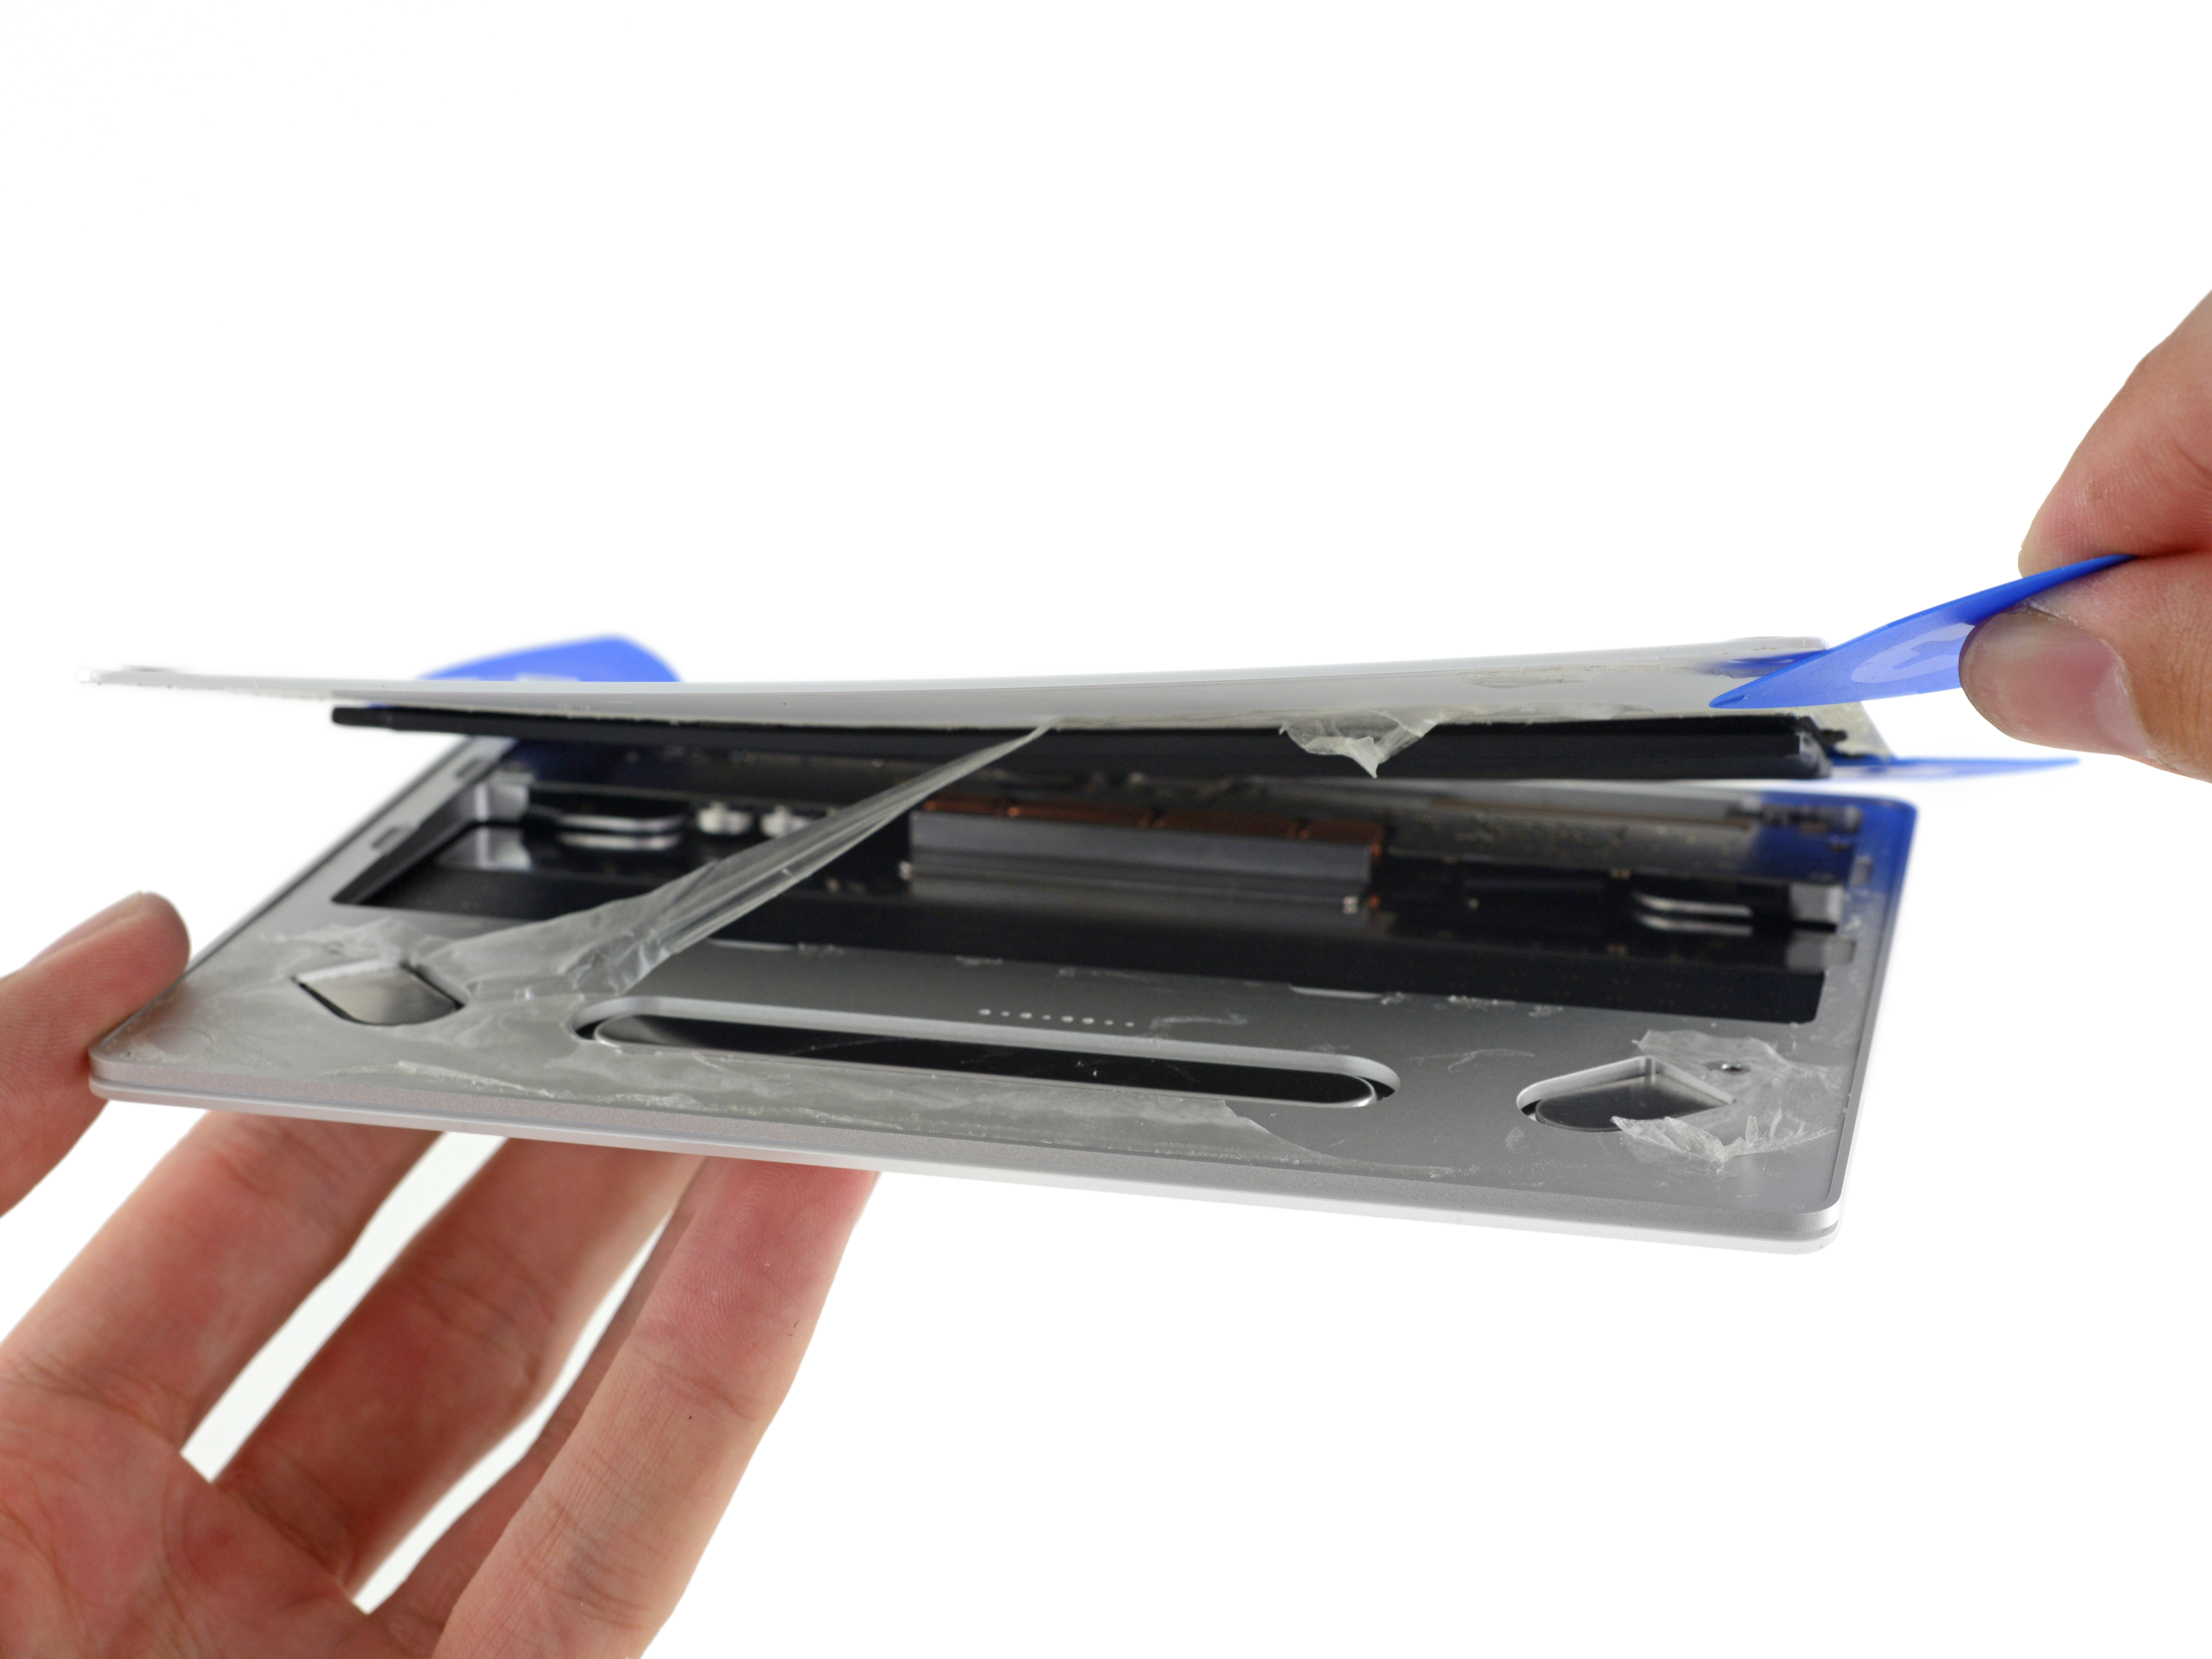
Then use a paddle to pry the bottom plate along the perimeter of the panel. We can see there is a lot of glue.
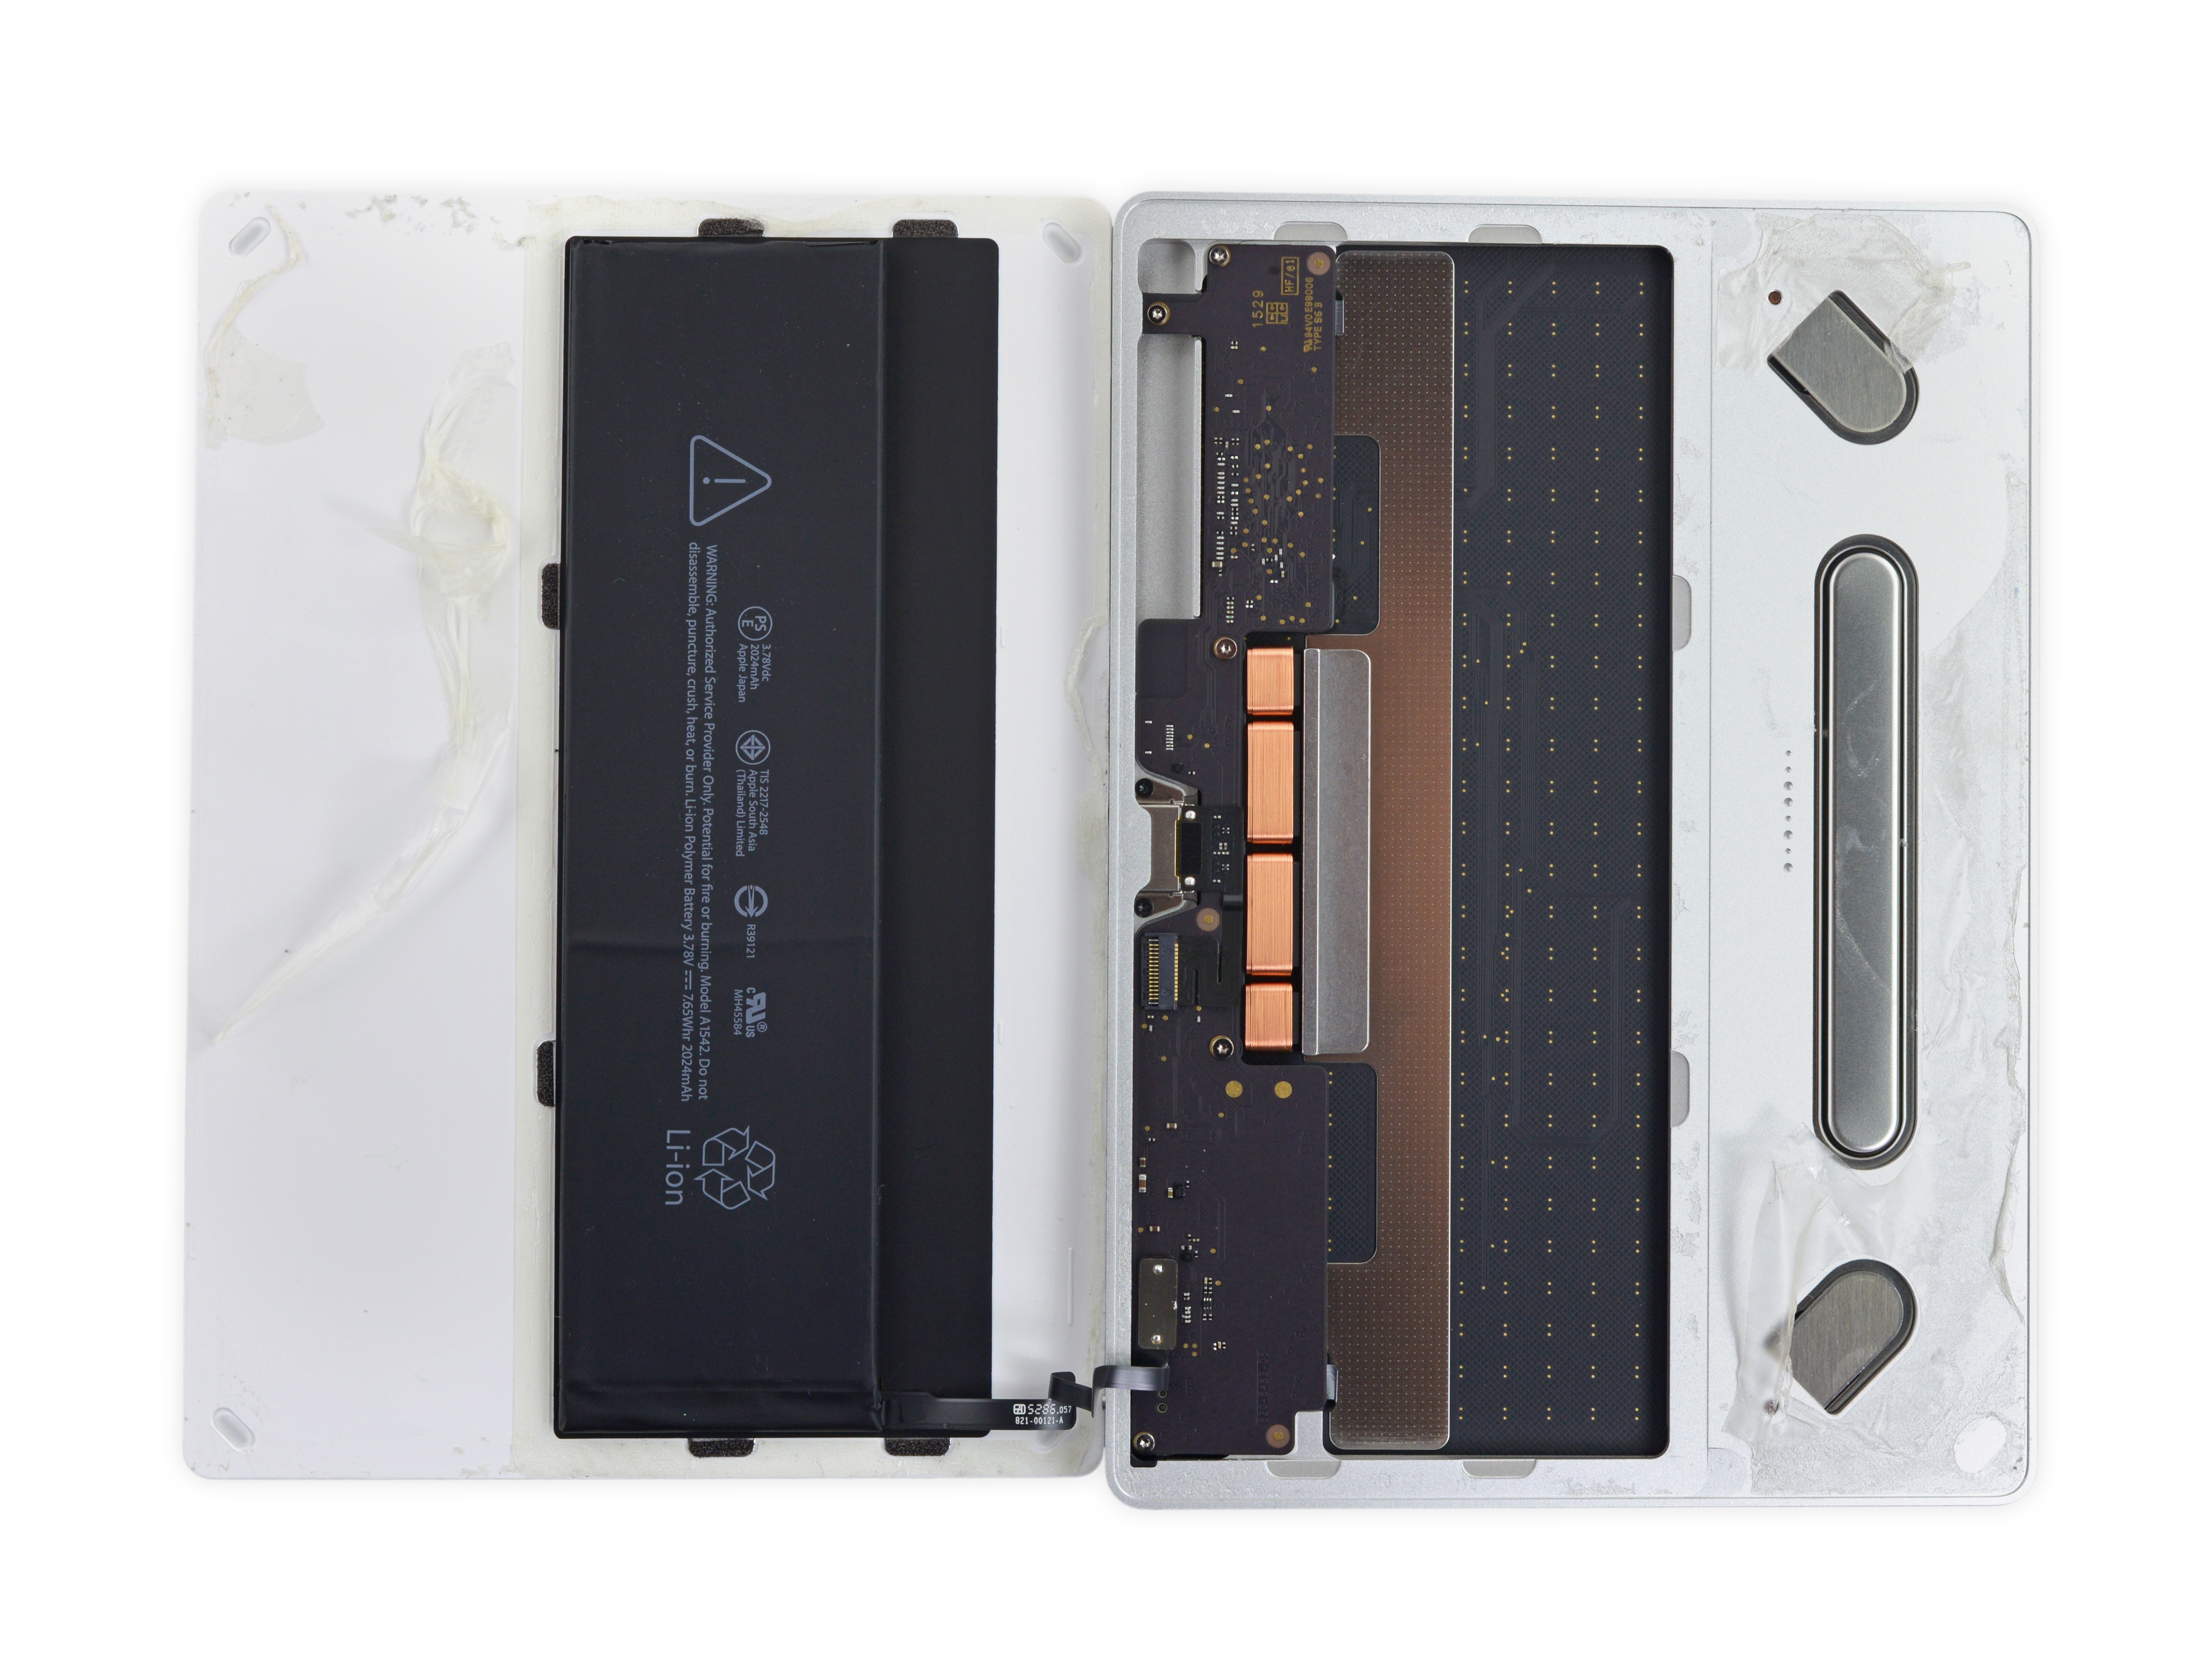
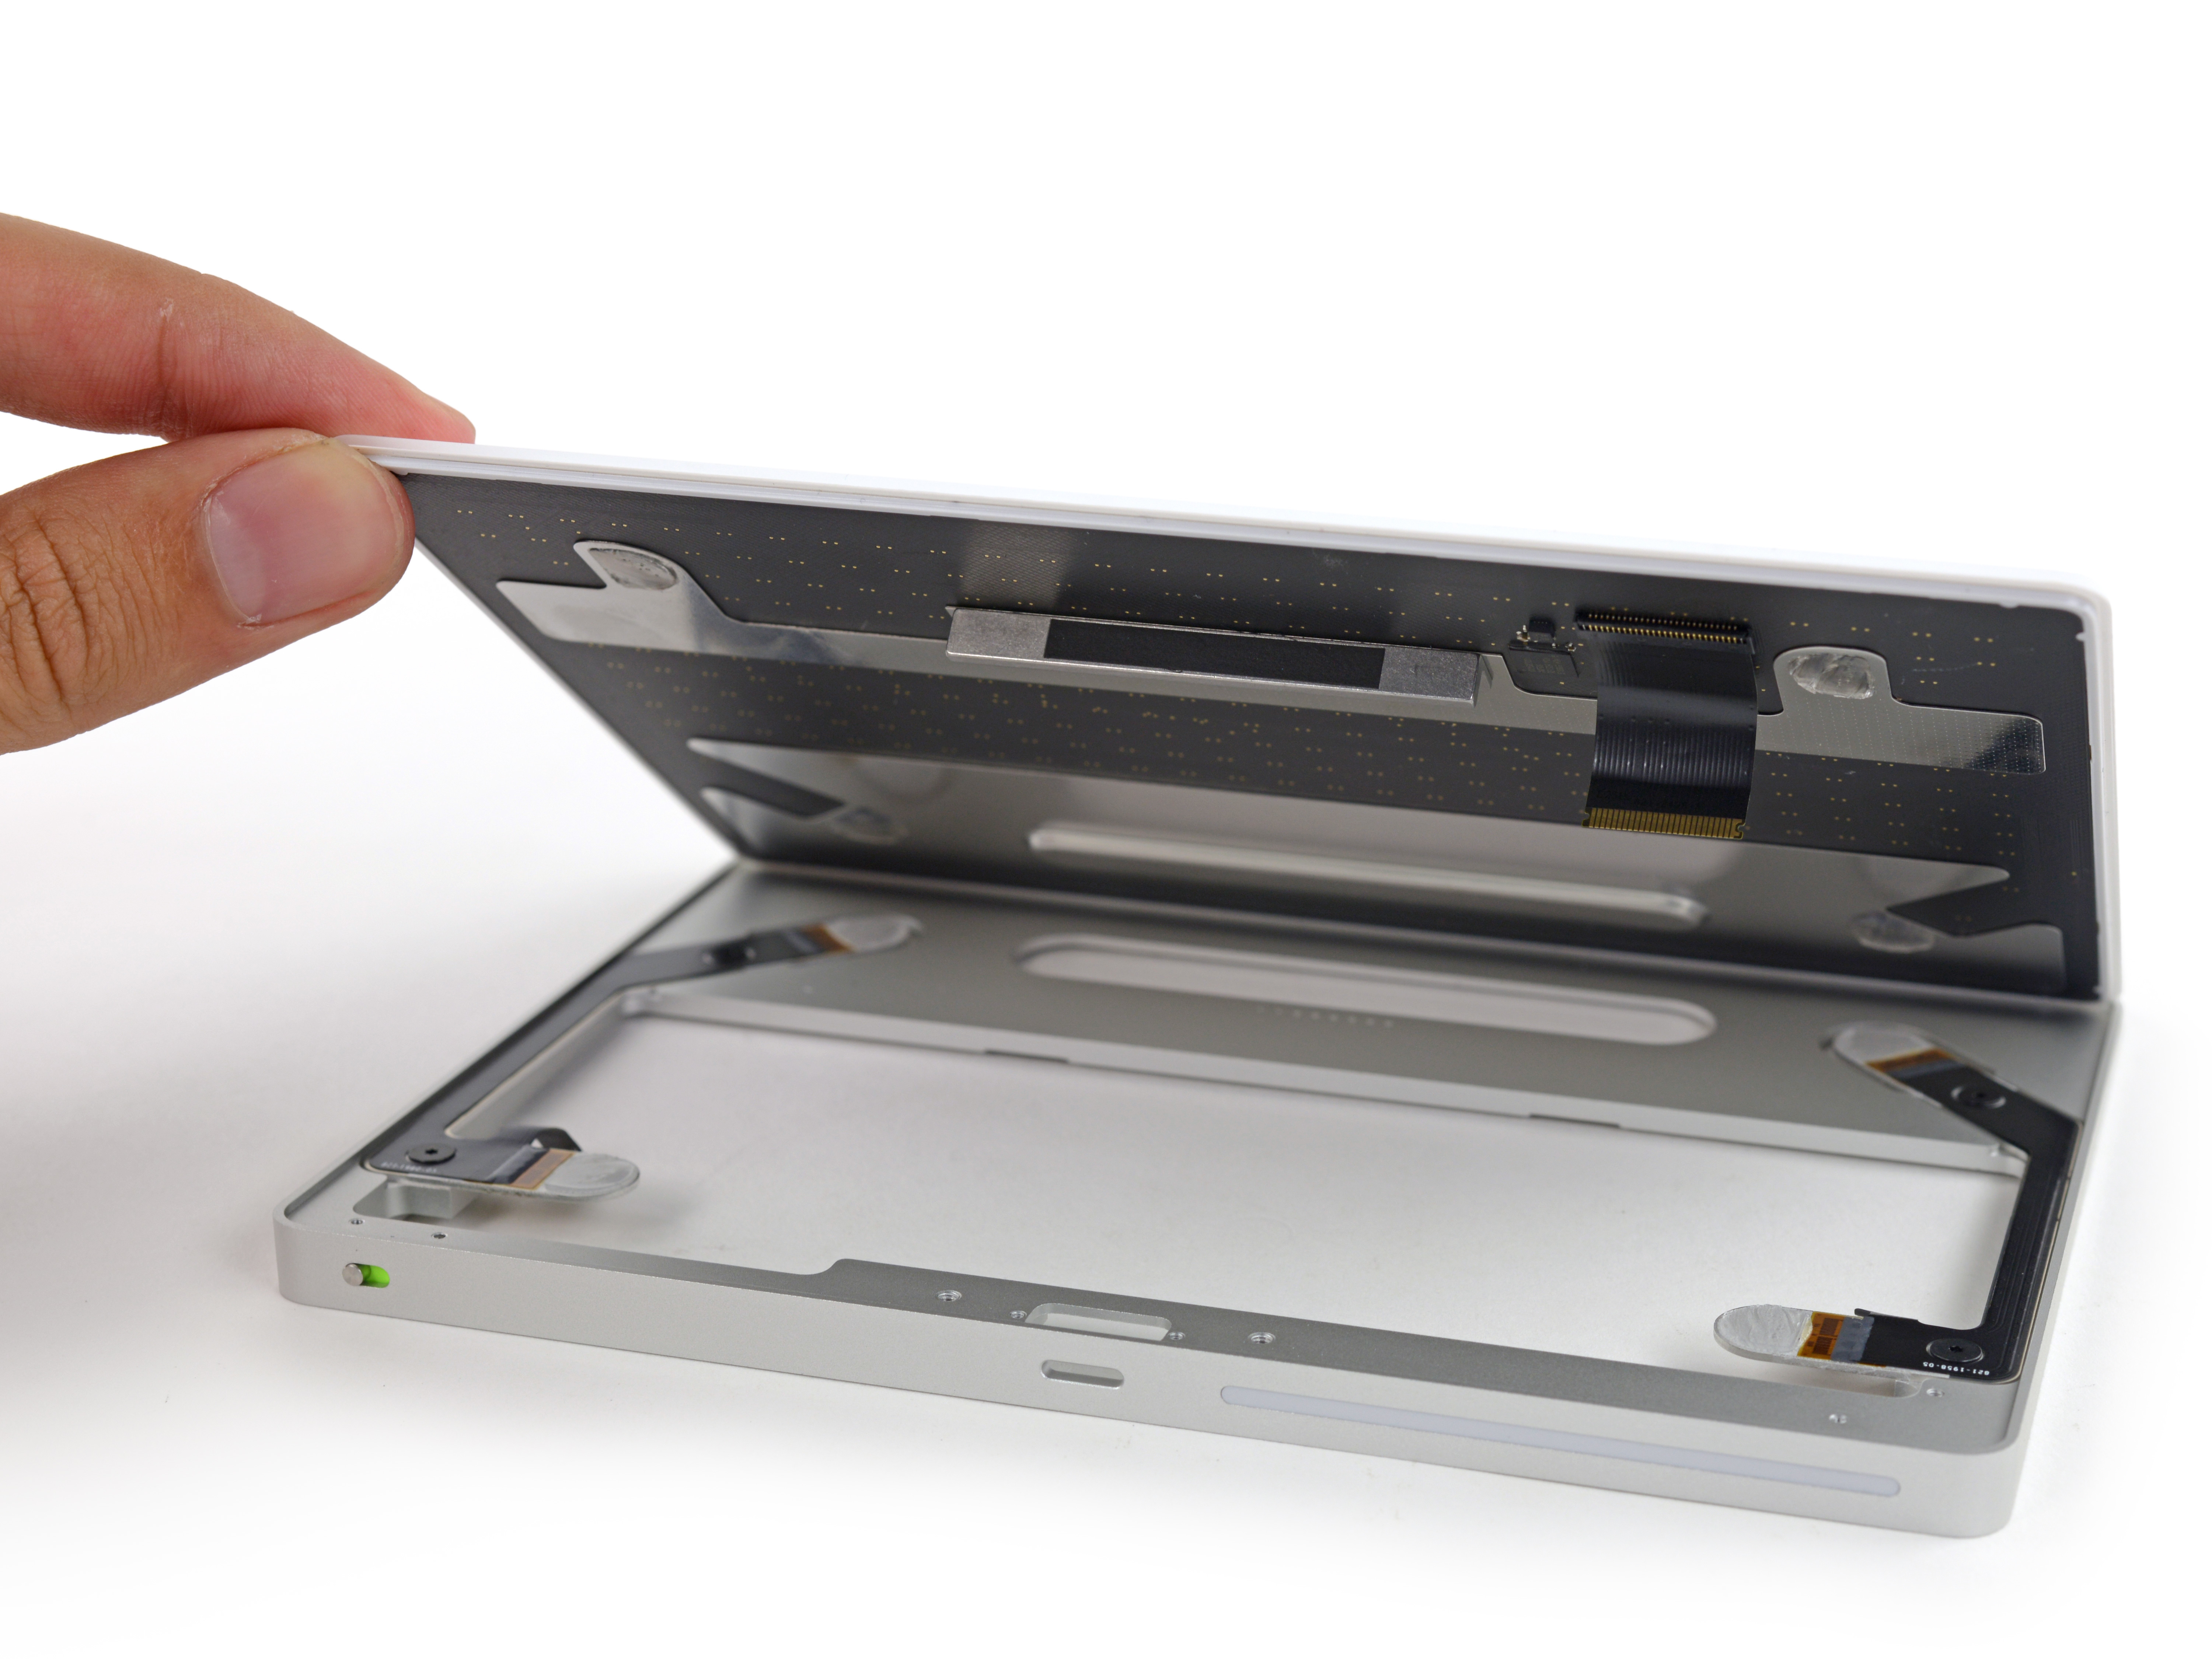
After removing the floor, you can see the internal structure. In addition to glue, there are several magnets inside the fixed floor.
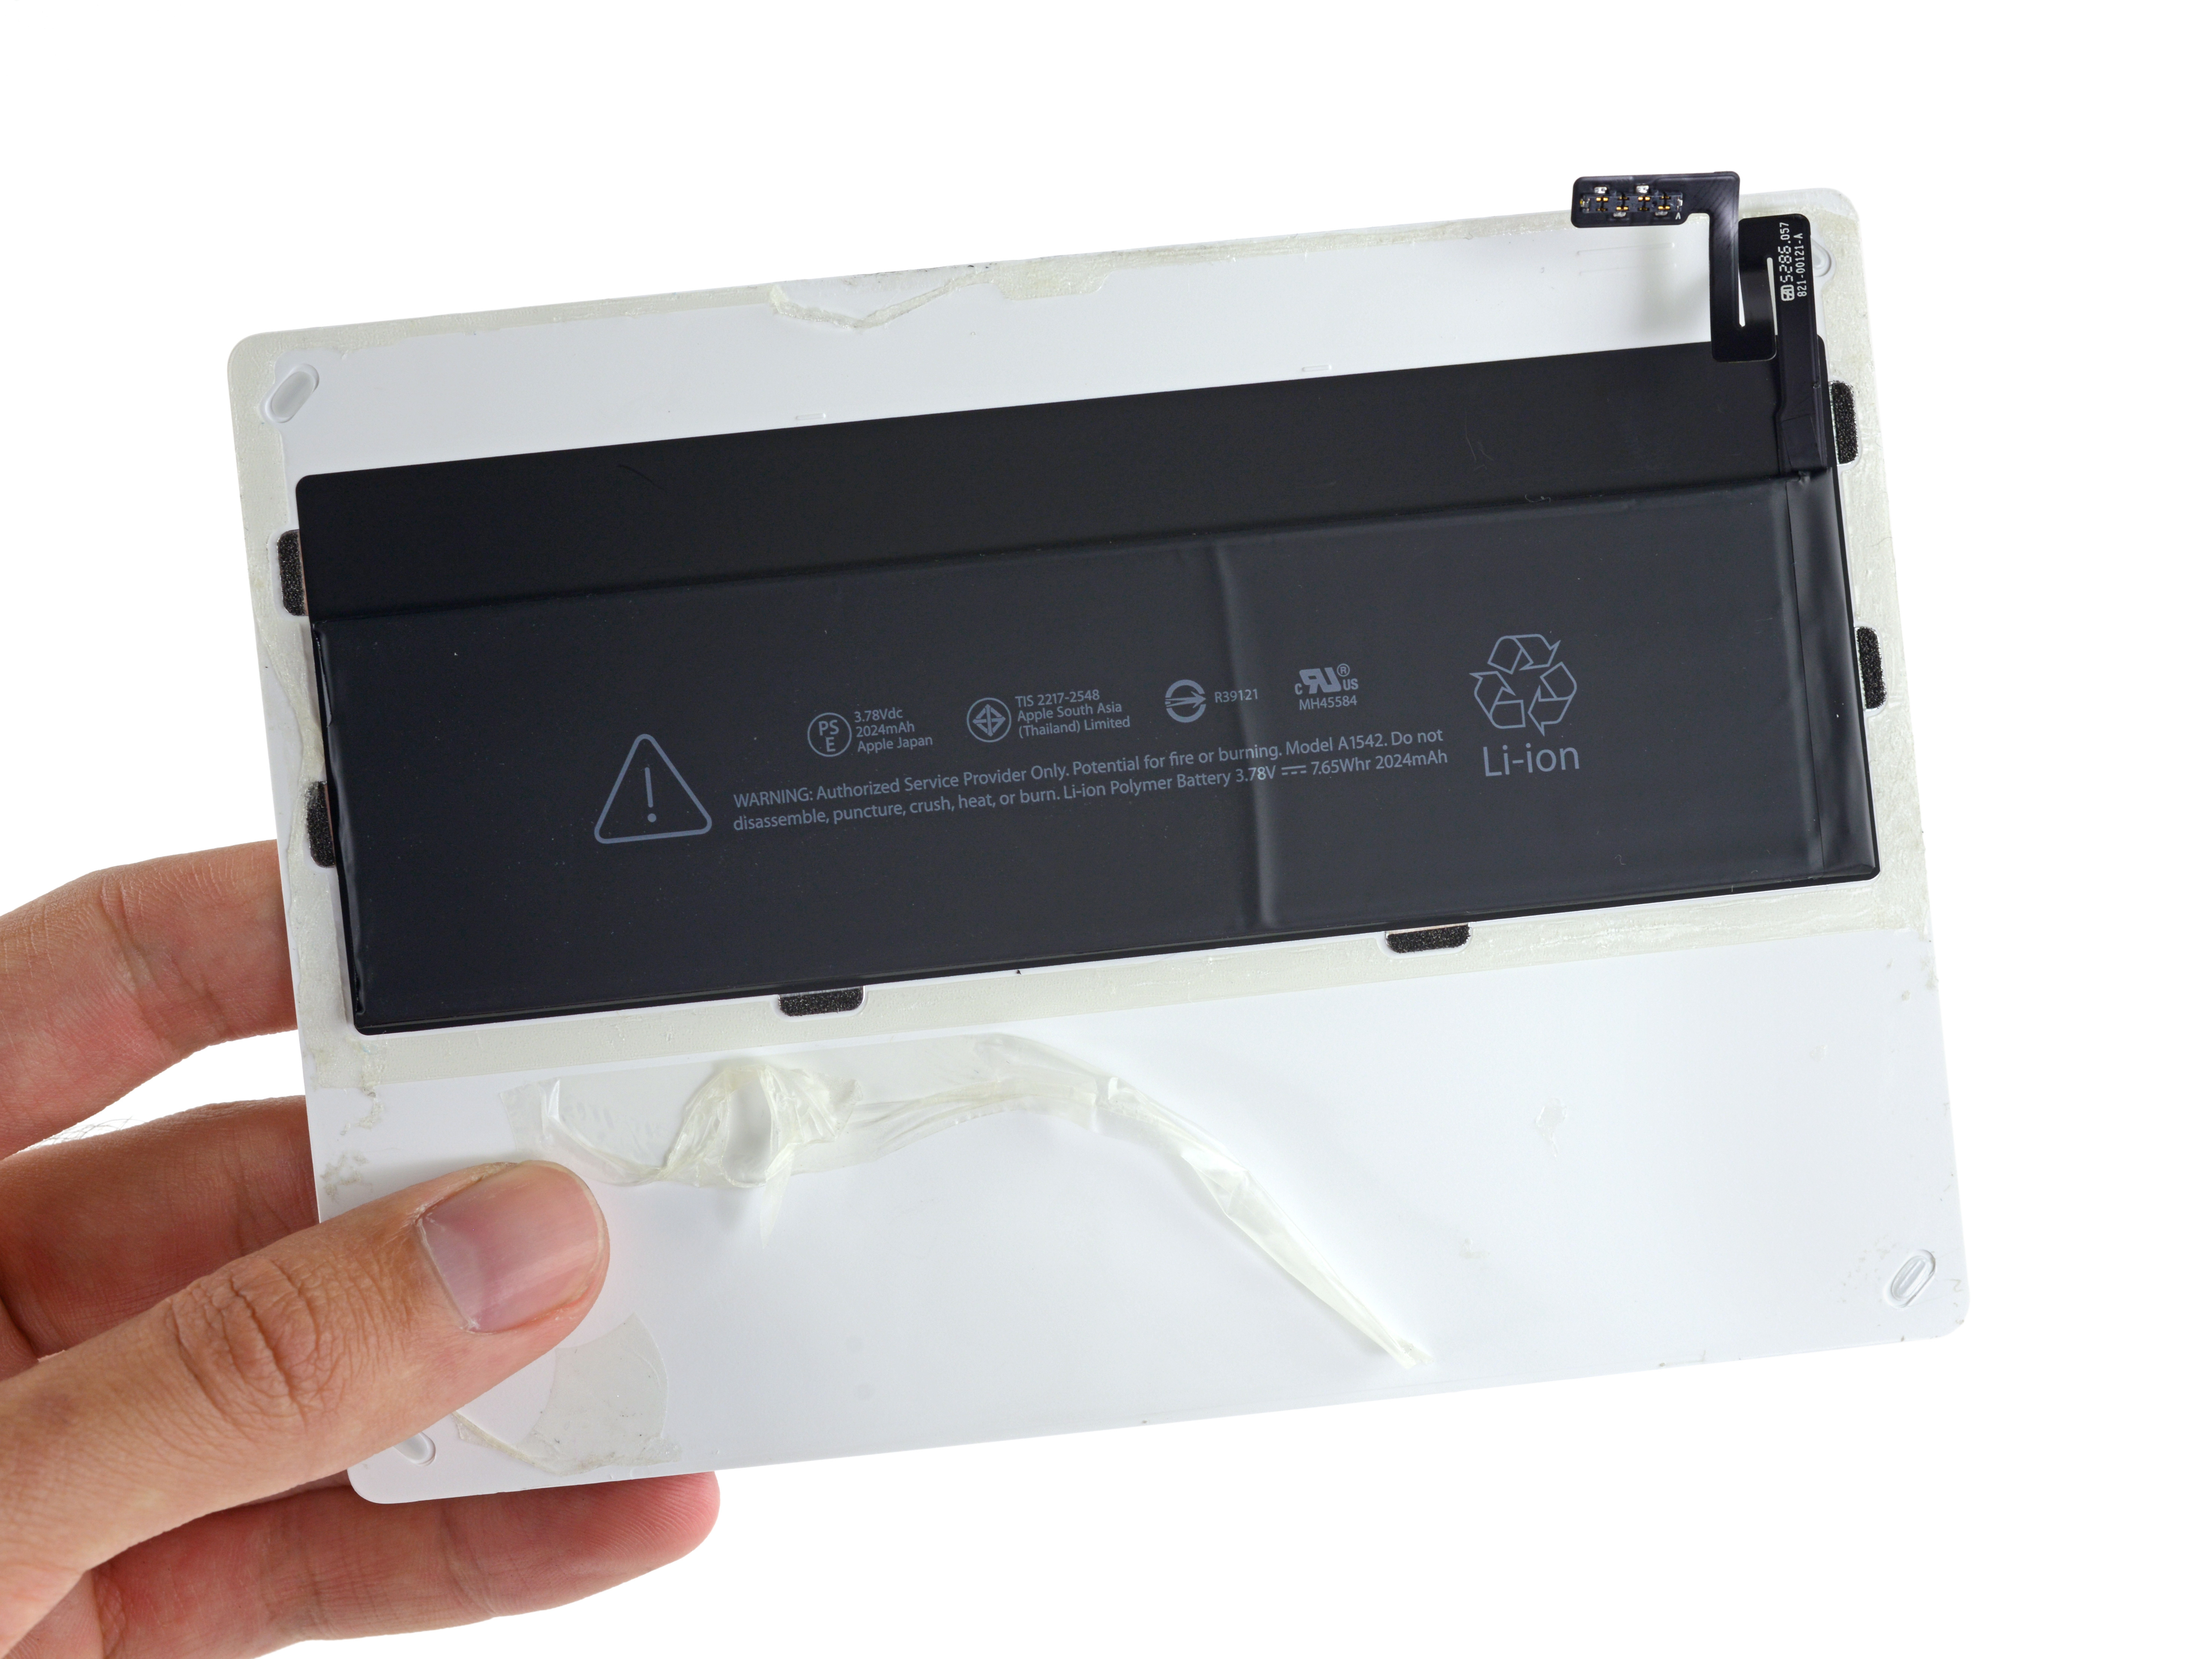
The trackpad's battery looks like the battery of the iPhone at first, this is a 3.78V 7.65Whr, namely 2024mAh lithium ion polymer battery.

We started to disassemble other parts. Remove the T3 screw that secures the Lightning connector.
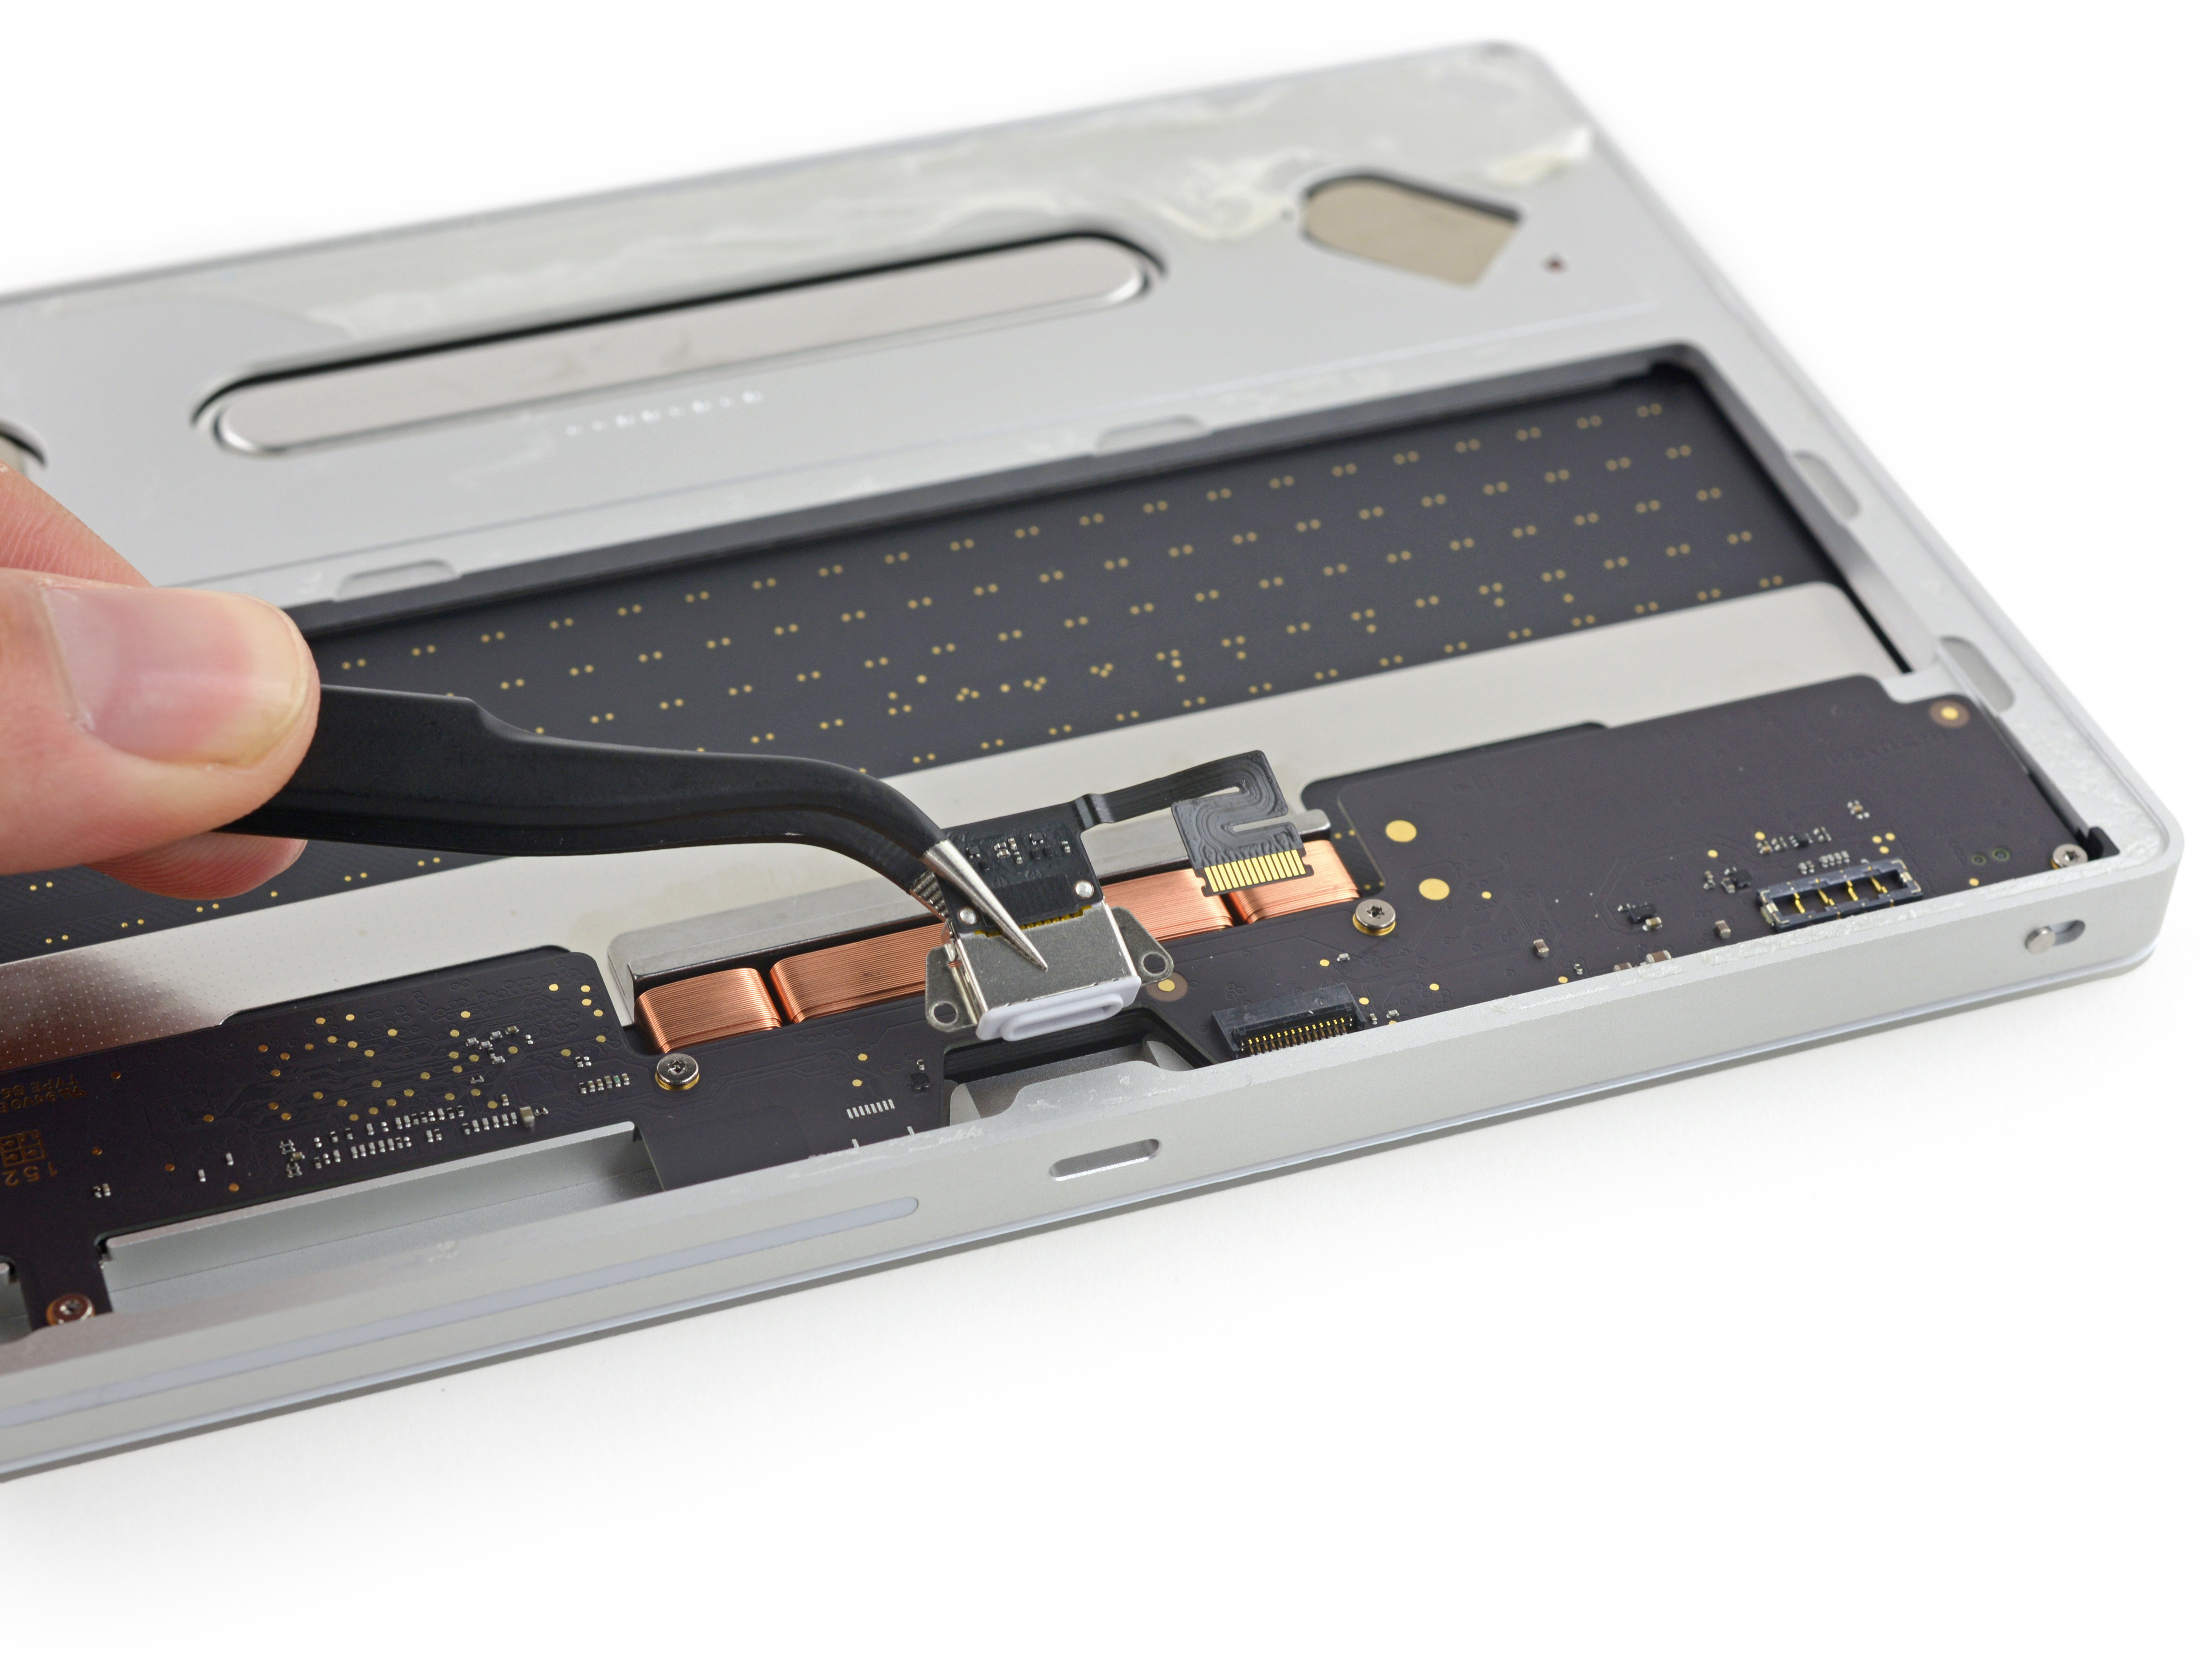
Unplug the Lihgtning interface cable to get the Lightning connector out.
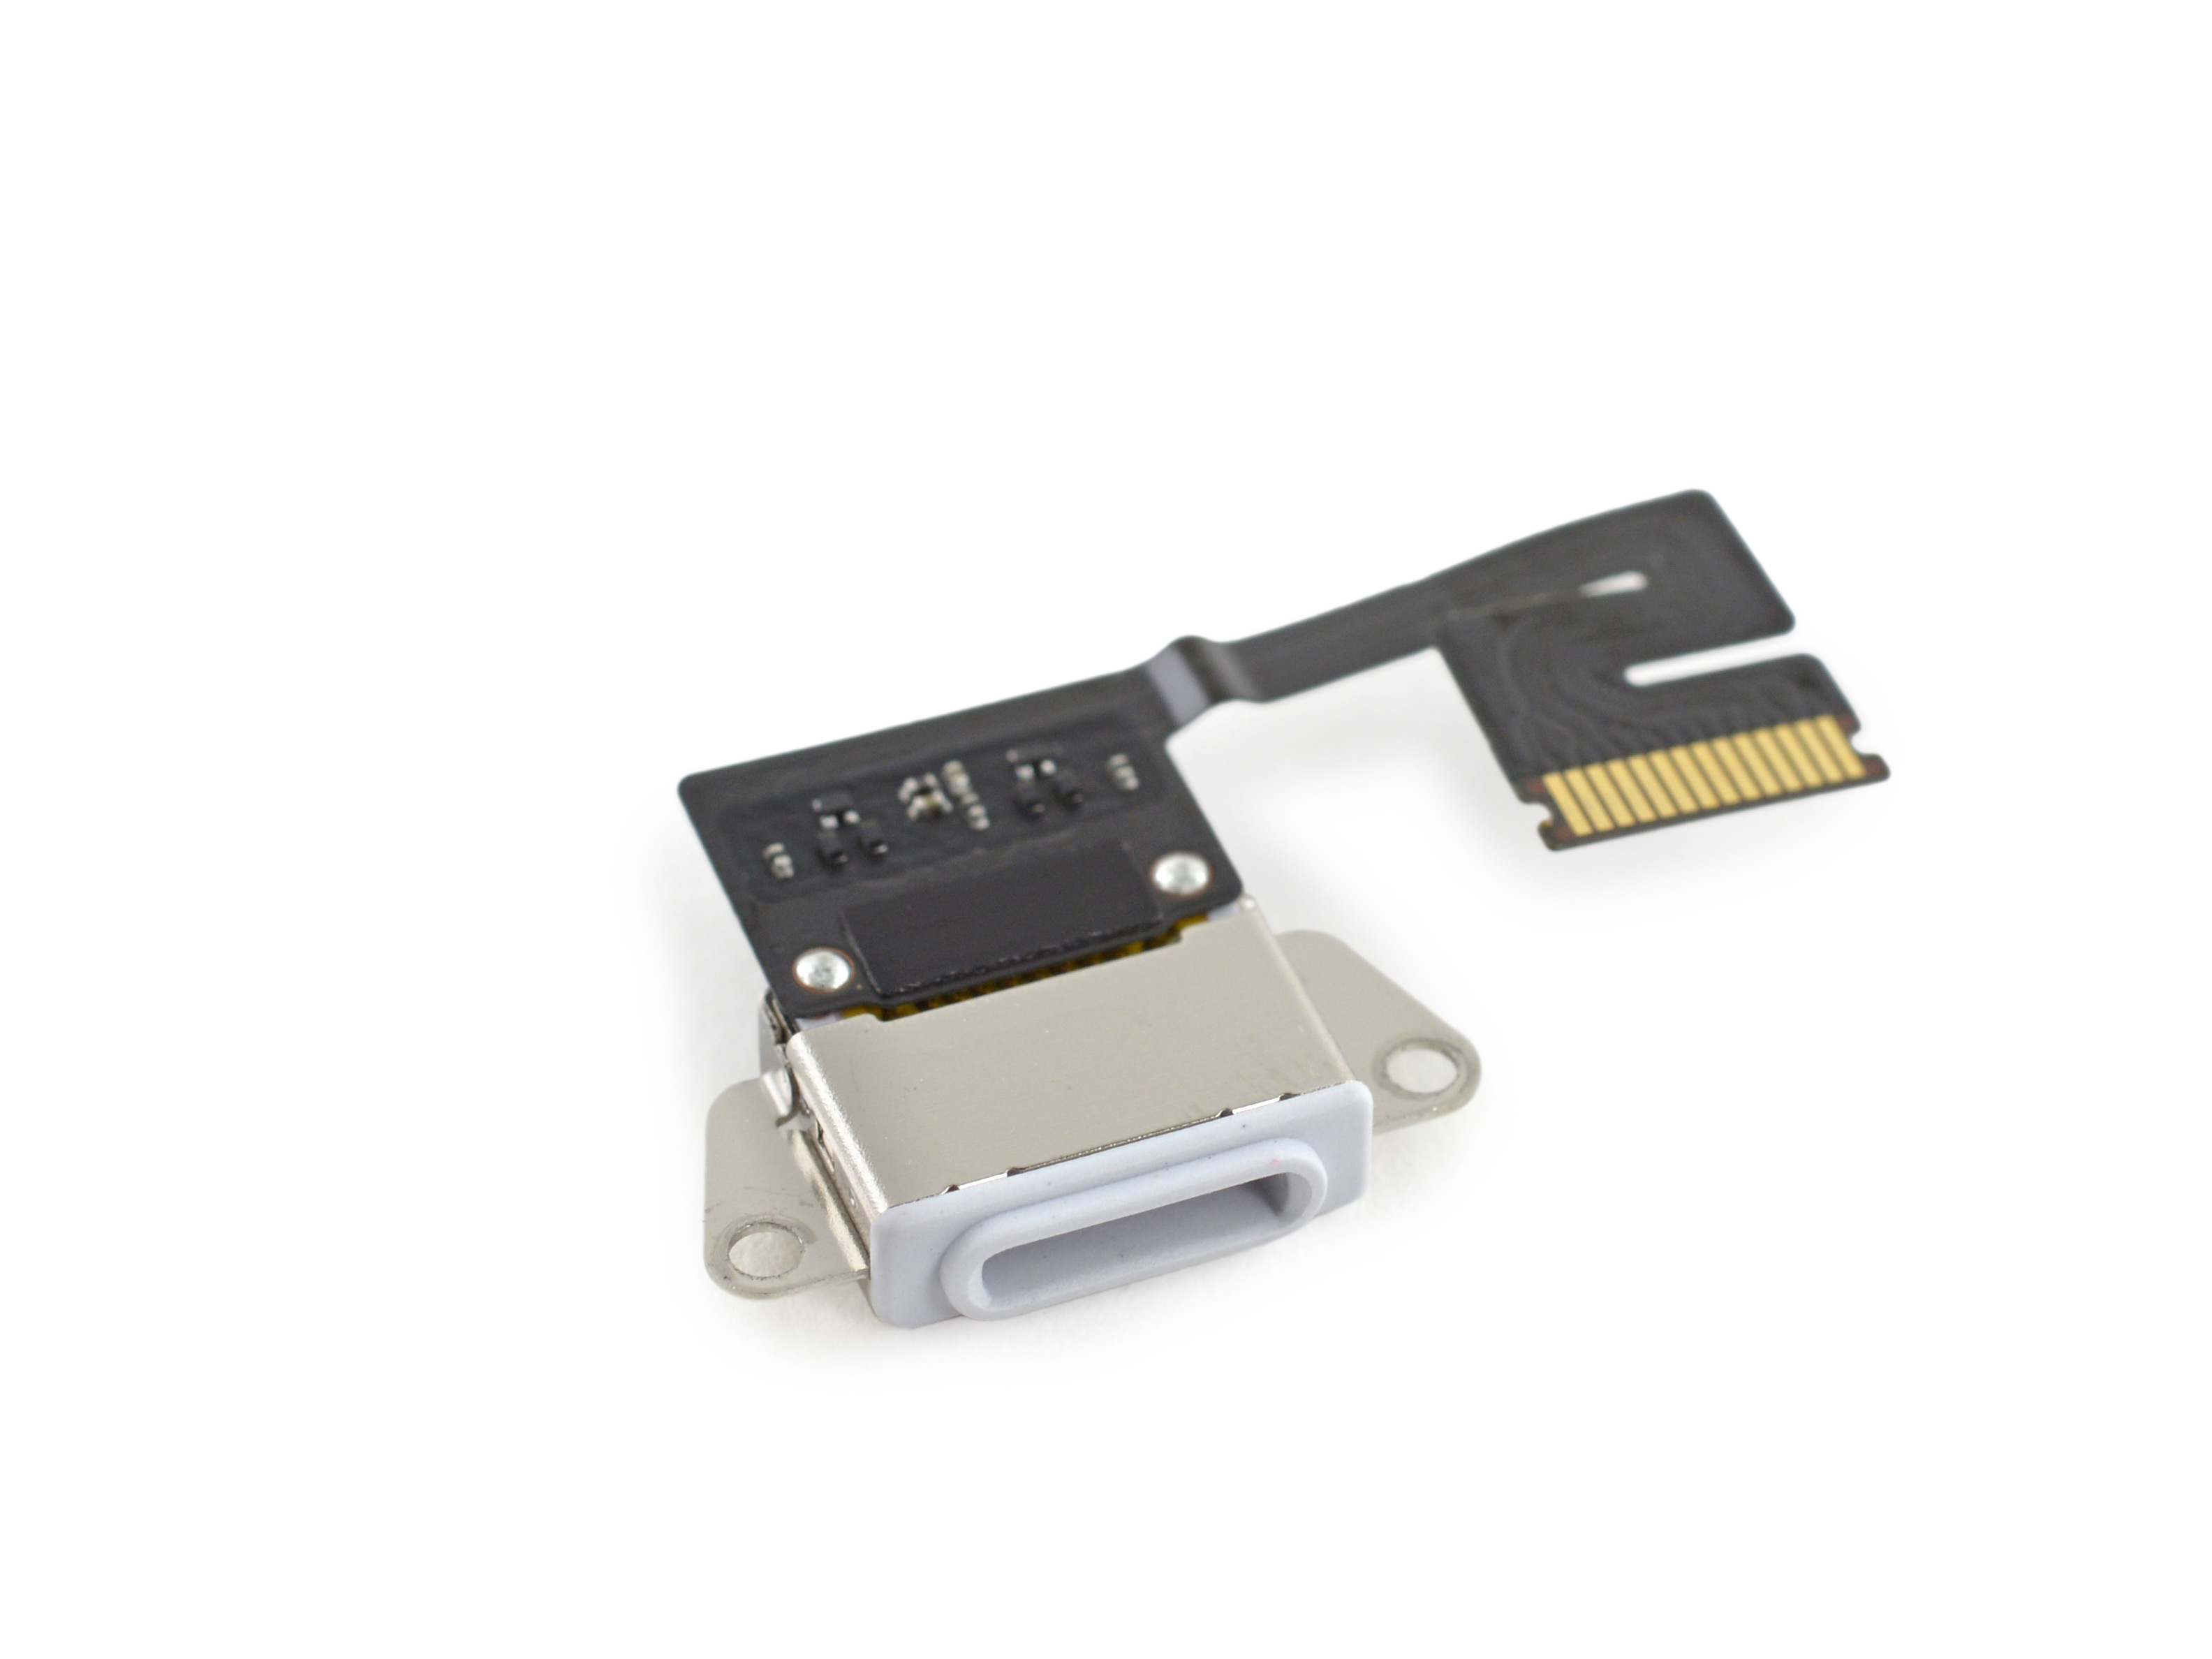
Lightning interface module.
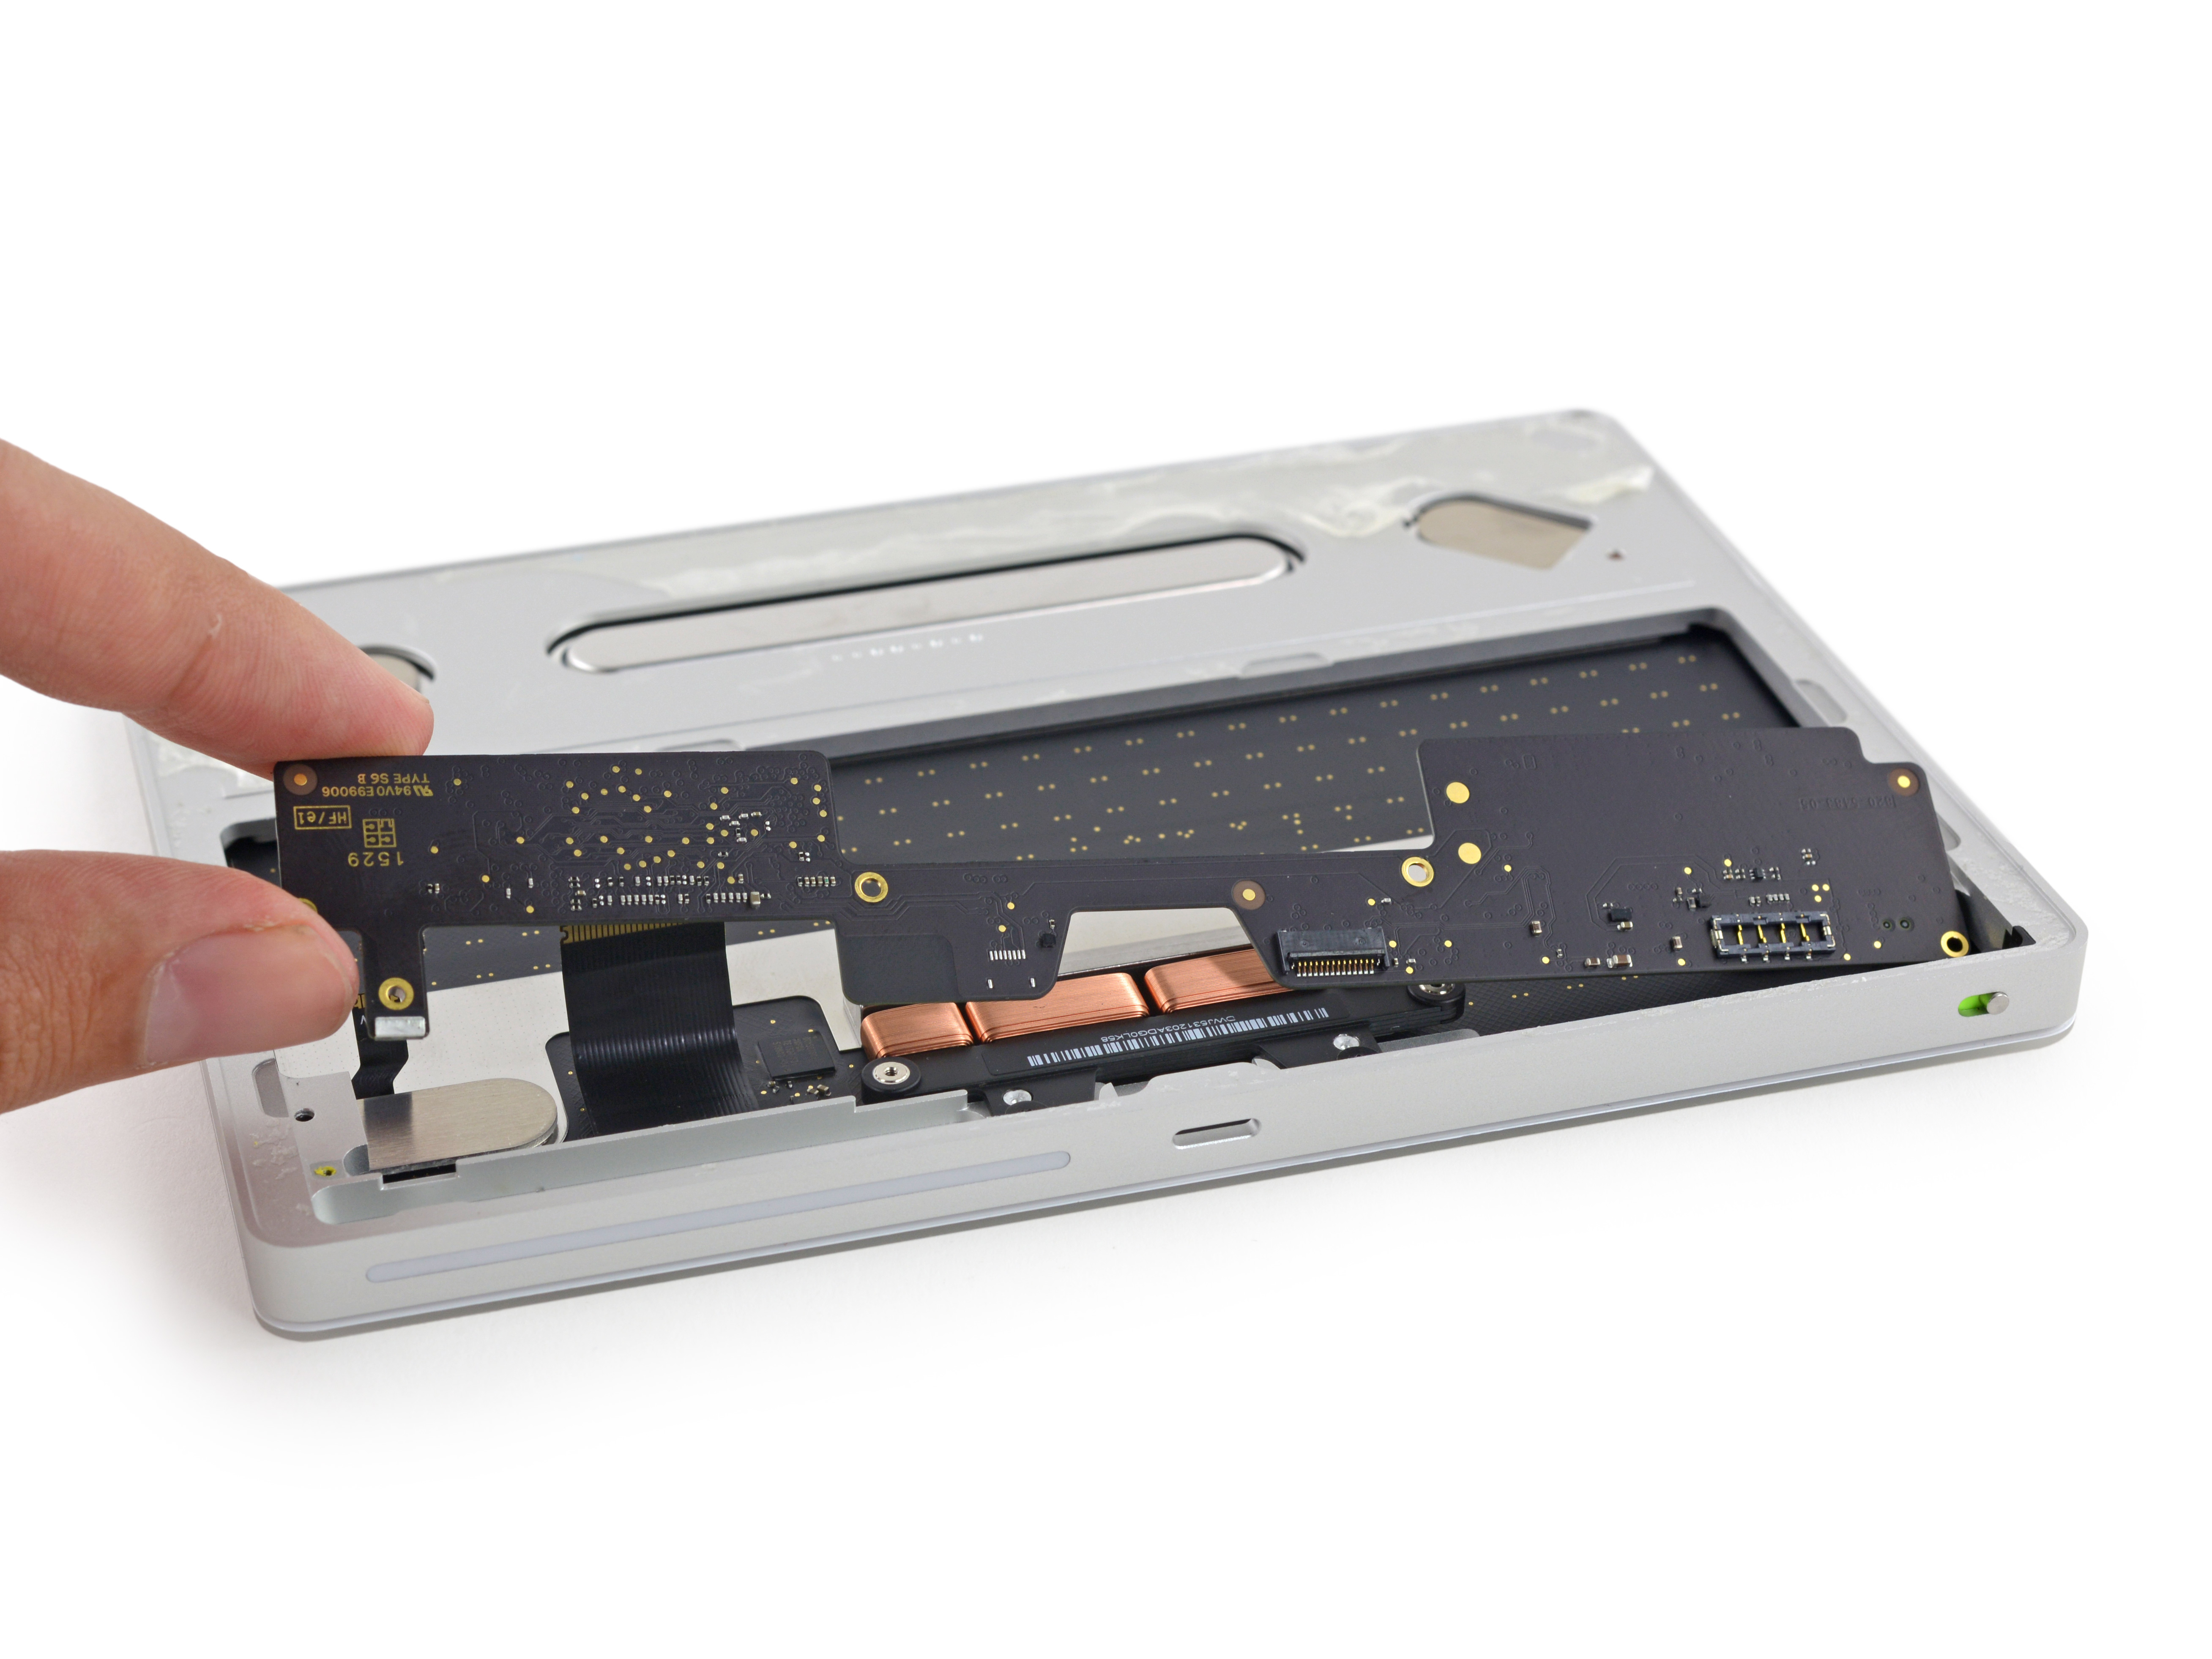
The circuit board is also fixed by a T3 screw. Unscrew the screw and remove a few wires to remove the motherboard.
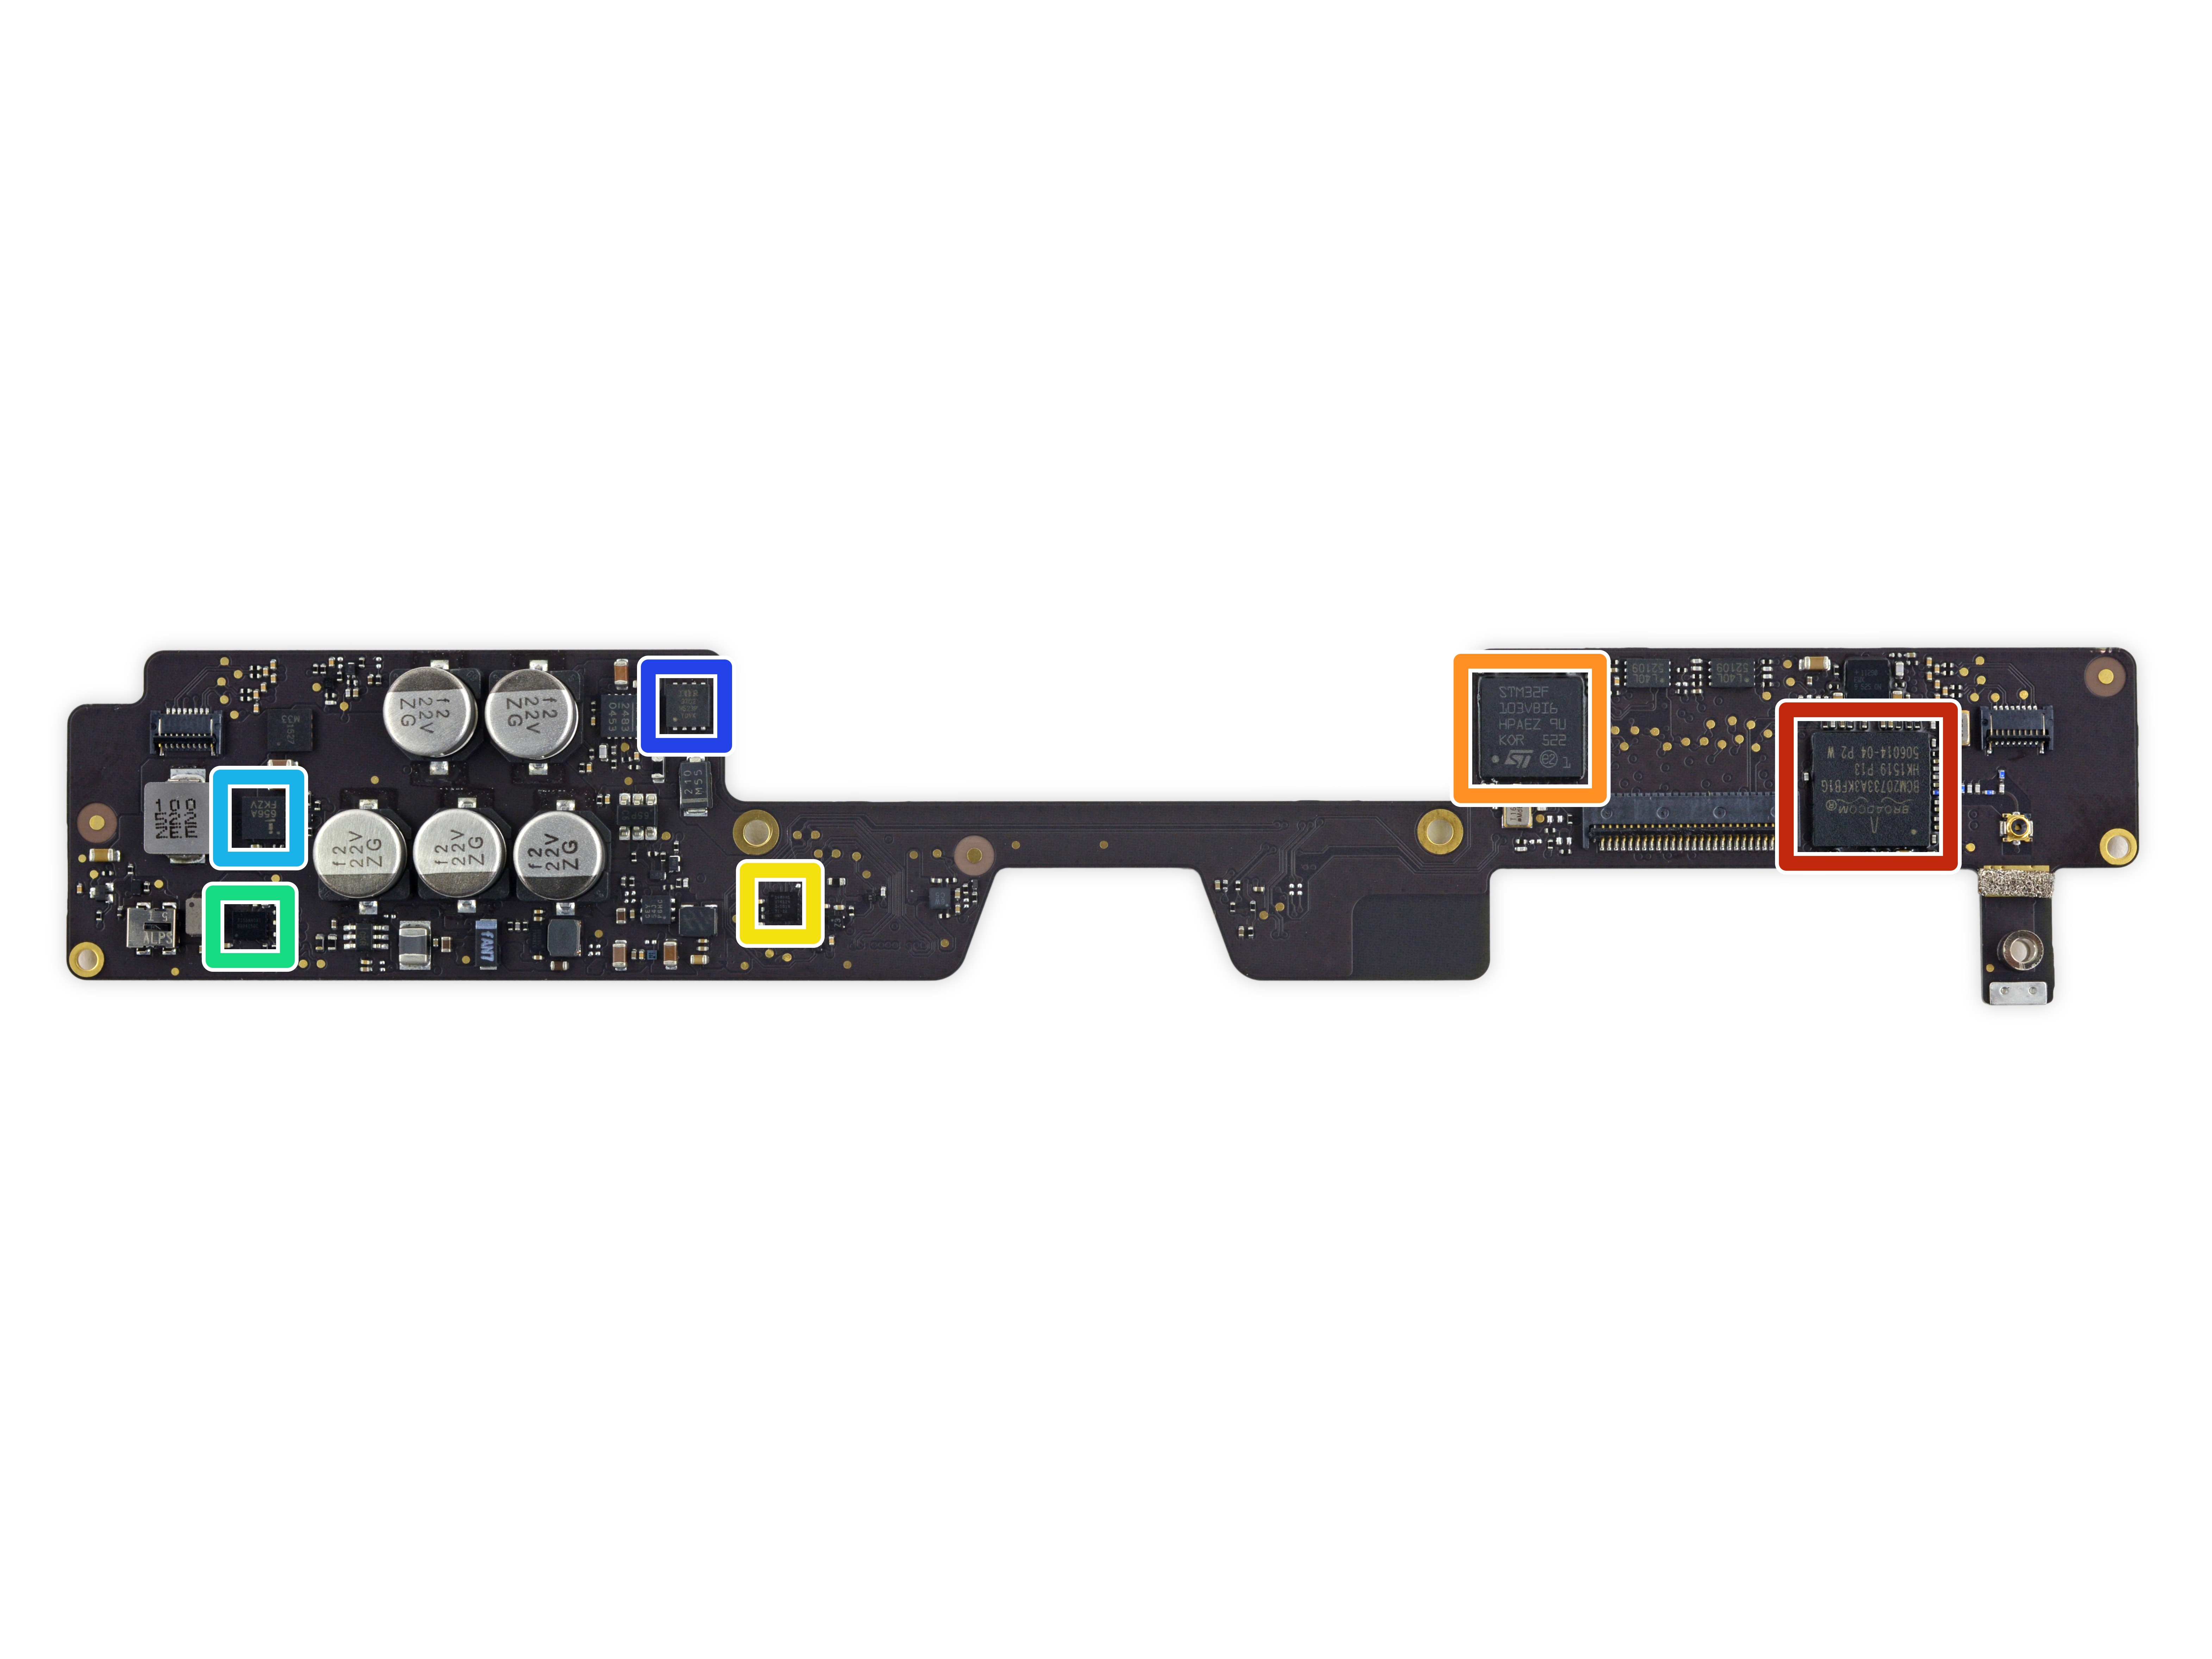
Let's take a look at the chip on the motherboard:
Red: Broadcom BCM20733 Bluetooth 3.0 Single Chip Solution
Orange: STMicroelectronics STM32F103VB 72 MHz 32-bit RISC ARM Cortex-M3 microcontroller
Yellow: NXP 1608A1 charging IC
Green: Texas Instruments BQ24250C Single-Input I2C/Satandalone Switch-Mode Li-Ion Charger
Light Blue: Intersil's ISL656A Two-Phase Power Supply Controller
Dark Blue: International Rectifier IRFH3702 N-channel HEXFET Power MOSFET
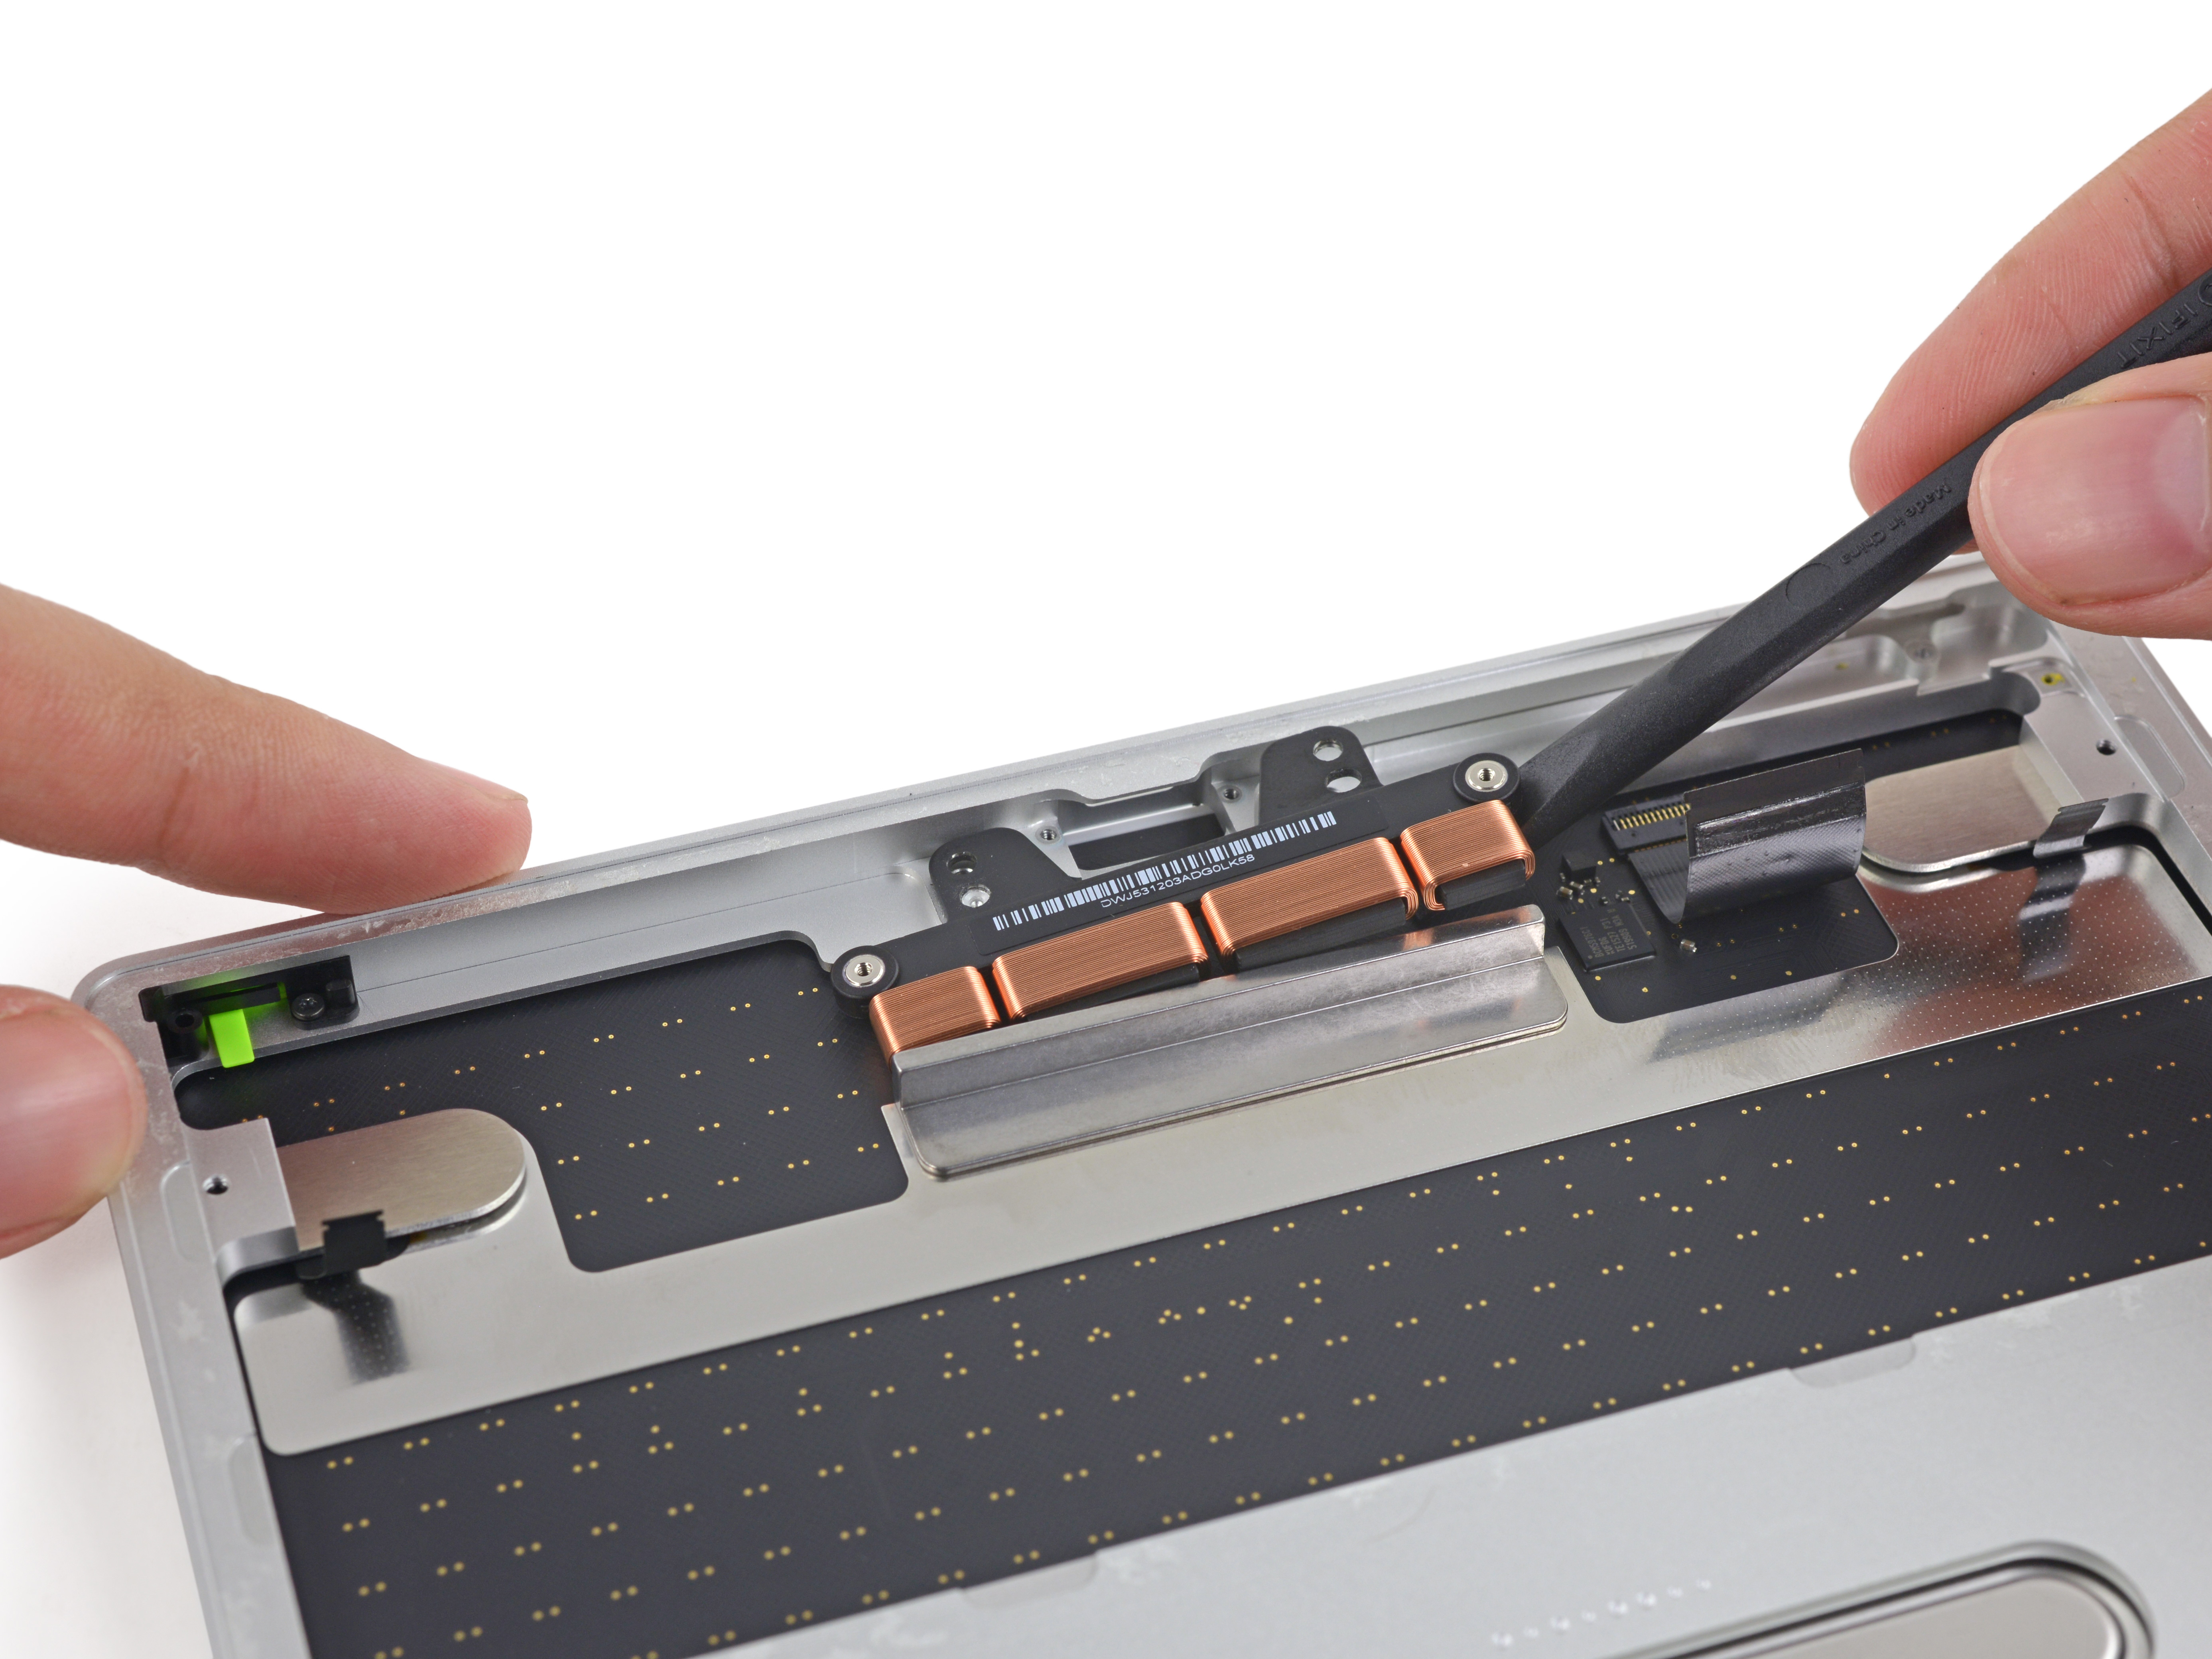
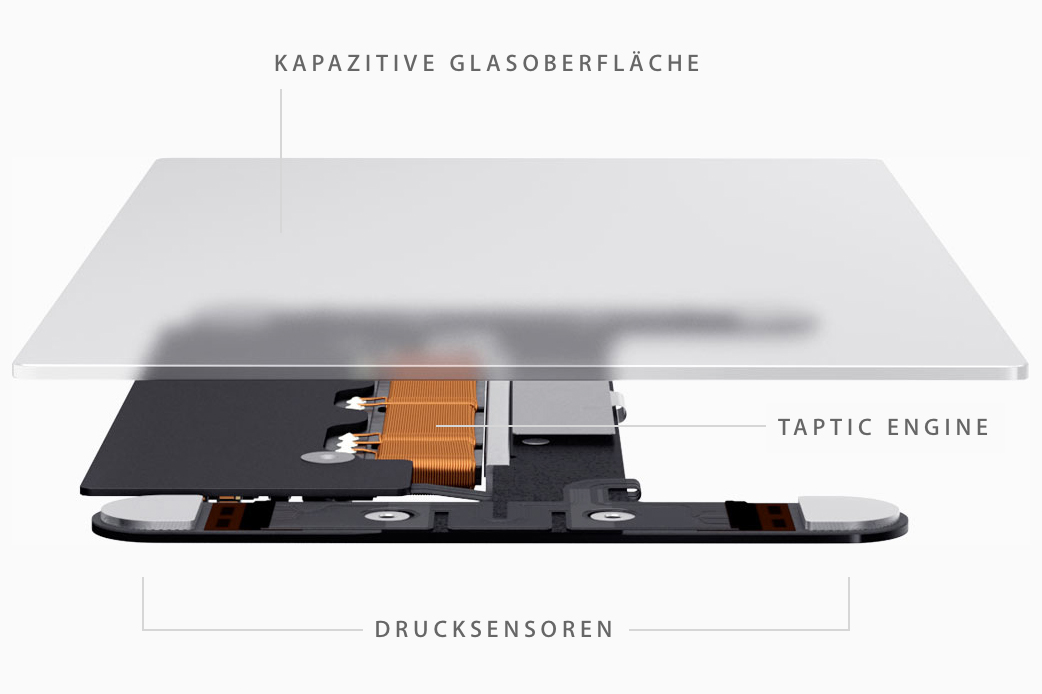
Use a crowbar to slowly pry the Taptic Engine module down. Similar to the Force Touch feature on the Macbook, the Magic Trackpad 2's panel can't be pressed, and the tactile sensation of the click comes from the vibration generated by the Taptic Engine, rather than the traditional contact switch.

The Taptic Engine looks very similar to the Retina Macbook Pro.
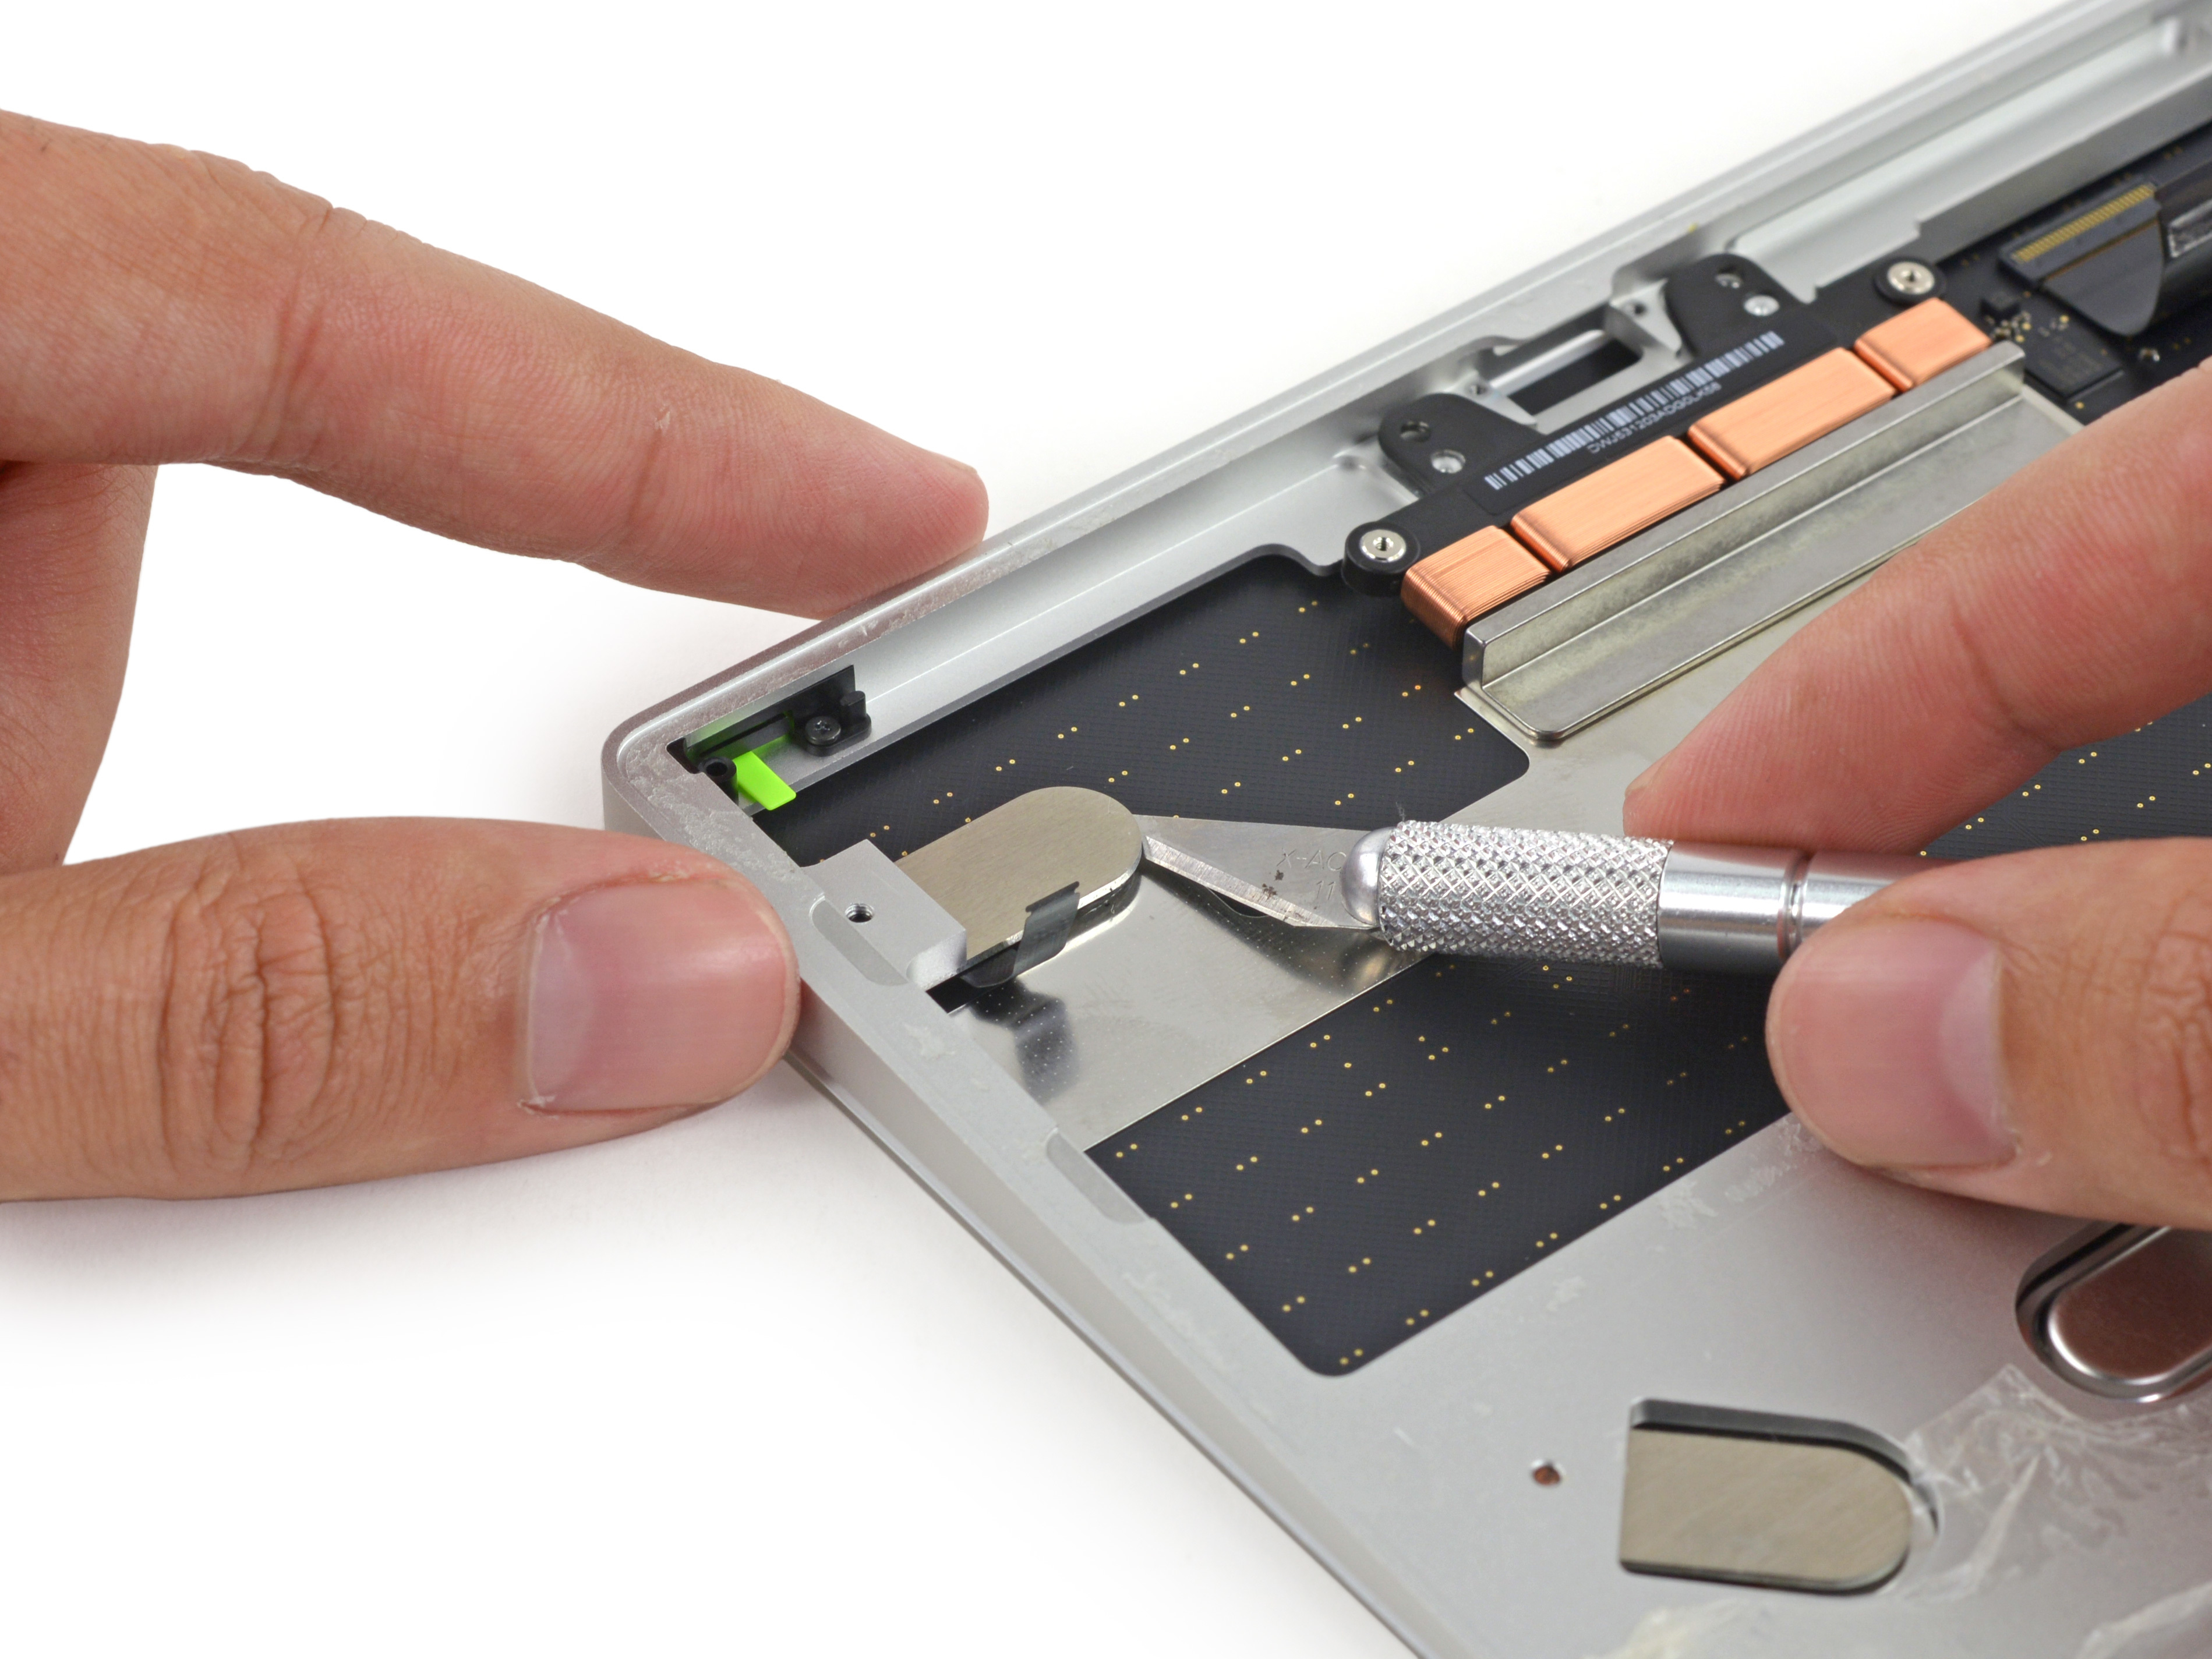
The touch panel is glued onto the four metal spring clips on the middle frame. We use a blade to separate the glue.
Remove the touch panel.
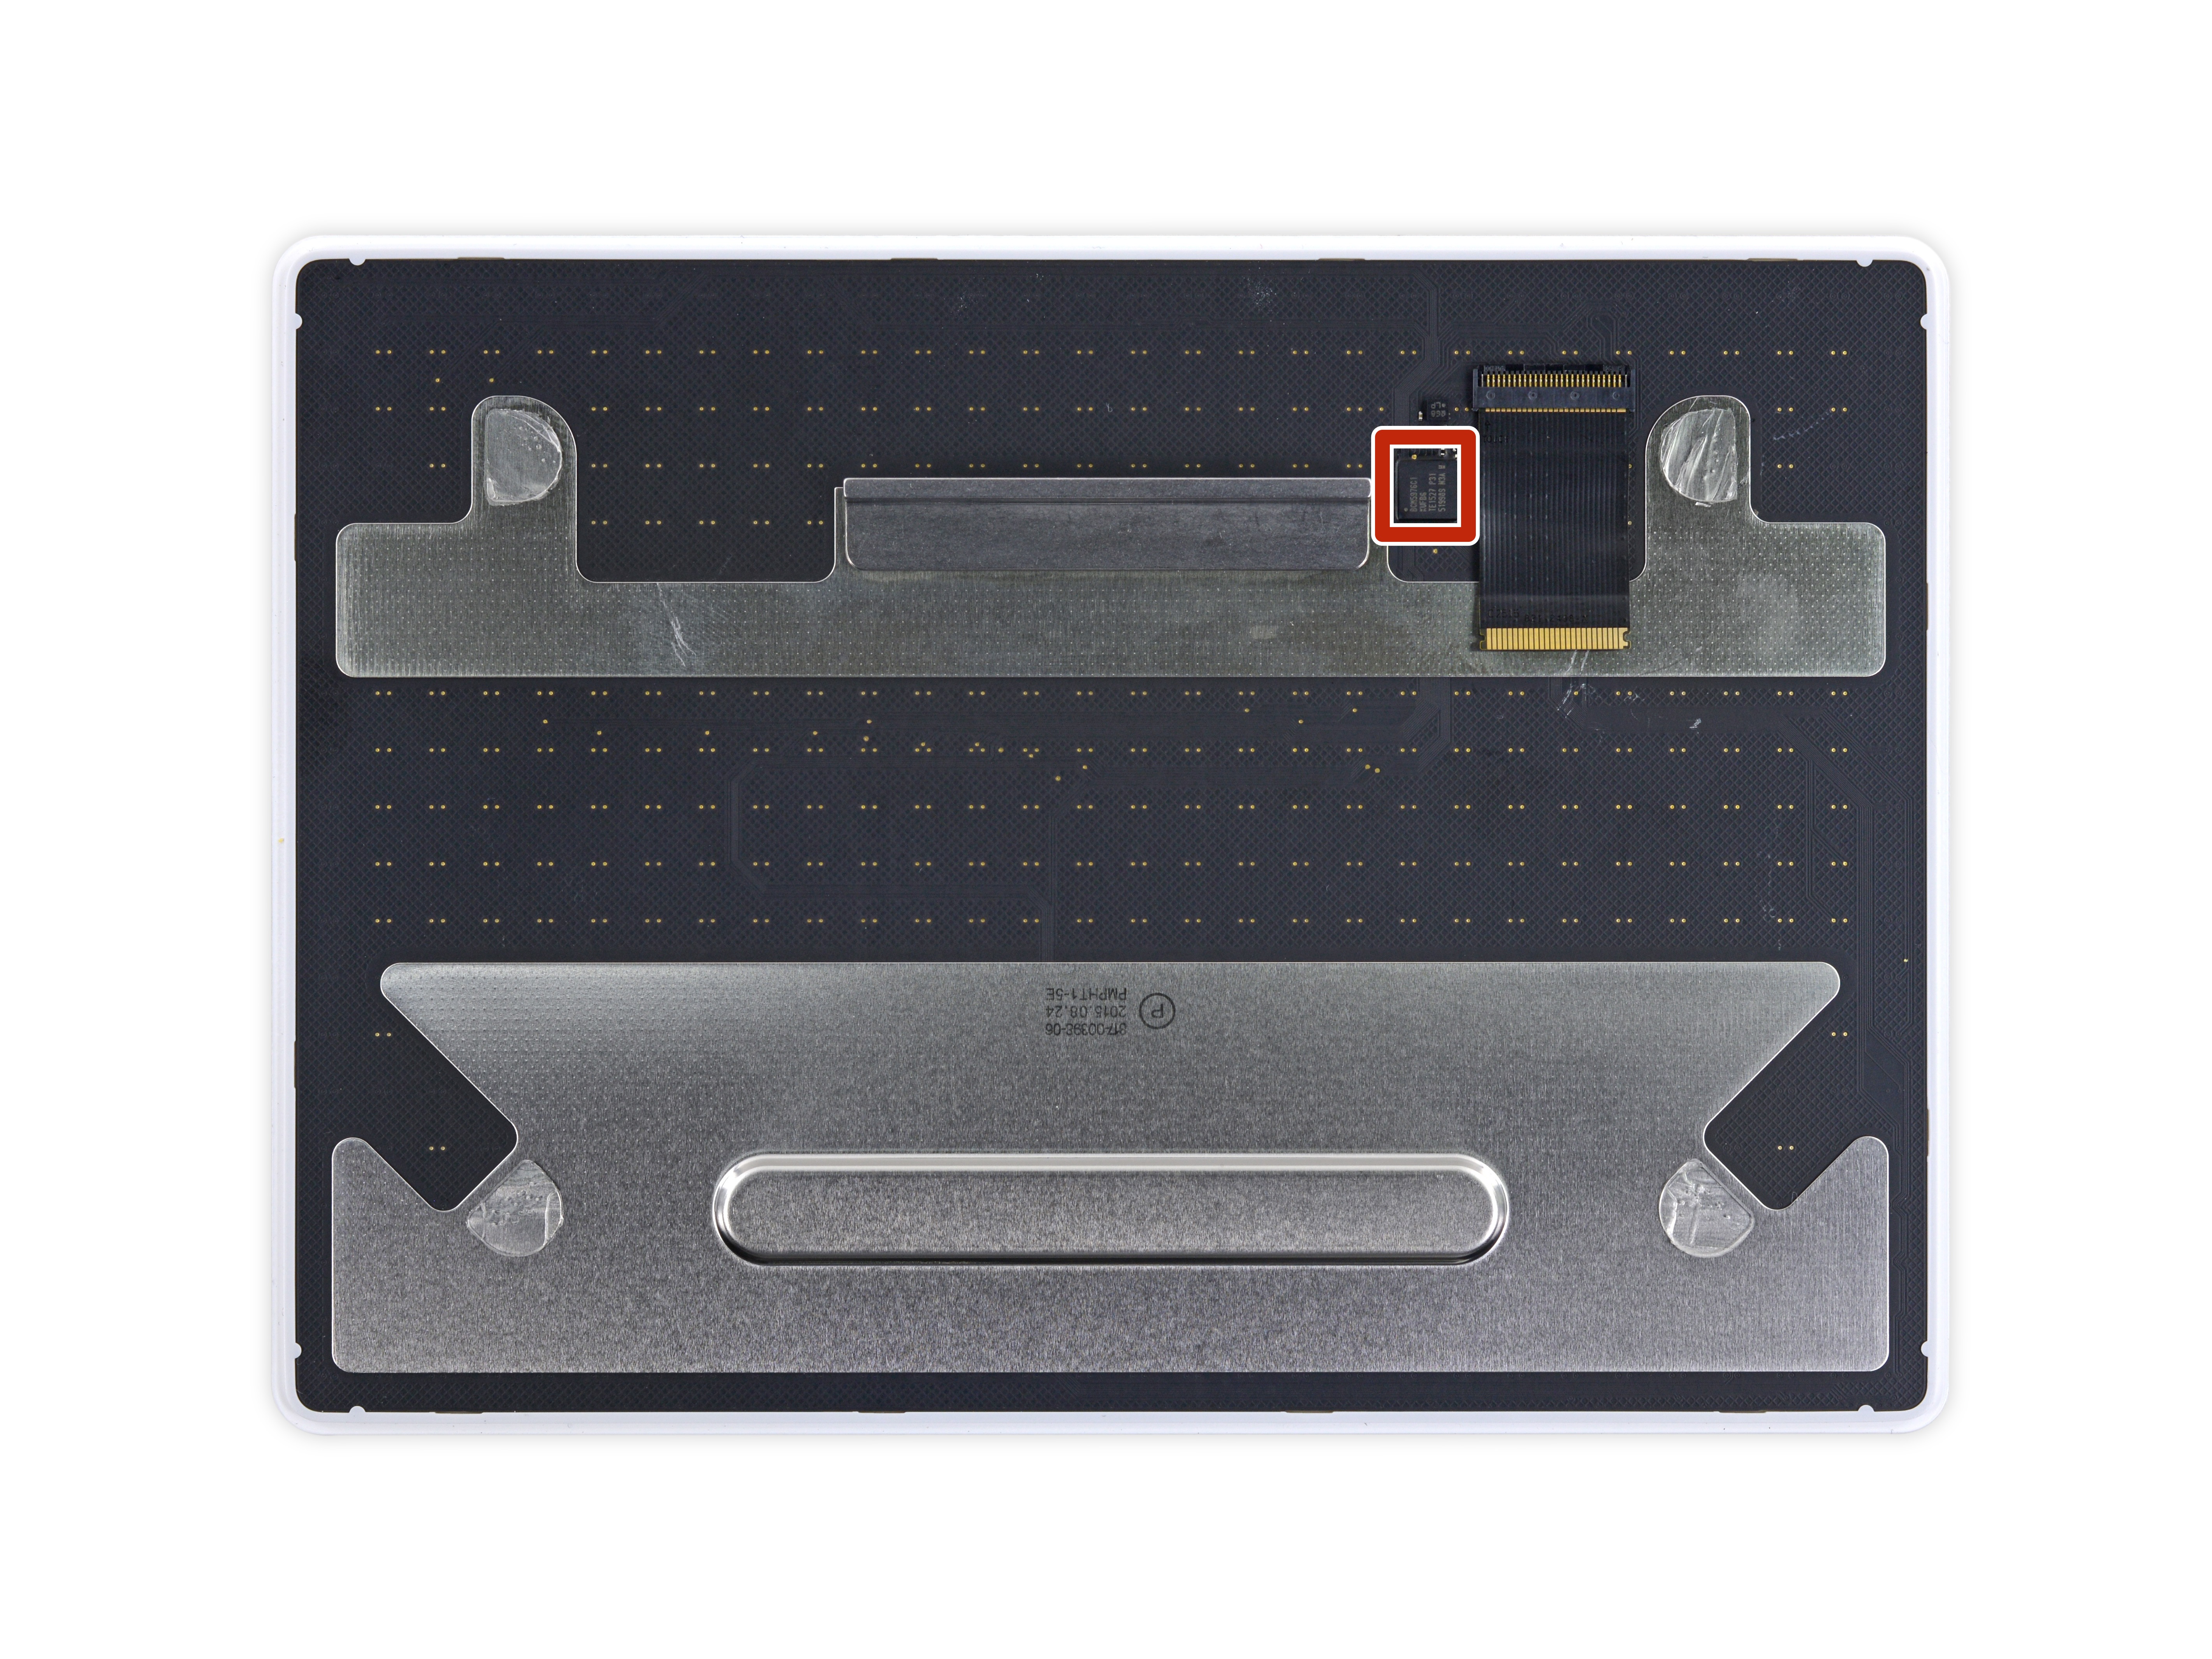
There is only one chip on the back of the touch panel and the model is Broadcom BCM5976 touch control chip.

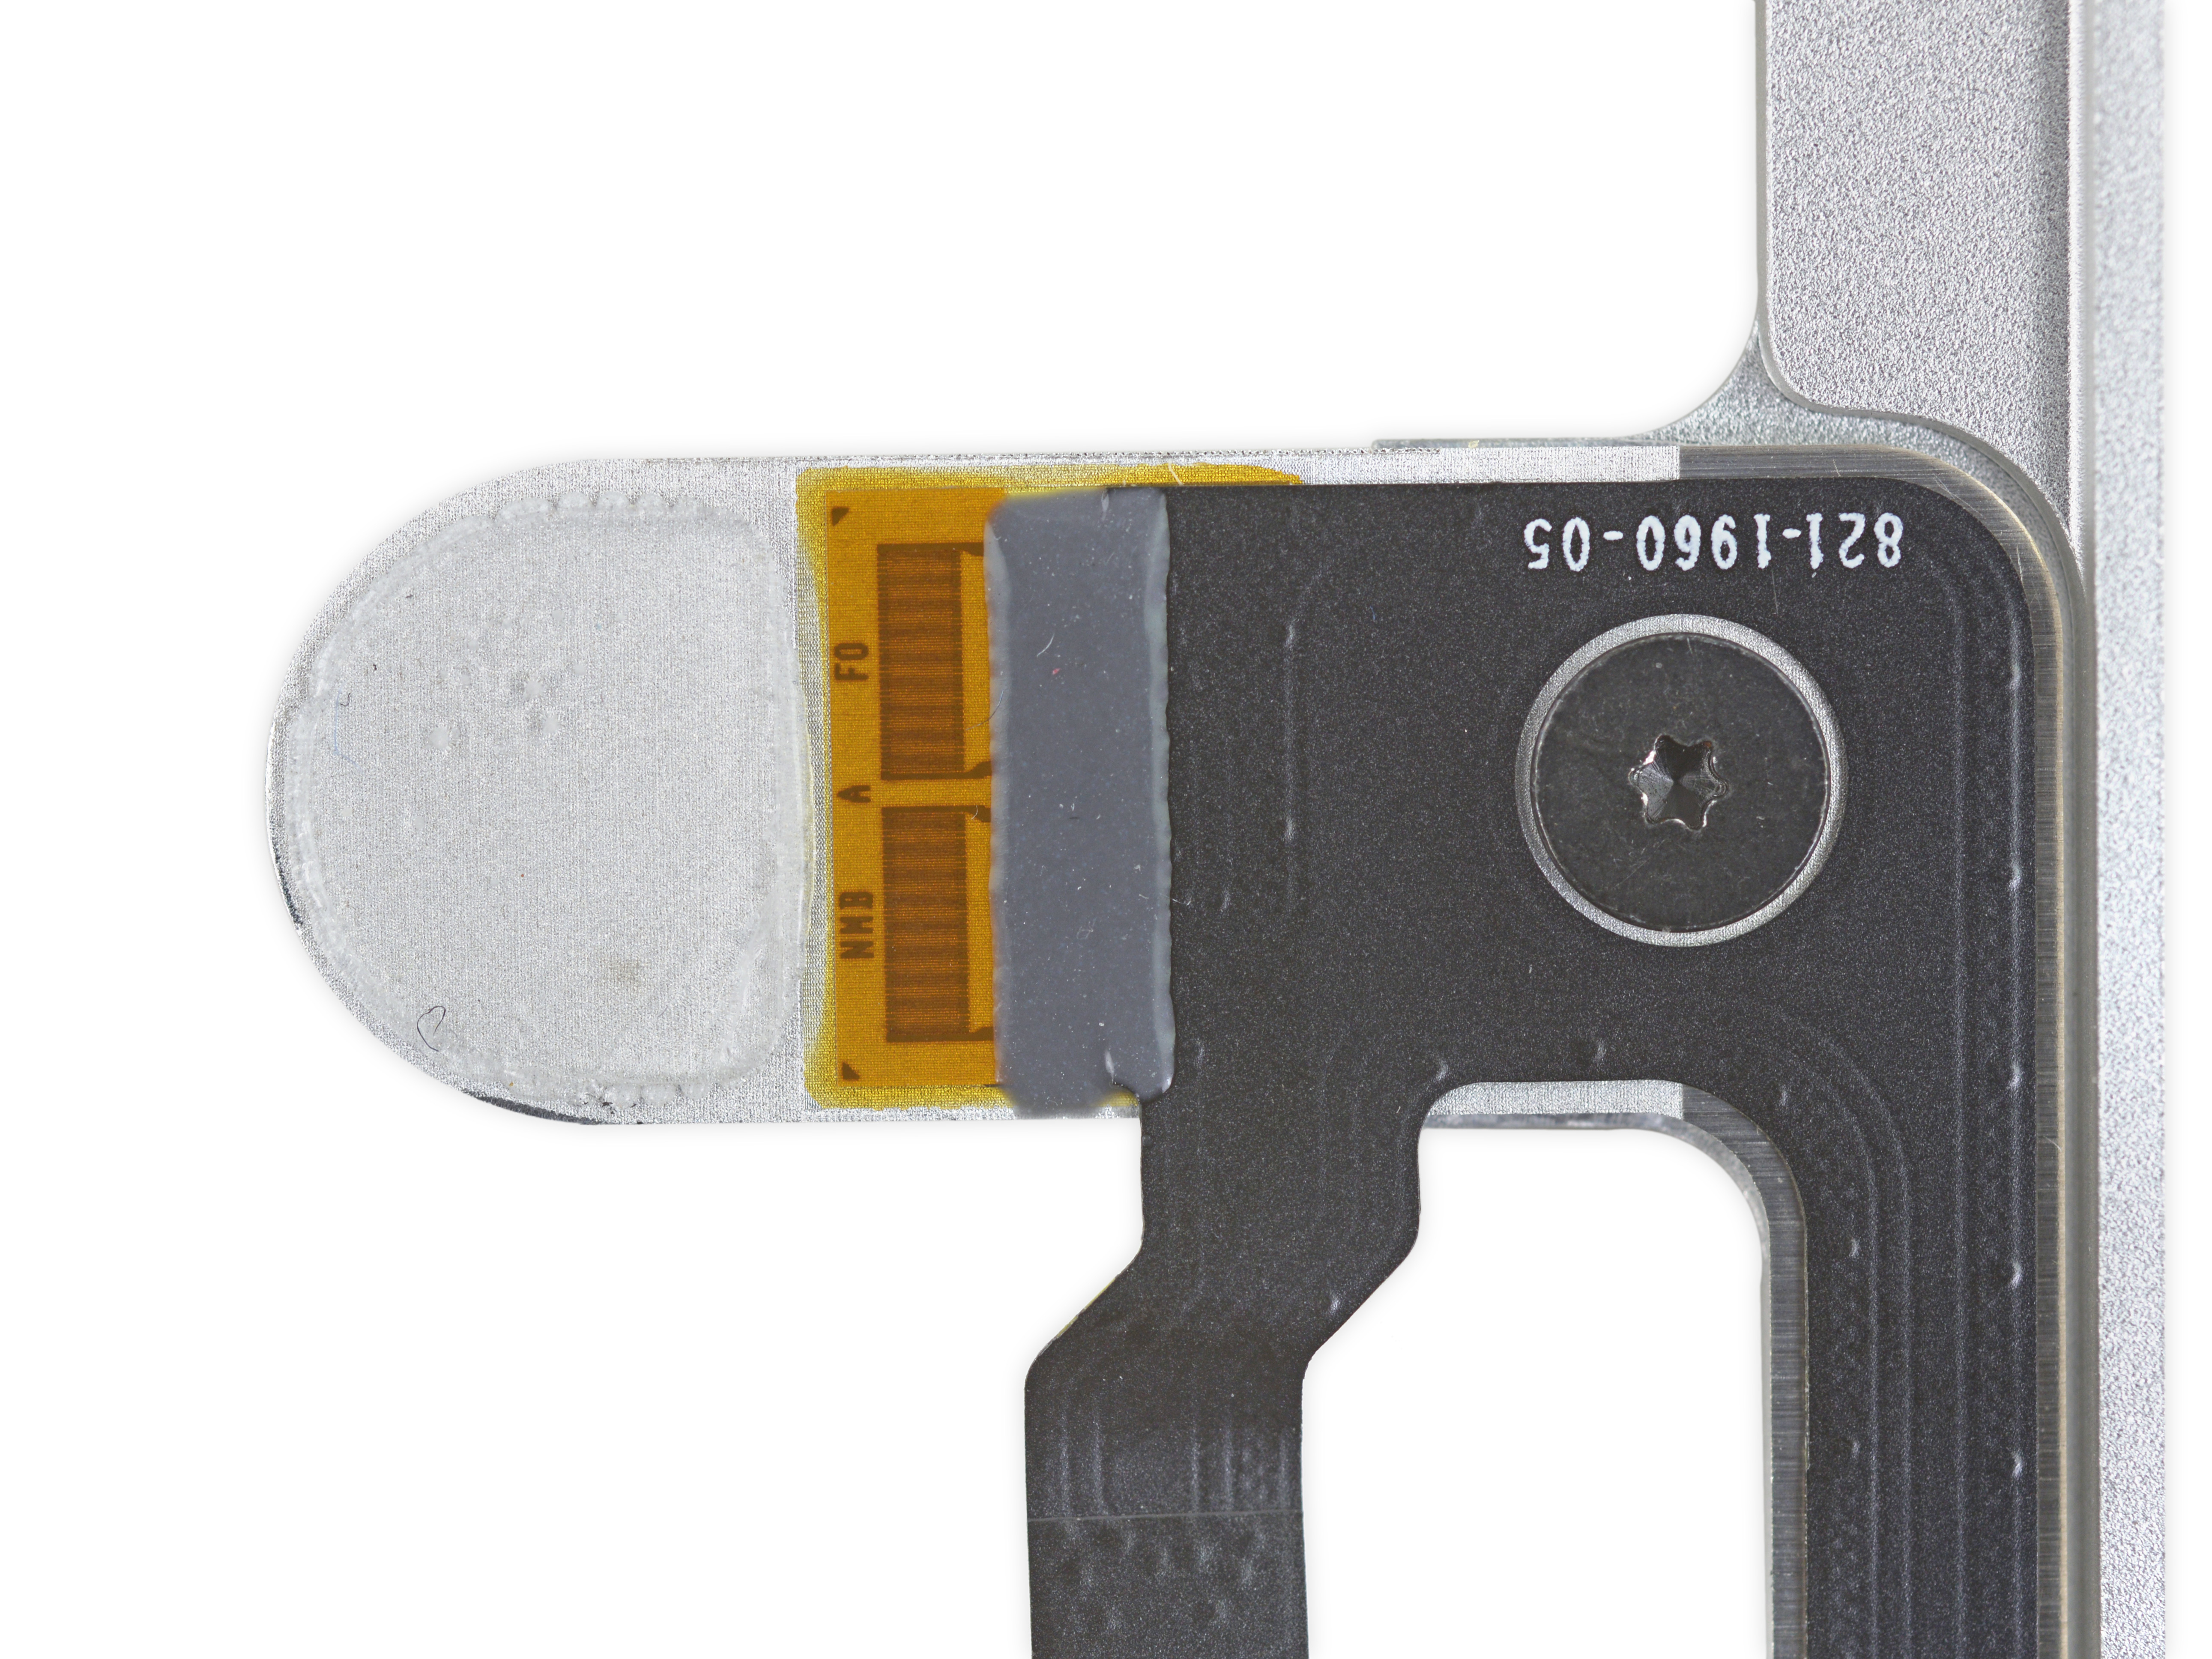
The four metal springs on the aluminum alloy frame are equipped with a pressure sensor (Stain gauge), which is connected to the main board by a cable.
When you press hard on the touchpad, the metal springs will produce a deformation and tension pressure sensor. Working through the motherboard and Taptic Engine, the Force Touch function is achieved.
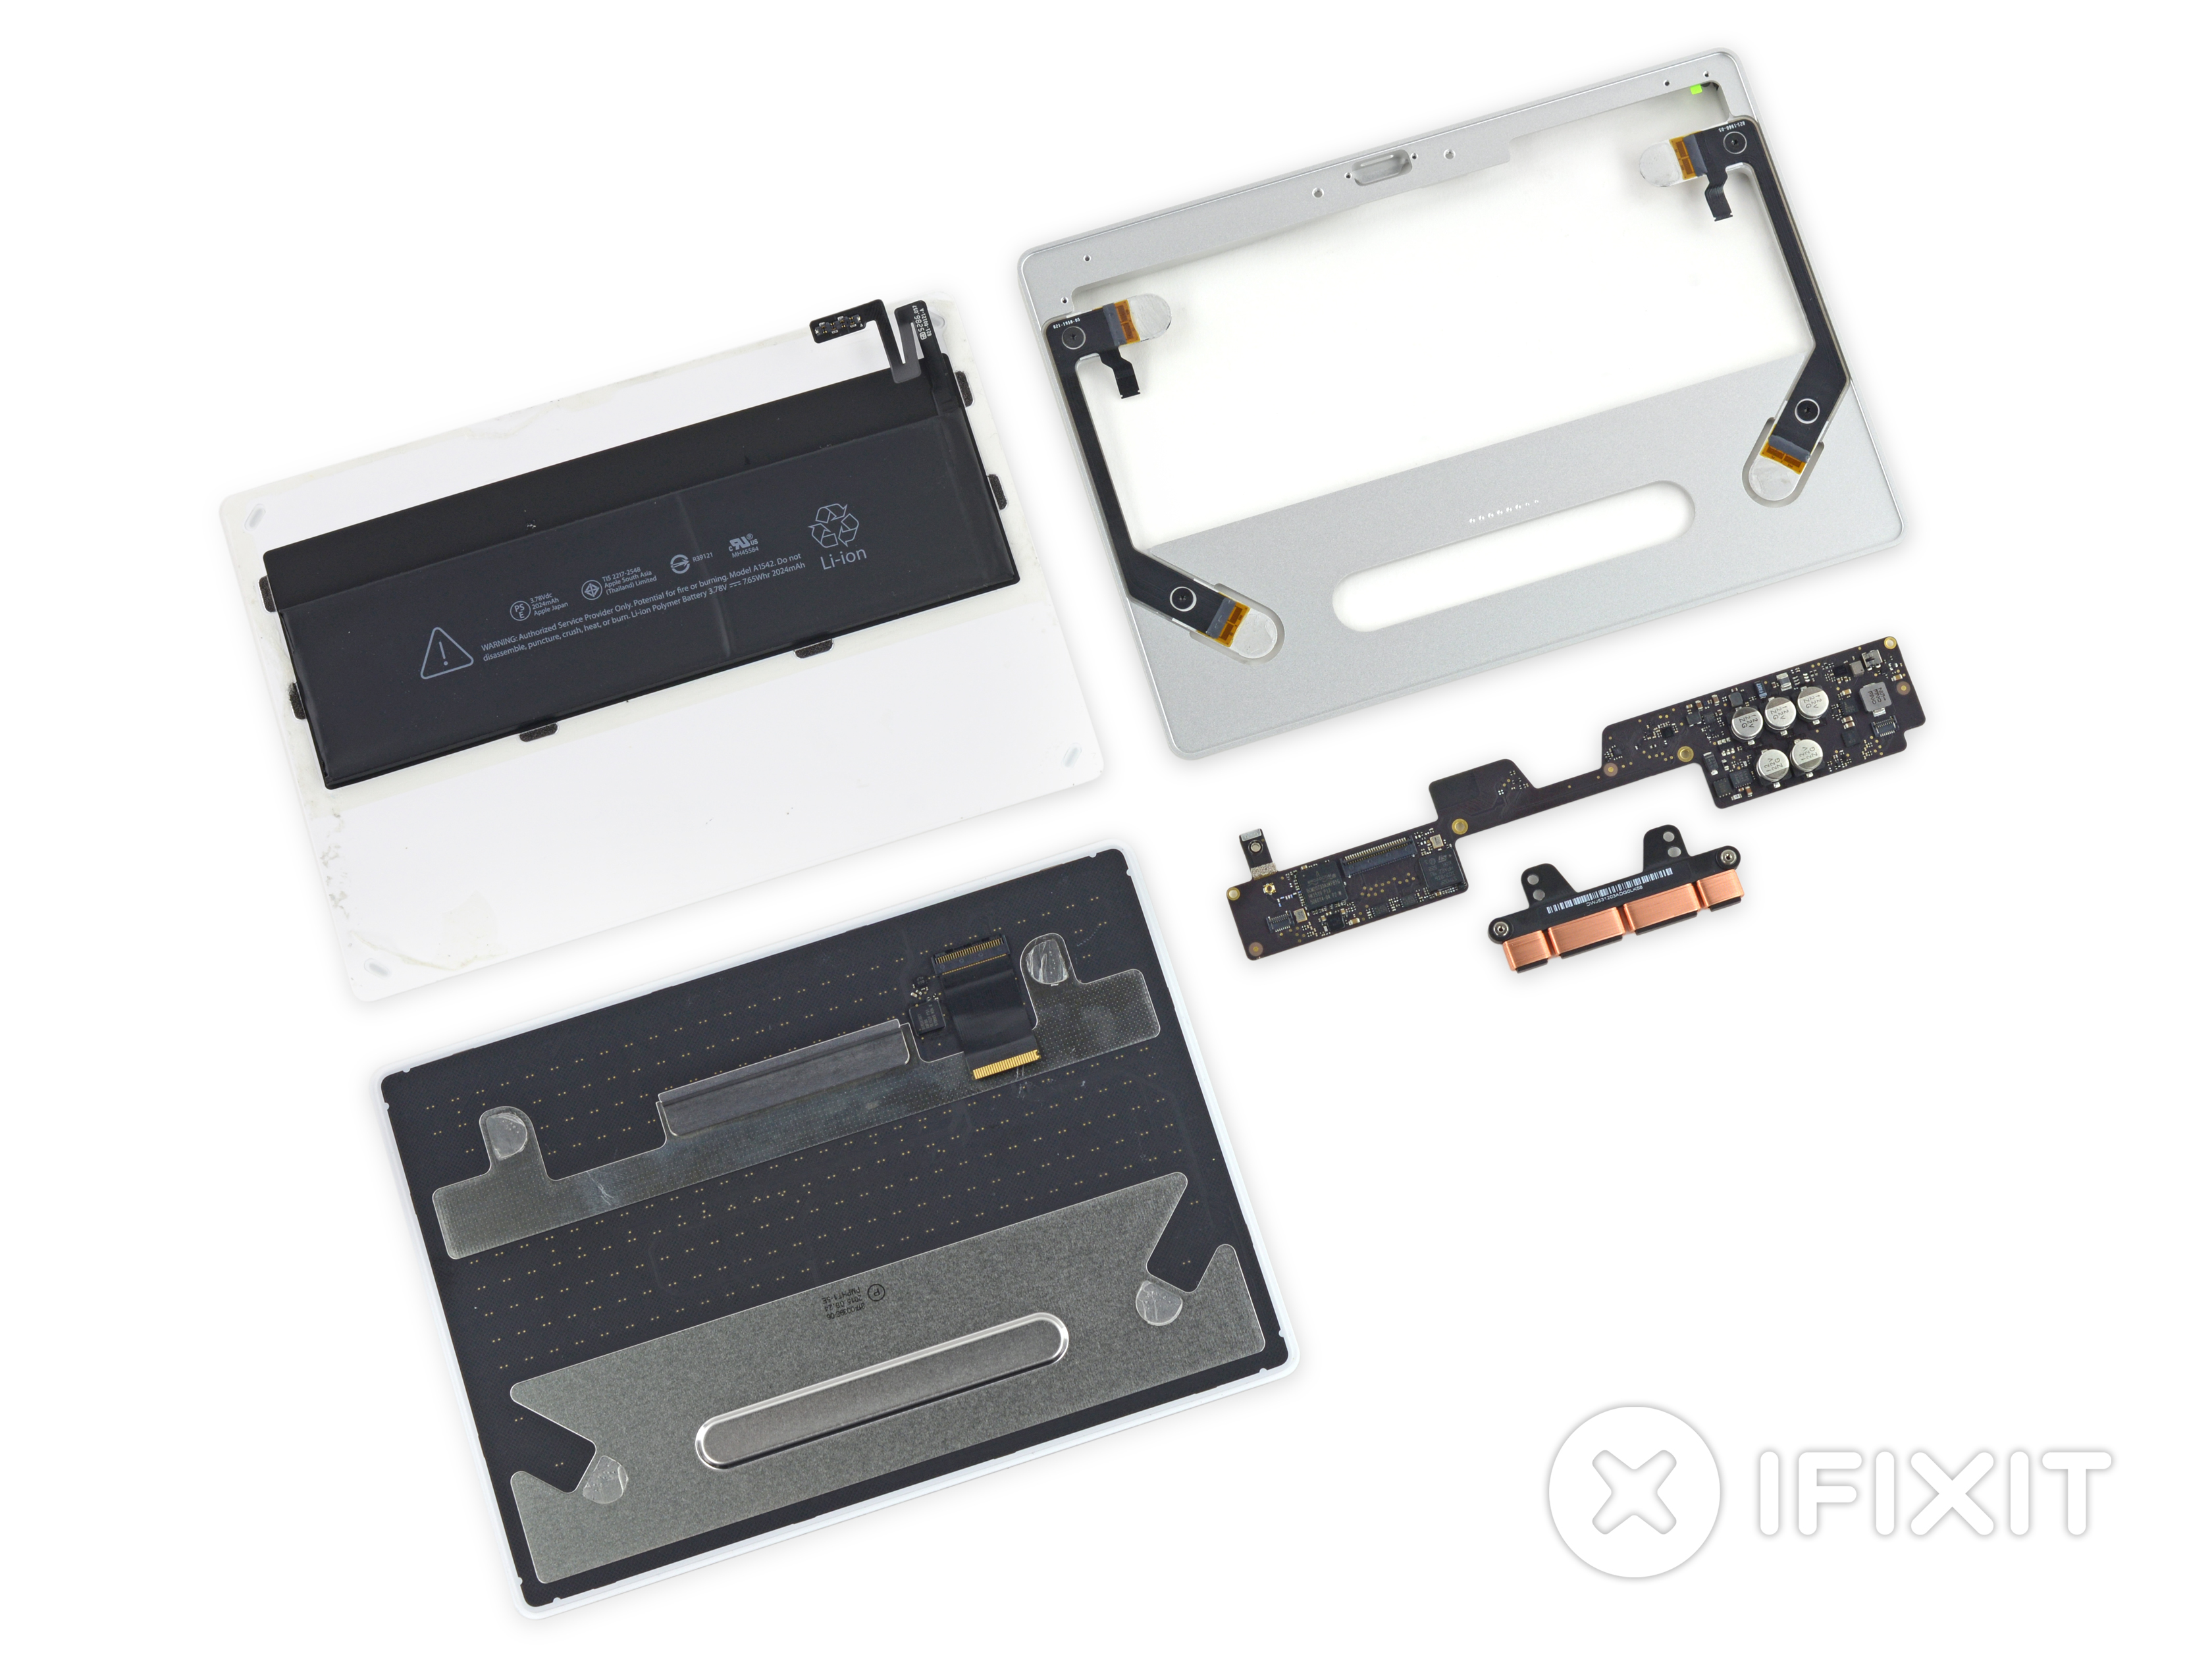
Well, today we have finished the dismantling of the Magic Trackpad 2 and finally come to a family portrait. iFixit scored 3 points on the Magic Trackpad 2 (10 is the easiest to repair). Like other Apple products, the Magic Trackpad 2 is also difficult to repair, with a lot of glue that makes it very difficult to dismantle and repair.
(Source: iFixit, translation: 91 demolition)
More fresh hot disassemble video, please pay attention to micro signal: jiuyaochai