Lying on the sofa at home to watch the video hand iPad iPad2 accidentally fell to the ground and threw the screen, but fortunately just the touch screen, although the touch function can be used, but still unsightly, so go online to buy a touch screen back DIY Replace the touch screen.
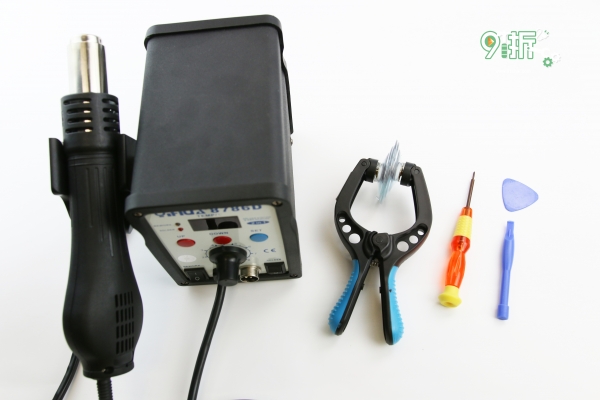
The tools required for this screen change tutorial: hot air gun (usual users can use a hair dryer instead), screen opening pliers, Phillips screwdriver, boring bar, cymbal film.
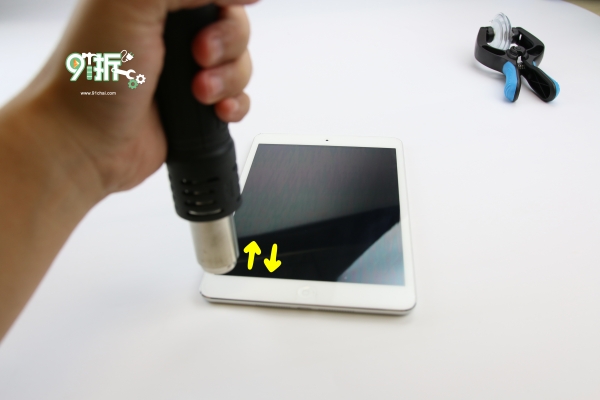
First of all, after shutting down, use a hot air gun to heat the screen around, so that the adhesive 3M glue of the screen softens, easy to dismantle the screen.

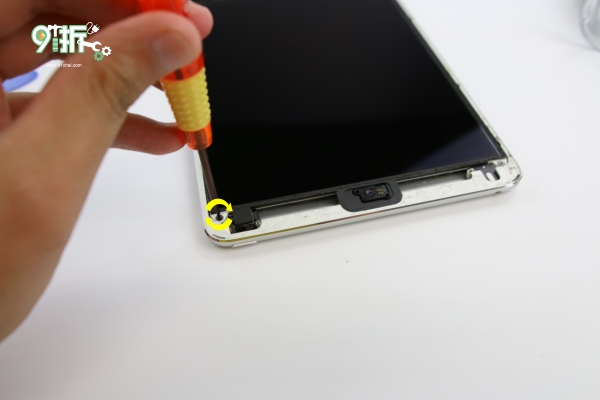
To open the screen, you need to open it from the top (on the front camera side). You can use the "LCD screen opening clamp" to lift the corner of the screen (attention).
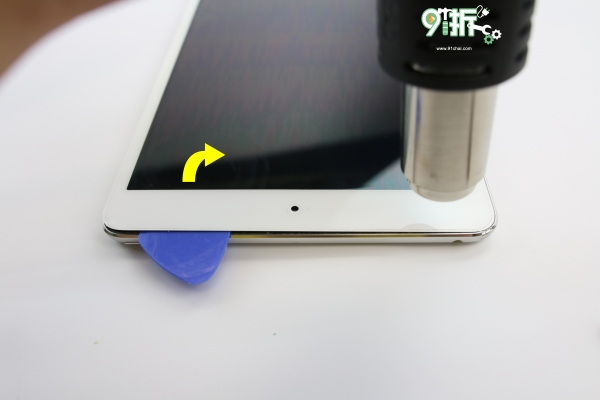
Slowly, you can use the cymbal piece to slowly tilt the screen from the gap where the LCD screen clamp opens.

Tilt the screen panel slowly and if you encounter resistance you can try again to heat the panel adhesive glue. But be careful not to lift the touch screen panel at an angle of more than 90° so as not to pull the touch screen cable.
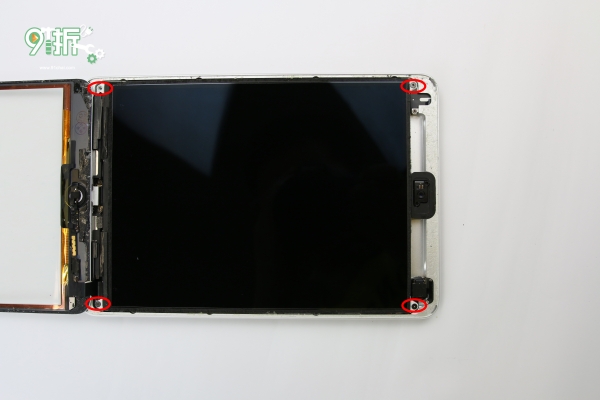
After opening the touch screen, you can see that the display is fixed by 4 screws.
Remove the four screws fixing the display
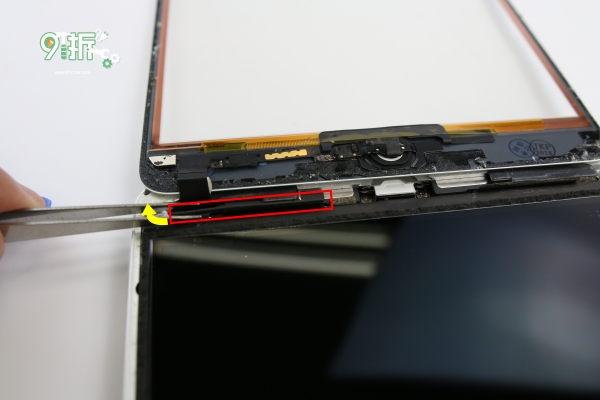
After dismantling the 4 screws, pay attention to the home button. There is a shield sponge glued to the display screen, which will hinder the dismantling of the display screen. Remember to remove the sticker.

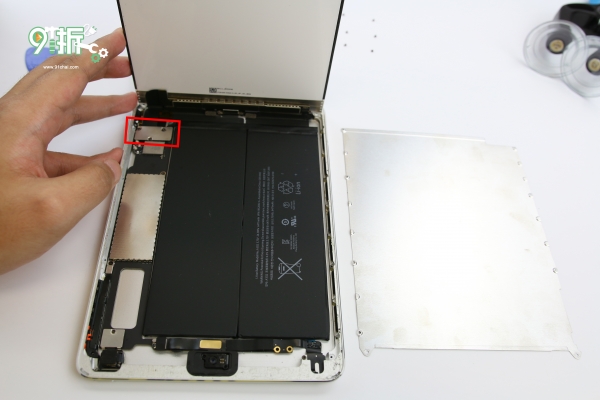
After removing 4 screws, the display can be lifted from the top (front camera). There is a metal plate covering the bottom of the screen. You need to remove to disconnect the display screen and touch screen cable.
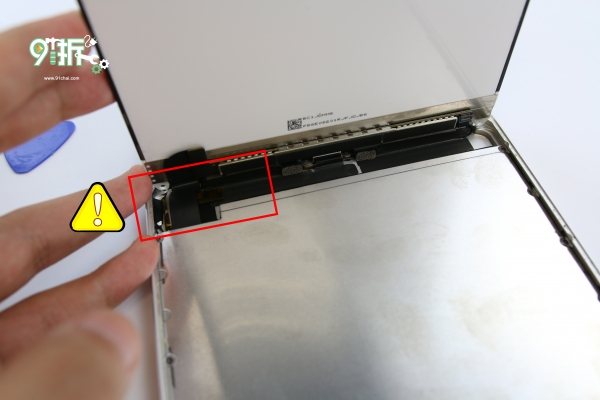
The red frame position is where the display screen and touch screen cable are
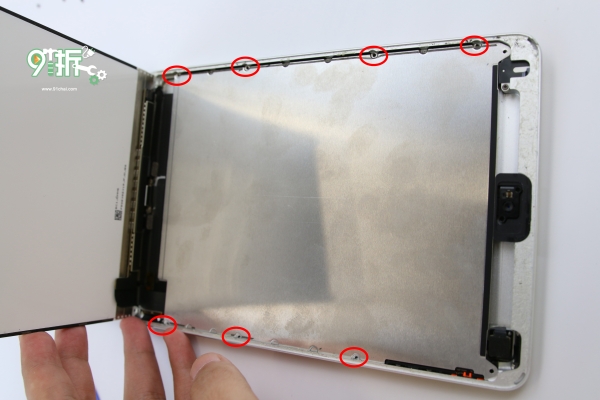
Metal fixing screw at red circle
After removing the metal plate, you can see the fixed cable metal plate at the red frame, and use three Phillips screws of different lengths to fix the position.
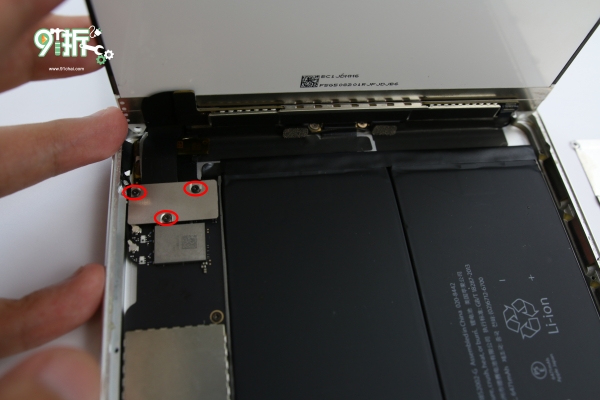
Red circle screw
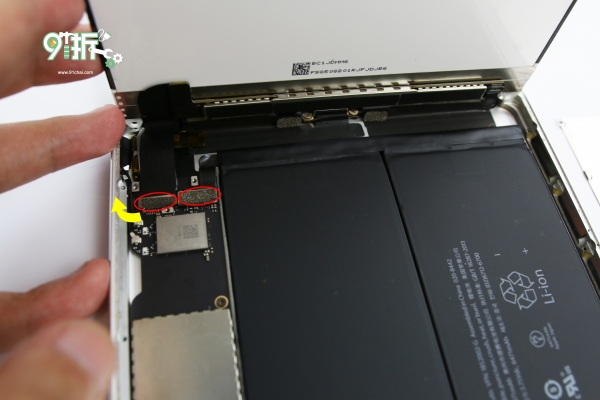
After removing the small board, you can see where the cable is, and the right edge of the display screen is the power cable.

After removing the display cable, you can see the position of the touch screen cable (red circle). You can replace the new touch screen by removing the touch screen cable.

After replacing the new screen, it is not in a hurry to tightly cover the touch screen. First test whether the touch can be used properly to stick the screen back.